6100-Gfast Multifunction Network Analyzer Operation Manual
20
© 2020 Radiodetection Ltd
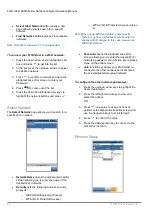
Select Other Network
button opens a new
page allowing you to search for a specific
network.
Find Networks
button searches for available
networks.
Note: Only Wi-Fi channels 1-11 are supported.
To connect your 6100-Gfast to a Wi-Fi network:
1. Press the down arrow key to highlight the list
box and press
to get into the list.
2. In the list, press the up/down arrows to select
the desired network.
3. Press
to confirm a network and open the
alphanumeric editor screen to enter your
Password.
4. Press
to come out of the list.
5. Press the down and left/right arrow keys to
highlight the network buttons and press
.
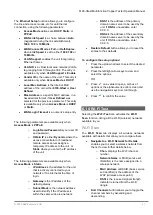
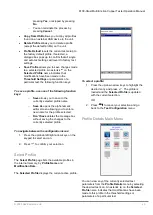
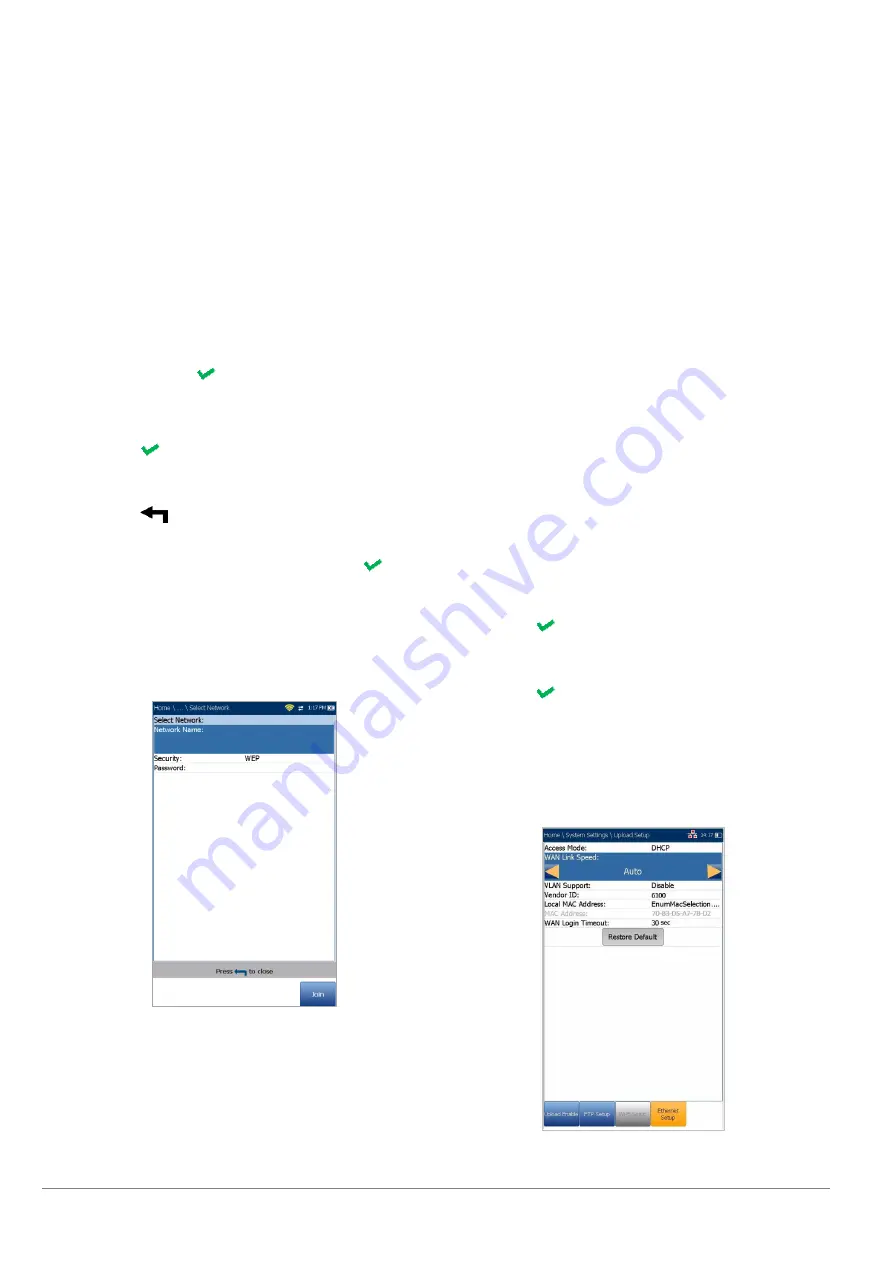
Select Network
The
Select Network
page allows you to search for a
specific Wi-Fi network.
Network Name
opens the alphanumeric editor
screen allowing you to enter the name of the
desired Wi-Fi network.
Security
lists the following wireless security
protocols:
o
WEP (Wired Equivalent Privacy)
o
WPA (Wi-Fi Protected Access)
o
WPA2 (Wi-Fi Protected Access version
2)
Note: When using WPA encryption, some specific
routers may have performance issues with the
supplied Wi-Fi dongle. In this case, please use
WPA2 encryption.
Password
opens the alphanumeric editor
screen allowing you to enter the desired Wi-Fi
network’s password. Join function key replaces
Done on the editor screen.
Join
function key allows your 6100-Gfast to
connect to the other network and it becomes
the selected/preferred upload network.
To configure the other network parameters:
1. Press the up/down arrow keys to highlight the
desired parameter.
2. Press the left/right arrow keys to view and
select the options.
OR
3. Press
on a value to open a list box of
options or the alphanumeric editor screen and
use the navigation keys to scroll through.
4. Press
to confirm the value.
5. Press the
Join
function key to connect to the
other Wi-Fi network.
Ethernet Setup


