63
Confirm gyro direction.
With radio on, move helicopter’s tail to the right by hand.
The gyro should give right rudder input (leading edge of the tail rotor
blades move left).
If the gyro gives the opposite input, reverse direction on the gyro unit itself.
Goals
Steps
Inputs
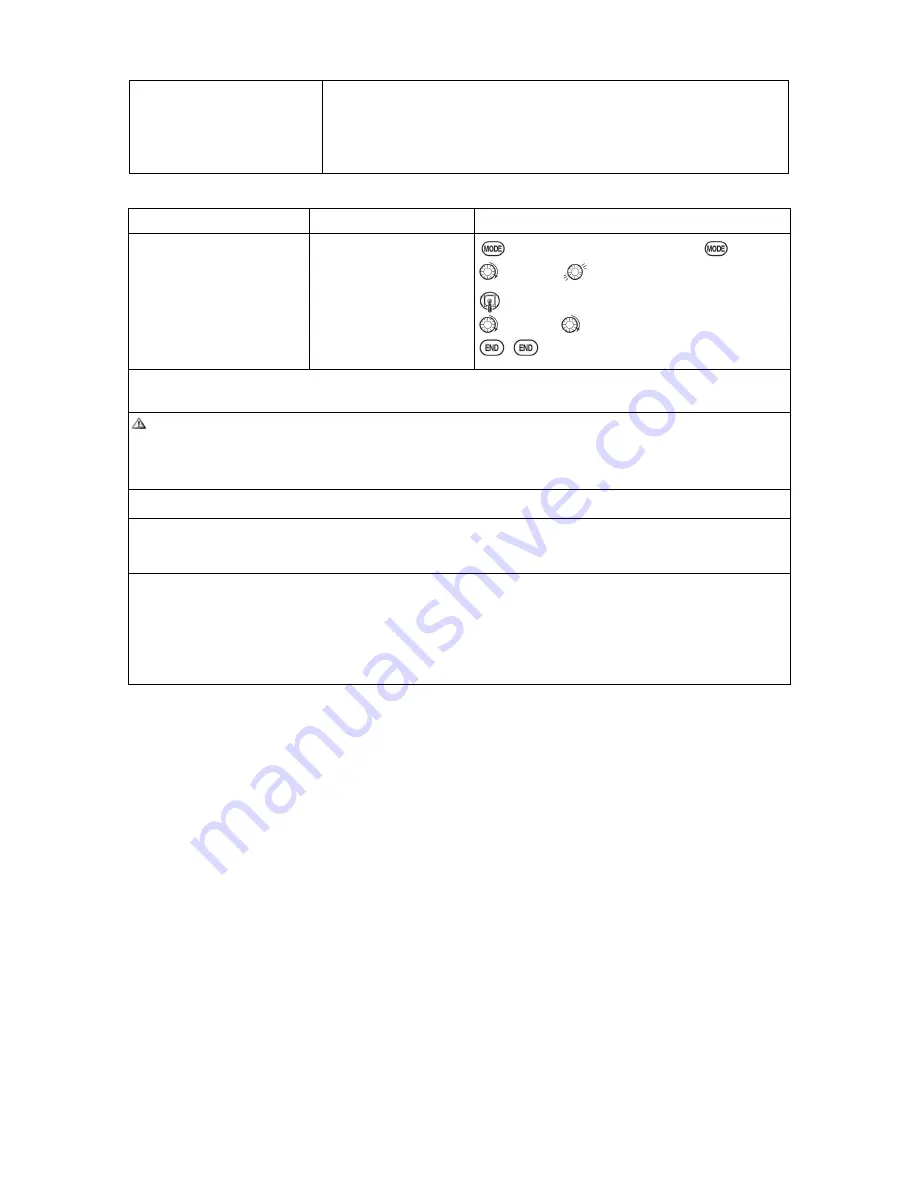
Learn how to operate
HOVERING PITCH and
HOVERING THROTTLE
Notice at half throttle,
the
VR(B)
dial adjusts
the throttle separately
from the pitch.
VR(A)
adjusts the pitch
separately from the
throttle.
for 1s to BASIC.(If ADVANCE
again) .
to SERVO
。
Throttle stick to center
VR (B)
,
VR (A)
。
Be sure to follow your model’s instructions for preflight checks, blade tracking,ect. Never assume a set of
blades are properly balanced and will track without checking.
Check receiver battery voltage! Always check voltage with a voltmeter prior to each and every engine
start.(Never assume being plugged in all night means your radio gear is ready to fly).Insufficient
charge,binding servo linkages,and other problems can result in a dangerous crash with the possibility of
injury to yourself, others and property.
Confirm the swashplate is level at 0 travel. Adjust arms if needed.
Apply full collective and check that the swashplate remained level and there is no binding. Repeat for full
cyclic pitch and roll. If not, adjust as needed to correct in END POINT:
Important note: prior to setting up throttle hold, idle-ups, offsets, etc, be sure to get your normal condition
operating properly.
Checking setup prior to going airborne: Check voltage! Then, with the assistance of an instructor, and having
completed all range checks, etc, gradually apply throttle until the helicopter becomes “light on the skids.”
Adjust trims as needed to correct for any roll, pitch, or yaw tendencies. If the tail “wags,” the gyro gain is too
high. Decrease gyro gain.
1. Periodically move the throttle stick to full and back down to ensure proper servo settings.
2. It is critical that dials A and C be centered when the pitch and throttle curves are setup.
5.2 HELI-SPECIFIC BASIC MENU FUNCTIONS
MODEL TYPE: This function of the PARAMETER submenu is used to select the type of model
programming to be used. Before doing anything else to set up your model, first you must decide which
MODEL TYPE best fits your aircraft.
HELICOPTER SWASHPLATE TYPES:
The AT9 radios support 8 basic swash plate setups, including "single servo" (H-1-most helicopters use this
type) and 7 types of CCPM (cyclic and collective pitch mixing). A "single servo" swash plate uses one servo
for each axis: aileron, elevator (cyclic pitch), and collective pitch. CCPM helicopters utilize a combination of
servos working together to achieve the 3 axes of motion. There are 7 basic CCPM types, displayed below.
CCPM has several advantages, the most obvious of which is far less mechanical complexity to properly
move the swash plate of the helicopter. Additionally, several servos working in unison (ex: HR3, all 3 servos
together create elevator movement) dramatically increases the torque available as well as the precision and
centering.
Please note that some helicopters are type HR3 or HN3, except off by 180 degrees. If your model 's swash
plate is off by 180 you will still use that swash plate type, but also use SWASH AFR to adjust the functions
as needed until it operates properly. Additionally, different angles of CCPM may also be created utilizing the
fully assignable programmable mixes.


