RadioLink Electronic Limited
55
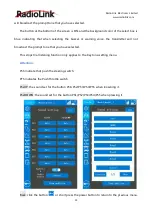
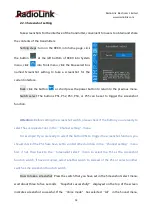
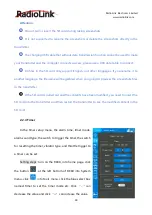
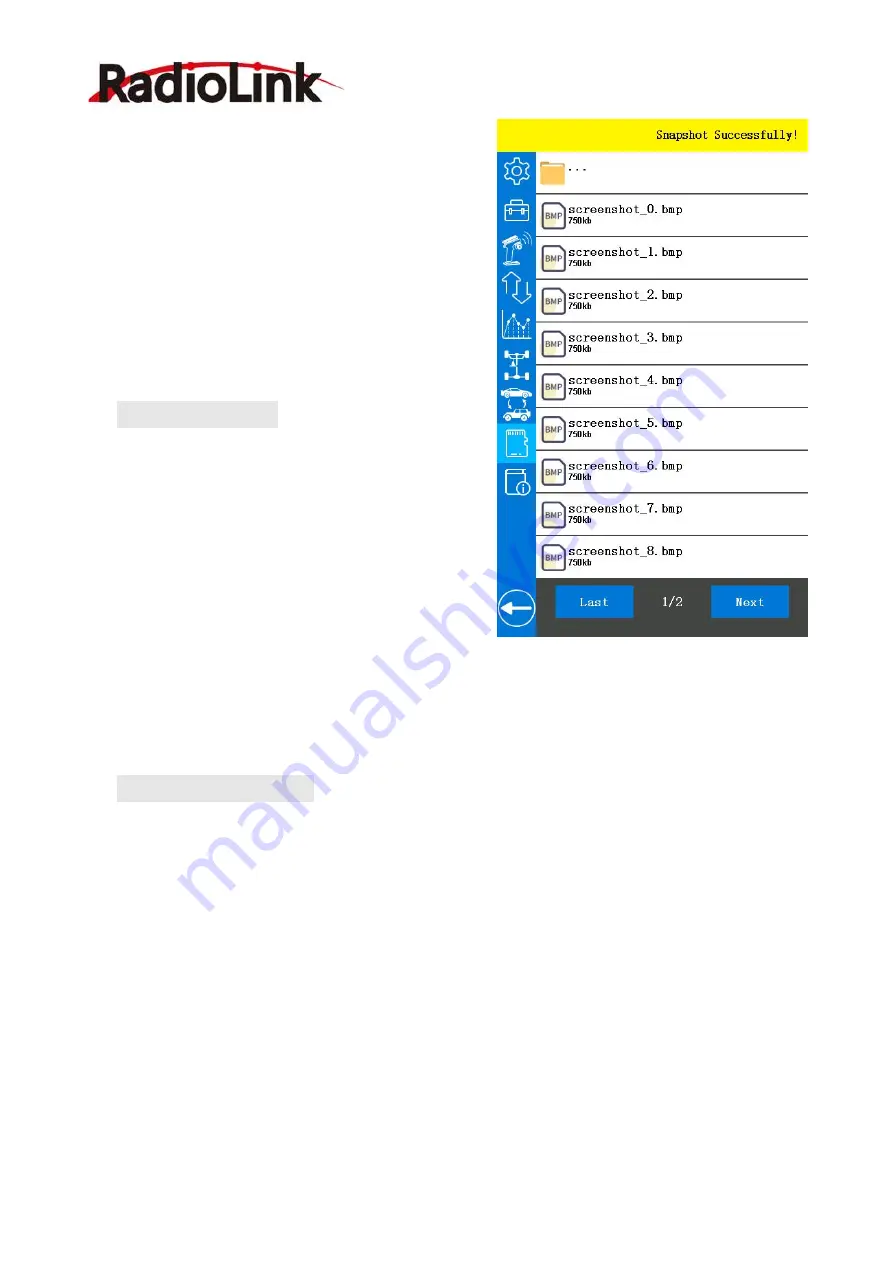
the word “Snapshot successfully!” will display with
voice broadcast. The screenshot files will save to the
folder named “screenshot” on the SD card. The first
screenshot
picture
will
default
named
“Screenshot_0.bmp”, and the number of the file
name will increase by one for each additional picture.
Screenshots preview: it is not supported to
preview screenshots directly in the transmitter.
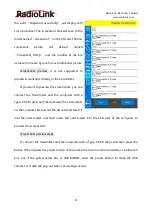
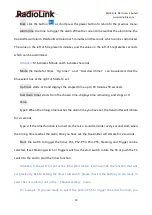
If you want to preview the screenshots, you can
connect the transmitter and the computer with a
Type-C USB cable, and then preview the screenshots
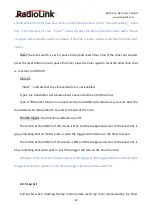
on the computer. Or pull out the SD card and insert it
into the card reader, and then insert the card reader into the USB port of the computer to
preview the screenshots.
Screenshots preview steps:
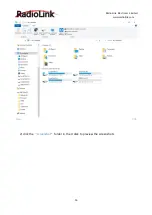
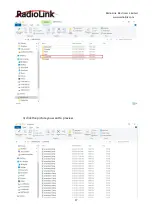
1) connect the transmitter and the computer with a Type-C USB cable, and then press the
button PS1 and press the power button at the same time to turn on the transmitter, a tooltip will
pop out, if the yellow select box at USB MODEL, press the power button to make the USB
connect. A U disk will pop out when connecting success.

