Radiolink Electronic Ltd
3
(2) SBUS/PPM Working Mode
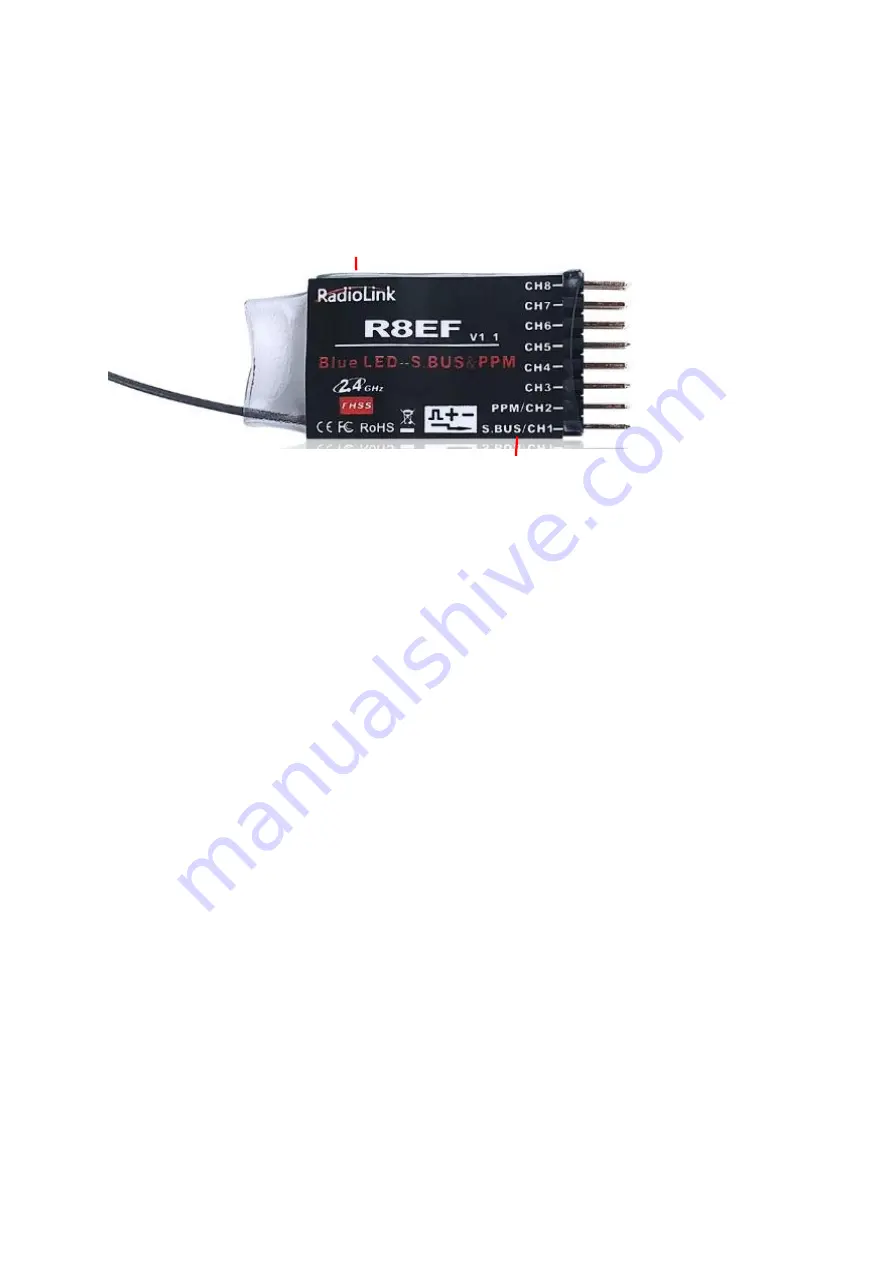
Receiver indicator is Blue(Purple) with 8 channels output in total. Channel 1 is SBUS signal, channel 2 PPM
signal and channel 3 to 8 PWM signal.
1.2.2 Binding
Every transmitter owns a unique ID code. Before using, binding transmitter to receiver on aircraft is a must.
When done binding, ID code will be stored in the receiver, no need to rebind, unless the receiver is going to
work with another transmitter. If a new R8EF or R8FM receiver is purchased, binding needs to be done before
using.
Binding steps of all transmitters and receivers from RadioLink are the same as follow:
(
1
)
Put the transmitter and the receiver close to each other within 50 centimeters
(
2
)
Power on the transmitter and the receiver. The receiver will bind to the closest transmitter.
(
3
)
Press the ID SET on the side of the receiver for more than 1s, the flashing LED means binding starts.
When LED is always on (stops flashing), binding is complete.
(
4
)
Check if servos move as the transmitter commands to verify the binding success.
1.2.3 Signal Switch between SBUS&PPM and PWM
R8EF:
Short press the ID SET on the receiver twice within 1s to switch the SBUS/PPM signal to PWM signal.
When the RED LED is on, signal output is PWM. When both RED and BLUE LEDs are on. Signal output is
SBUS&PPM.
R8FM:
Short press the ID SET on the receiver twice within 1s to switch the SBUS to PPM signal. When the
RED LED is on, PPM signal is output while SBUS signal is output when both RED and BLUE LEDs are on.
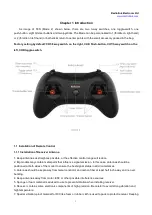
1.2.4 T8S Gimbals Calibration
When the transmitter is power-off, toggle both sticks at the central point. Then press the throttle trimmer button
(with an arrow to left and marked as No.1 in below pic ) and the power button simultaneously, the four green
indicators will start flashing and the T8S is ready to be calibrated..
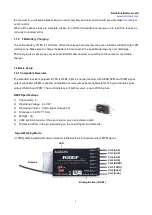
Antenna
Binding Button(ID SET)
CH8 (AUX), PWM
CH7 (AUX),PWM
CH6 (AUX),PWM
CH5 (AUX),PWM
CH4 (RUDD),PWM
CH3 (THRO),PWM
PPM
SBUS
LED
Antenna


