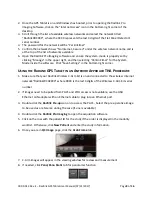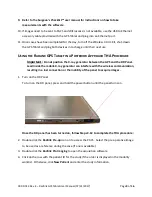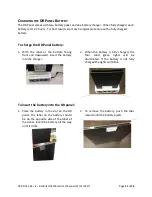
00.09-013 Rev. E – Radlink GPS Tablet User Manual (07/31/2017)
Page 10 of 16
5.
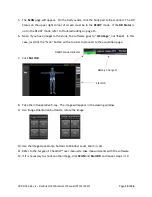
The SCAN page will appear. On the body avatar, click the body part to be scanned. The DR
Status on the upper right corner of screen must be in the READY mode. If the DR Status is
not in the READY mode, refer to Troubleshooting on page 15.
6.
Note: if you have images in the study, the software goes to “QC Image”, not “Scan”. In this
case, just click the “Scan” button on the top bar to proceed to the acquisition page.
7.
Click Start DR.
8.
Take the intraoperative X-ray. The image will appear in the viewing window.
9.
Use Image Orientation buttons to rotate the image.
10.
Use the Image Appearance buttons to Window Level, Zoom in, etc.
11.
Refer to the Surgeon’s Checklist™ user manual to take measurements with the software.
12.
If it is necessary to shoot another image, click SCAN and Start DR and repeat steps 7-10.
READY Mode Indicator
Start DR
Battery Charge %


