TROUBLESHOOTING
8 - 7
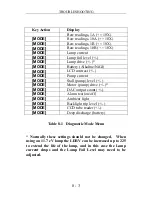
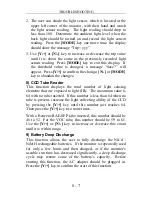
2. The user can shade the light sensor, which is located at the
upper left corner of the monitor, with their hand and watch
the light sensor reading. The light reading should drop to
less than 100. Determine the ambient light level when the
back light should be turned on and record the light sensor
reading. Press the
[MODE
] key one more time, the display
should show the message “Trip= yyy”.
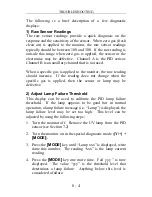
3. Use
[Y/+]
or
[N/-]
key to increase or decrease the trip value
until it is about the same as the previously recorded light
sensor reading. Press
[MODE]
key to exit this display. If
the threshold value is changed, a message “Save?” will
appear. Press
[Y/+]
to confirm the change,
[N/-]
or
[MODE
]
key to abandon the changes.
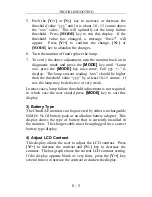
8) CCD Tube Reader
This function displays the total number of light sensing
elements that are exposed to light (IR). The maximum value is
64 with no tube inserted. If this number is less than 64 when no
tube is present, increase the light collecting ability of the CCD
by pressing the
[Y/+]
key until this number just reaches 64.
Then press the
[Y/+]
key two more times.
With a Benzene RAE-SEP tube inserted, this number should be
46 to 52. For the VOC tube, this number should be 59 to 61.
Use the
[Y/+]
or
[N/-]
key to increase or decrease this count
until it is within range.
9) Battery Deep Discharge
This function allows the user to fully discharge the NiCd /
NiMH rechargeable batteries. If the monitor is repeatedly used
for only a few hours and then charged, or if the monitor’s
useable run time has decreased significantly, a deep discharge
cycle may restore some of the battery’s capacity. Before
starting this function, the AC adapter should be plugged in.
Press the
[Y/+]
key to confirm the start of this function.


