12
www.raider.bg
intended purpose.
Not for use of the machine for activities other than its intended purpose!
3. Assemble the elements of the battery device for blowing and commissioning.
Some parts of the device for blowing dismantled in order to reduce the volume of the container
during transport.
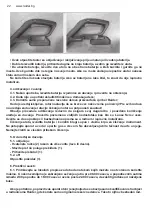
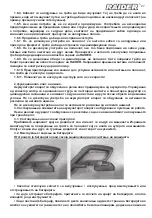
3.1. Assembling the directional nozzle:
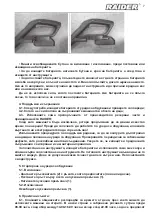
Bring the wide end of the nozzle to the exit of vaduh machine. Align small hole to connect on
the nozzle with a groove which is located on the machine frame. Connect them to each other, push
the nozzle hole in the hull.
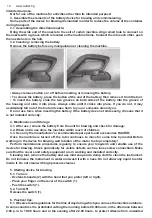
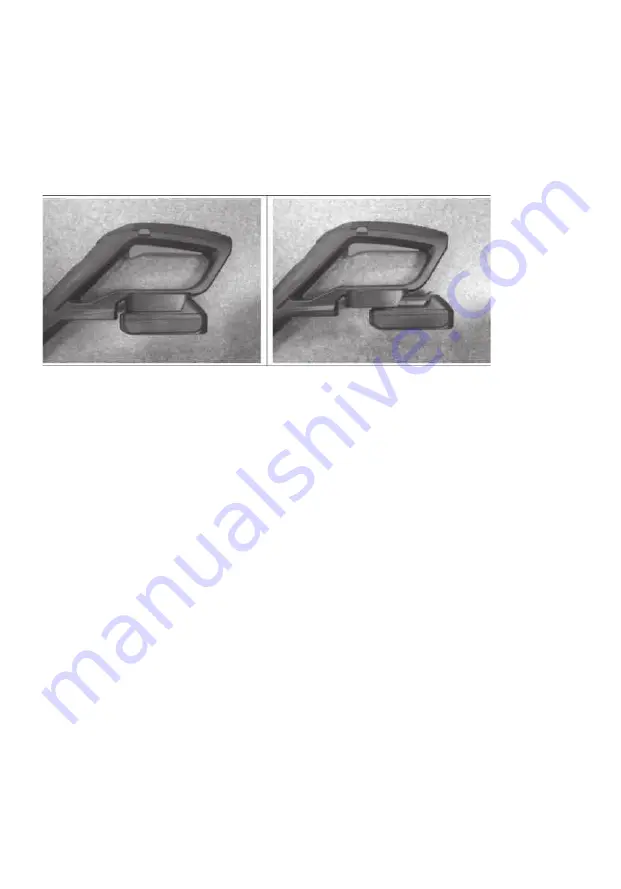
3.2. Inserting / removing the battery
Remove the battery before any manipulation or cleaning the machine.
• Always release button on / off before inserting or removing the battery.
• To remove the battery, press the button at the end of the battery, then remove it from the tool.
• To insert the battery, slide the two grooves on both sides of the battery into the groove of
the housing and slide it into place. Always slide until it clicks into place. If you do not, it may
accidentally fall out of the tool and cause harm to you or someone around you.
Do not use force when inserting the battery. If the battery does not slide easily, it means that it
is not installed correctly.
4. Maintenance and Storage
4.1. After use, remove the battery from the unit for blowing and check for damage;
4.2. When not in use store the machine within reach of children;
4.3. Use only the manufacturer’s recommended spare parts and accessories RAIDER;
Once the machine is turned off, the rotor continues to move for some time by inertia! Before
working on the device for blowing wait rotation of the motor to stop completely!
Perform maintenance procedures regularly to ensure your long-term and reliable use of the
device for blowing. Check periodically for visible defects such as loose screw connections. Make
sure that the covers and safety equipment are in working and installed correctly.
Cleaning tool, remove the battery and use mild soap and a damp cloth to clean the instrument.
Do not immerse the instrument in water and wash it with a hose. Do not allow any liquid to enter
inside it. Do not clean with high pressure cleaner.
5. Starting device for blowing
5.1. Turn on:
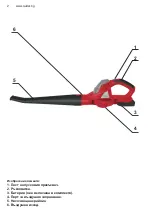
- Hvatenete handle (2) with the hand that you prefer (left or right).
- Place your finger on the lever of the switch (1).
- Push the switch (1).
5.2. Turn Off:
Release the switch (1).
6. Practical tips:
6.1. Observe local regulations for the time of day during which you can use the machine outdoors.
In some countries it is prohibited cutting the morning before 08.00 hours, in the afternoon between
2:00 p.m. to 16:00 hours and in the evening after 22.00 hours, to protect citizens from unwanted
Summary of Contents for RD-CBL04
Page 2: ...2 www raider bg 5 1 2 4 3 6 1 2 3 4 5 6...
Page 7: ...7 4 4 1 4 2 4 3 RAIDER 5 5 1 2 1 1 5 2 1 6 6 1 08 00 14 00 16 00 22 00...
Page 8: ...8 www raider bg RAIDER 7 7 1 2002 96 EC 7 2 Li ion 91 157 EEC...
Page 27: ...27 1 6 4 1 6 5 1 6 6 1 6 7 1 6 8 RAIDER 1 6 9 RAIDER 1 6 10 1 6 11 2 3 3 1 3 2...
Page 37: ...37 1 6 6 1 6 7 1 6 8 RAIDER 1 6 9 RAIDER 1 6 10 1 6 11 2 3 3 1 vaduh 3 2 Always on off 4...
Page 43: ...43 3 2 4 4 1 4 2 4 3 Raider 5 5 1 Hvatenete 2 1 1 5 2 Off 1 6 6 1...
Page 44: ...44 www raider bg 08 00 2 00 16 00 22 00 7 7 1 2002 96 7 2 Li Ion 91 157 EEC...
Page 50: ...50 www raider bg EXPLODED VIEW OF GRASS TRIMMER RD CBL04...
Page 56: ...56 www raider bg 246 0700 44 155 e mail info euromasterbg com...
Page 58: ...58 1 5 2 bar Raider 18 Raider Industrial Raider Pro 12 Raider Power Tools Raider Garden Tools...
Page 59: ...59 112 115 112 1 2 1 2 3 113 1 2 3 2 114 4 5 114 1 113 1 2 2 3 115 4 115 1 2 1 3 1 1...
Page 66: ...66 www raider bg...
Page 67: ...67 45...
Page 70: ...70 www raider bg...
Page 71: ...71...


