22
www.raider.bg
14.3. Disk for grinding or cutting.
Observe the permissible workpiece dimensions. The hole diameter must fit on the centering flange foot. Do
not use adapters or reducers. When mounting diamond cutting discs, make sure that the arrow indicating
the direction of rotation matches the direction of rotation of the angle grinder. To lock discs for grinding or
cutting, screw the lock nut and tighten it with a special key. After installing the abrasive disc, make sure
that the disc is properly mounted and can rotate freely before turning on the angle grinder. Ensure that the
abrasive disc does not touch the protective casing or other details of angle grinder.
14.4. Bell or disk wire brush.
The cup or disk wire brush used should be wound onto the shaft of the angle grinder so that it touches the
shaft flange at the end of the thread. Tighten the cup or disk wire brush with a wrench.
15. Dust collection system.
Powders released during the processing of materials such as lead paints, certain types of wood, minerals
and metals may be hazardous to health. Skin contact or inhalation of such powders may cause allergic
reactions and / or respiratory tract illnesses of the operator or persons in the vicinity. Certain powders,
such as those extracted from beech and oak processing, are considered to be carcinogenic, especially
in combination with wood treatment chemicals (chromate, preservatives, etc.). If possible, use a dust
extraction system. Ensure good ventilation in the workplace. It is recommended to use a breathing mask
with Class P2 filter.
16. Work with Angle Grinder.
16.1. Charge the lithium rechargeable battery.
Remove the battery from the handle, press the button down to do this. Pay attention to mains voltage when
charging the battery! The mains voltage must match the data on the charger label. Appliances marked with
230V can also be powered with a voltage of 220V. The green LED will be switched. Squeeze the battery
into the charger.
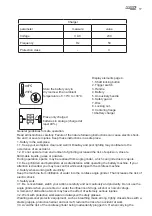
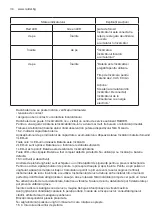
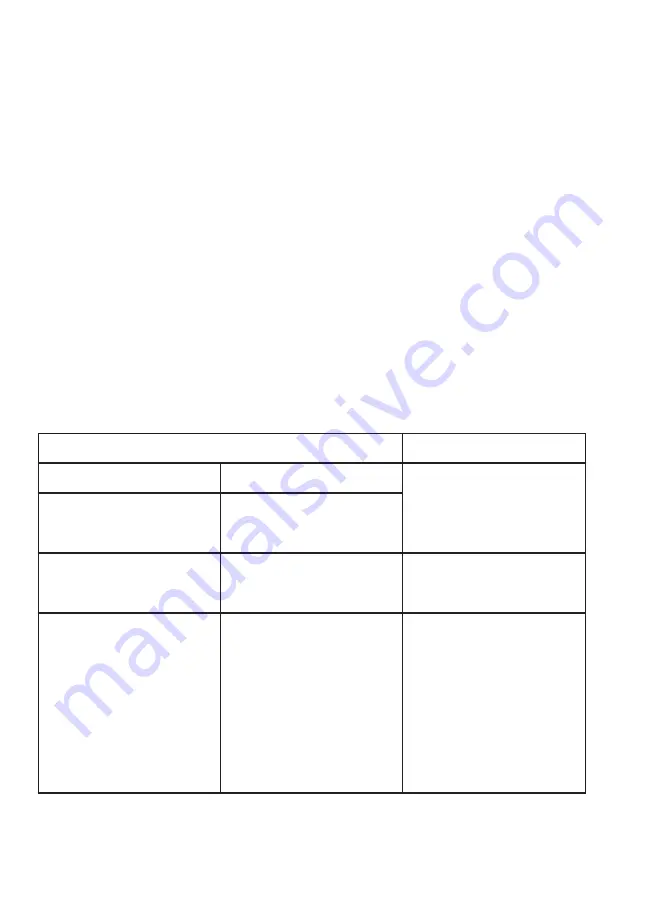
See explanation table:
Indicator status
Explanations and actions
Red LED
Green LED
Ready for use
The charger is connected to
the mains and is ready for use;
there is no
battery pack in the charger
Off
On
On
Off
"Charging
The charger is charging the
battery pack "
Off
On
"The battery is charged and
ready for use.
Charging time for 2.0 Ah
battery: 60 min
Action:
Take the battery pack out of the
charger. Disconnect the charger
from
the mains supply."
Summary of Contents for RDI-AGB61 Set
Page 91: ...91 RDI AGB61 Set Exploded View and spare parts list ...
Page 101: ...101 ...
Page 105: ...105 ...
Page 107: ...107 ...

