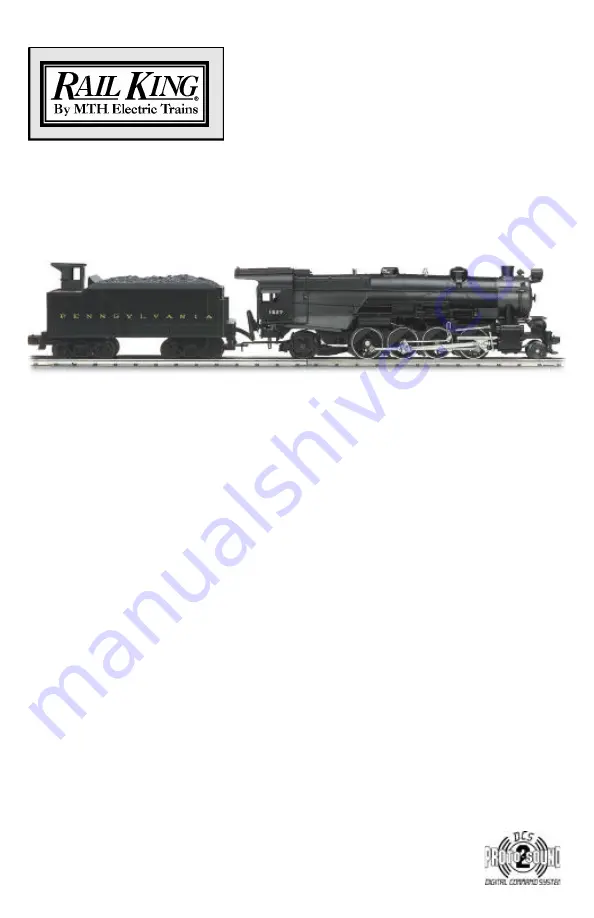
background image

RAILKING L-1 MIKADO 

STEAM ENGINE

OPERATING INSTRUCTIONS

This RailKing L-1 Mikado Steam Engine is produced in detailed Die-Cast Metal and
operates on O-31 track. This RailKing Steam Engine contains state-of-the-art electronics
with many built-in automatic features for incredibly realistic operation.  Despite these
advanced features, the locomotive is easy to operate with any compatible standard AC
transformer (see the compatibility chart on page


18), and is completely compatible with

most other 3-rail locomotives, rolling stock, and accessories.

This locomotive is equipped with Proto-Sound 2.0 with Digital Command System
(DCS).  This new system will allow you to operate your locomotive in Command mode
(when used with the DCS Remote Control System, sold separately) or Conventional
mode.  Conventional operating features are described in the following pages, while the

DCS operating features are covered in the set of operating instructions that
accompanies the DCS equipment.

  Conventional Mode operation of this locomotive is

much simpler than operation of original Proto-Sound engines.  For your own safety and
that of your equipment, please read the instructions before you operate this engine.

Summary of Contents for L-1 MIKADO

Page 1: ...3 rail locomotives rolling stock and accessories This locomotive is equipped with Proto Sound 2 0 with Digital Command System DCS This new system will allow you to operate your locomotive in Command...

Page 2: ...ntrol 8 Lock into a Direction 9 Reset to Factory Defaults 9 Automatic Sounds 9 Maintenance 10 Lubrication and Greasing Instructions 10 Cleaning the Wheels Tires and Track 12 Locomotive Traction Tire R...

Page 3: ...ng Lightly grease the outside idler and drive gears marked G in Fig 3 on page 10 to prevent them from squeaking Use light household oil and follow the lubrication points marked L in Fig 2 on p 10 Do n...

Page 4: ...to ring from the time you turn it on until you press and release the button again to turn it off Direction Your train is programmed to start in neutral The first direction after neutral upon start up...

Page 5: ...you should read these instructions thoroughly before using Proto Sound 2 0 features in order to prevent harm to yourself or your equipment Activating Proto Sound 2 0 Conventional Mode Features Proto...

Page 6: ...ily disabled so that the train will not move as you use the Direction button to trigger the sounds and Proto Sound 2 0 has disabled operator control over the Whistle and Bell buttons until the full FY...

Page 7: ...the engine to run the FYS Otherwise the engine without FYS will begin vibrating on the track as its motors strain to move the train since they cannot be automatically disabled during the FYS cycle If...

Page 8: ...and the engine will maintain the speed you set While the engine is programmed to start with the speed control feature activated you can opt to turn it off This means the engine s speed will fall as it...

Page 9: ...de to return the engine to its normal condition even if the engine is kept without power for extended periods of time Reset to Factory Defaults To override the settings you currently have assigned to...

Page 10: ...one year whichever comes first To access the gear box do the following 1 Turn the engine upside down 2 Remove the Phillips screw marked GREASE located at the fourth set of drivers counting from the f...

Page 11: ...remely durable you may need to replace them at some point 1 Remove the side rods the rods that connect each drive wheel to the other from the wheels in order to slip the new tire over the grooved driv...

Page 12: ...d or have already added the fluid but choose to run smoke free turn off the smoke unit switch located under the engine body see Fig 5 Failure either to add fluid to the unit or to turn it off may dama...

Page 13: ...elow Remove the locomotive boiler from its chassis as shown in Figure 3 Once the body has been removed rotate the headlight bulb counter clockwise as seen in Figure 7 to remove To replace the light in...

Page 14: ...d Put the engine in neutral and leave the track voltage at 12 volts for 15 minutes If the garbled or distorted sounds are reduced the battery charge has run down and can be recharged Do this by leavin...

Page 15: ...separate bell button When I try to fire the coupler FYS starts The Proto Coupler won t let the engine uncouple on the fly The coupler does not fire or stay coupled When I press the whistle button the...

Page 16: ...ngine is locked into the neutral position Follow the procedure in the Lock into a Direction section Engine speed must be below 10 scale mph approx 10 volts or less in conventional mode Proto Sound 2 0...

Page 17: ...ycles through the FYS sequences FYS is programmed to start ringing the bell at that point After approximately 12 rings of the bell it will automatically turn off Because FYS must control various effec...

Page 18: ...tt Standard Lionel 1063 U A 8 17v 60 Watt Standard All Trol Left Terminal Right Terminal 0 24v 300 Watt Electronic Dallee Hostler Left Terminal Right Terminal Electronic Lionel LW A U 8 18v 75 Watt St...

Page 19: ...tion rates Locomotive Lighting Control Independently controls locomotive headlights marker and interior lights and ditch lights Emergency Stop Single button push stops your trains but does not turn of...

Page 20: ...ding operations Locomotive Consist Set up User can determine locomotive values for consist make ups allowing multiple locomotives belonging to a consist to operate together Query Locomotive Informatio...

Page 21: ...utions should be followed including the following Read this manual thoroughly before using this device M T H recommends that all users and persons supervising use examine the hobby transformer periodi...

Page 22: ...________________________________________ ___________________________________________________ ___________________________________________________ ___________________________________________________ ___...

Page 23: ...________________________________________ ___________________________________________________ ___________________________________________________ ___________________________________________________ ___...

Page 24: ...tacting M T H for your Return Authorization number 3 Please make sure you have followed the instructions carefully before returning any merchandise for service Limited One Year Warranty All M T H prod...

Reviews:

Related manuals for L-1 MIKADO