10
WS-PRO LT weather station
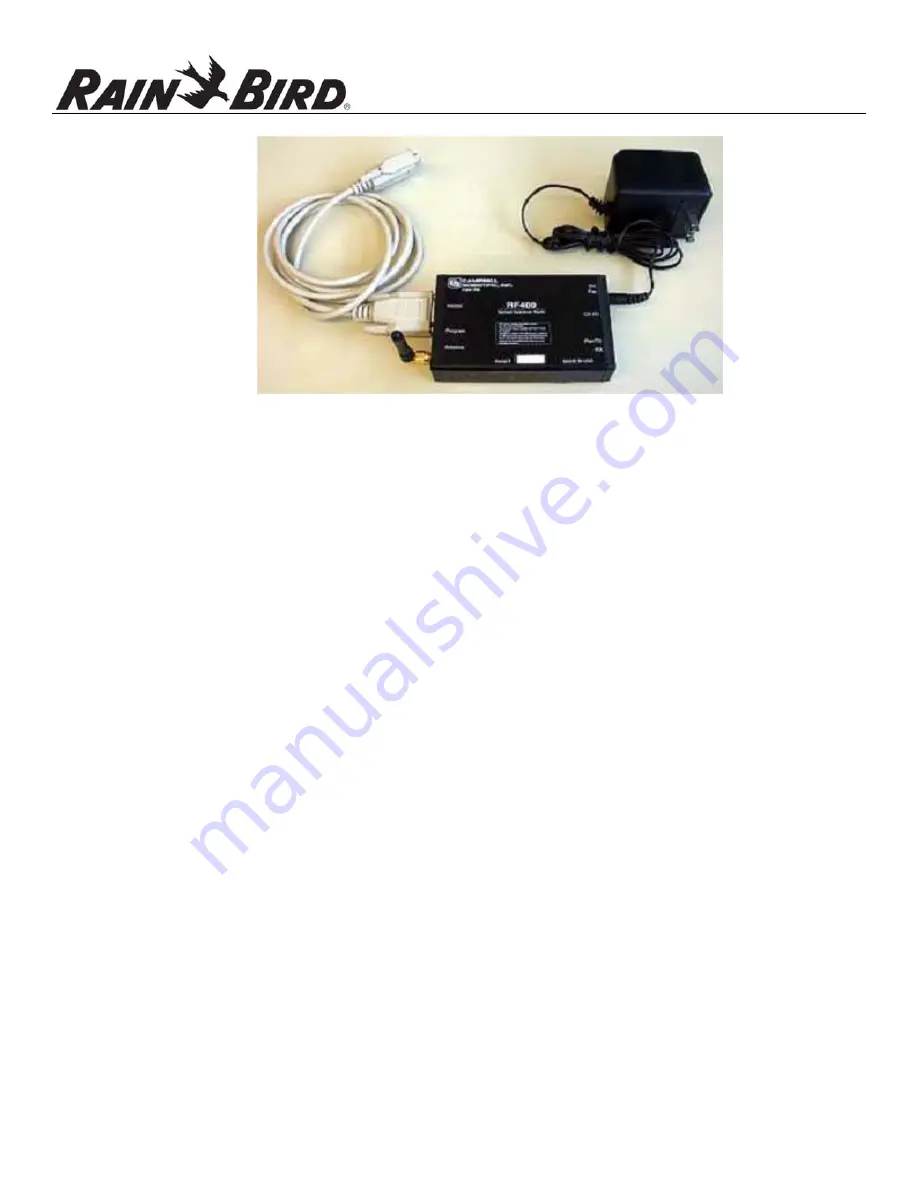
FIGURE
9
Radio
connections.
The
serial
cable
(left)
connects
to
the
port
marked
RS232
and
the
AC
adapter
connects
to
the
port
marked
DC
PWR
input.
3.
Connect
the
serial
cable
female
connector
to
a
computer
serial
COM
port
4.
Plug
the
RF401
AC
adapter
to
the
RF401
connector
labeled
DC
PWR
input
5.
Plug
the
other
end
of
the
RF401
AC
adapter
into
a
grounded
AC
wall
outlet.
The
red
PWR/Tx
status
light
should
illuminate
6.
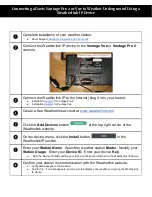
Click
on
Weather
Program
button
Note:
To
access
Weather
Program
from
main
menu,
first
select
Today’s
ET
/
Weather
Data
button
7.
Click
on
Monitor
Current
Data
button
8.
Monitor
the
sensor
displays.
Within
a
couple
of
minutes,
numerical
values
should
appear
on
the
screen
and
indicator
lights
on
the
bottom
of
the
weather
station,
labeled
Scan/Receive,
will
blink
every
ten
seconds,
confirming
communication
between
the
weather
station
and
the
computer.
9.
If
the
radio
is
not
communicating
properly,
you
may
be
experiencing
interference
from
nearby
equipment
such
as
wireless
phones,
other
spread
spectrum
radios,
or
another
weather
station.
Change
the
location
of
the
weather
station.
10.
If
your
radio
is
working
properly,
close
the
weather
software
and
turn
the
key
to
the
off
position.
You
are
now
ready
to
install
your
weather
station
at
a
site
within
½
mile
from
the
central
computer.


