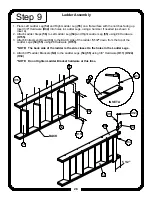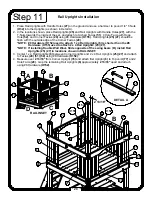
H
H30
76
17
75
57
H152
17
H152
H131
H3
H11
H30
37
H30
A
B
58
NOTE:
Rail Uprights not
shown for clarity
of installation
J
DETAIL A
FLUSH
57
58
17
K
52"
24 3/8"
1 1/2"
DETAIL B
57
37
58
17
*NOTE: Roof can be installed so that the peak is on Side A or Side B. See the front cover of
the manual for examples of both installations. The assembly steps in this manual
show the peak installed on Side A. To install Roof with the peak on Side B, use
other set of holes in the top of the Corner Uprights (75)(76).
1. Use a hammer to insert 3/8" Hardware
(H30)
into holes in Corner Uprights
(75) (76)
.
2. Attach Left Roof Support
(58)
and Right Roof Support
(57)
to Corner Uprights
(75) (76)
using 3/8"
Hardware
(H3) (H11) (H30) (H131)
.
*NOTE: Tighten Hardware in Roof Supports (57) (58) until Roof Supports can barely move.
3. While standing on the deck, attach top Roof Board
(17)
to Roof Supports
(57) (58)
using #8
Hardware
(H152)
. The top edge of the Roof Board
(17)
should be flush with the top edge of Roof
Supports (as shown in Detail A).
*NOTE: Roof Supports (57) (58) must be 52" apart, and pilot holes in Roof Boards (17)
should line up with the center of the Roof Supports (as shown in Detail B).
4. Continue attaching Roof Boards
(17)
to Roof Supports with #8 Hardware
(H152)
.
5. After four Roof Boards are installed, center and begin attaching Roof Runner
(37)
to the bottom
side of the Roof Boards using #8 Hardware
(H152)
. Roof Runner must be
1 1/2"
down from the
edge of the top Roof Board (as shown in Detail B).
6. Attach remaining Roof Boards
(17)
to Roof Supports
(57) (58)
and Roof Runner
(37)
using #8
Hardware
(H152)
.
*NOTE: Each side of the Roof should get eight Roof Boards.
*NOTE: The last few Roof Boards will need to be installed while standing on a ladder
beside the set.
40
Step 22
Roof Assembly


