45
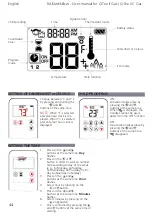
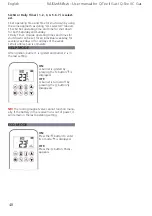
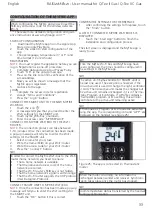
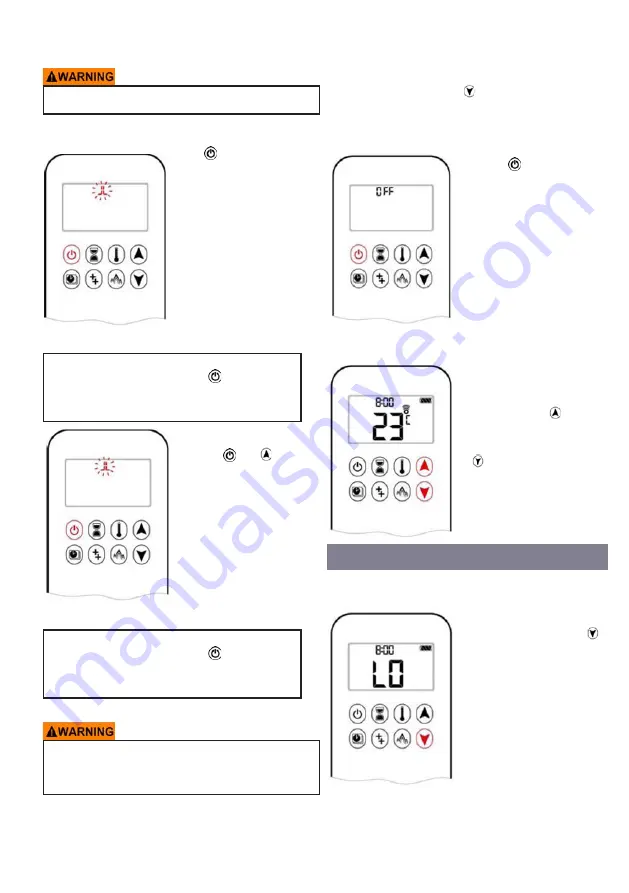
One-button operation of handset
(Default setting)
Handset
•The flame height is
increased by pressing and
holding down the button.
•To reduce the flame height
or set the appliance to pilot
flame, press and hold down
the button.
ADJUSTMENT OF FLAME
HEIGHT
NB!
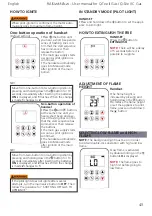
HOW TO IGNITE
When pilot ignition is confirmed, the motor auto-
matically goes to maximum flame height.
Move from one-button to two-button ignition by
pressing and holding down the button for 10
seconds immediately after inserting the batteries.
ON
is displayed, and
1
flashes. When the change
is made
1
changes to
2
.
•Press the button until
you hear a short beep and a
series of flashing lines con-
firm that the start sequence
has commenced. Then
release the button.
•The main gas supply starts
as soon as pilot ignition is
confirmed.
•The handset automatically
goes into Manual mode
after ignition of the main
burner.
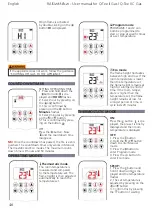
Two-button operation of
handset
•Press the and
buttons
at the same time until you
hear a short beep and a se-
ries of flashing lines confirm
that the start sequence has
commenced. Then release
the buttons.
•The main gas supply starts
as soon as pilot ignition is
confirmed.
•The handset automatically
goes into Manual mode
after ignition of the main
burner.
NB!
Move from two-button to one-button ignition by
pressing and holding down the button for 10
seconds immediately after inserting the batteries.
ON
is displayed, and
2
flashes. When the change
is made
2
changes to
1
.
If the pilot light does not ignite after several
attempts, turn the main valve button to
OFF
. Then
follow the guidance for "SHUTTING OFF GAS TO
APPLIANCE"
IN STANDBY MODE (PILOT LIGHT)
HANDSET
•Press and hold down the button to set the appli-
ance to pilot light.
HOW TO EXTINGUISH THE FIRE
HANDSET
•Press the button to
EXTINGUISH
NOTE:
There will be a delay
of 5 seconds before it is
possible to re-ignite.
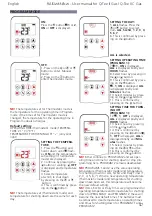
SELECTING LOW FLAME and HIGH
FLAME
NOTE:
The background light must be on in order
to obtain double-click operation with high and low
flame.
•Low flame is activated
by double-clicking on the
button
LO
is displayed.
NOTE:
The flame goes to
high first before going to
low flame.
English
RAIS/
attika
- User manual for Q-Tee II Gas / Q-Tee II C Gas
Summary of Contents for Q-Tee II GAS
Page 2: ......
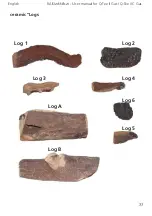
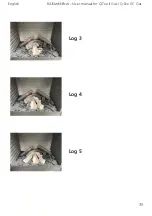
Page 35: ...35 Log 3 Log 4 Log 5 English RAIS attika User manual for Q Tee II Gas Q Tee II C Gas ...
Page 49: ...49 English RAIS attika User manual for Q Tee II Gas Q Tee II C Gas ...
Page 50: ...50 English RAIS attika User manual for Q Tee II Gas Q Tee II C Gas ...
Page 76: ...76 Français ...
Page 77: ...A A A 598 590 I E 250 D 50 149 M 76 460 410 582 291 291 149 Q Tee II Gas ...
Page 82: ...82 ...
Page 83: ...83 A A A E 250 D 50 330 179 660 479 598 590 76 460 179 M 330 Q Tee II C Gas ...
Page 91: ......

