USER MANUAL --Raiscube A8R 3D Printer
10
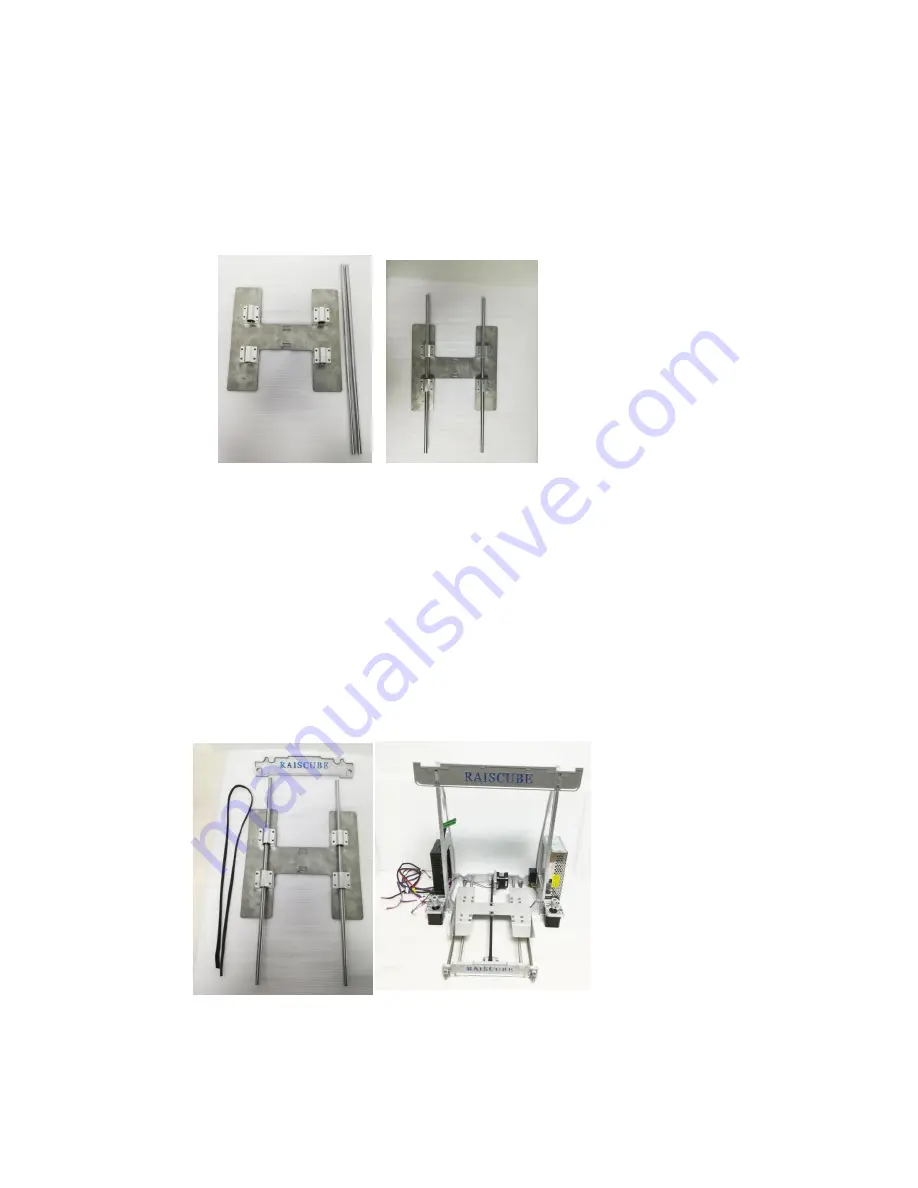
STEP 2-2: Complete installation of second layer of “build platform”. To make sure it move
smoothly, we need to insert rods through four linear bearings, and test if “H” module runs well
on 390mm rod rail. If not, adjust screws which fasten linear bearings and “H” plate until it is.
Fig.b17 and Fig.b18 are offered to help understand these actions. Let’s call this “H Train”.
Fig.b17
Fig.b18
Coming after is to integrate “H train”, front plate, and belt into printer frame. Please see Fig.b19
and get ready of these. And then place “H train” over middle plate and bury rods’ heads into
back plate, and screw 4cm distance of M8 Nut set (spacer facing front plate) along 420mm
threaded rods, add front plate to rods and lock them with threaded rods by two more nut sets.
Adjust nuts on threaded rod and front plate to cover 390mm rods. Insert belt through Y support
rack behind front plate, one head attach to “H” plate, the other mount on synchronizing pulley
and then attach to “H” plate. Please refer to Fig.b21 of how to attach belt to “H” plate.
Then Fig.b20 is what when done so far.
Fig.b19
Fig.b20

