USER MANUAL --Raiscube A8R 3D Printer
13
STEP THREE
.
X&Z motion part installation.
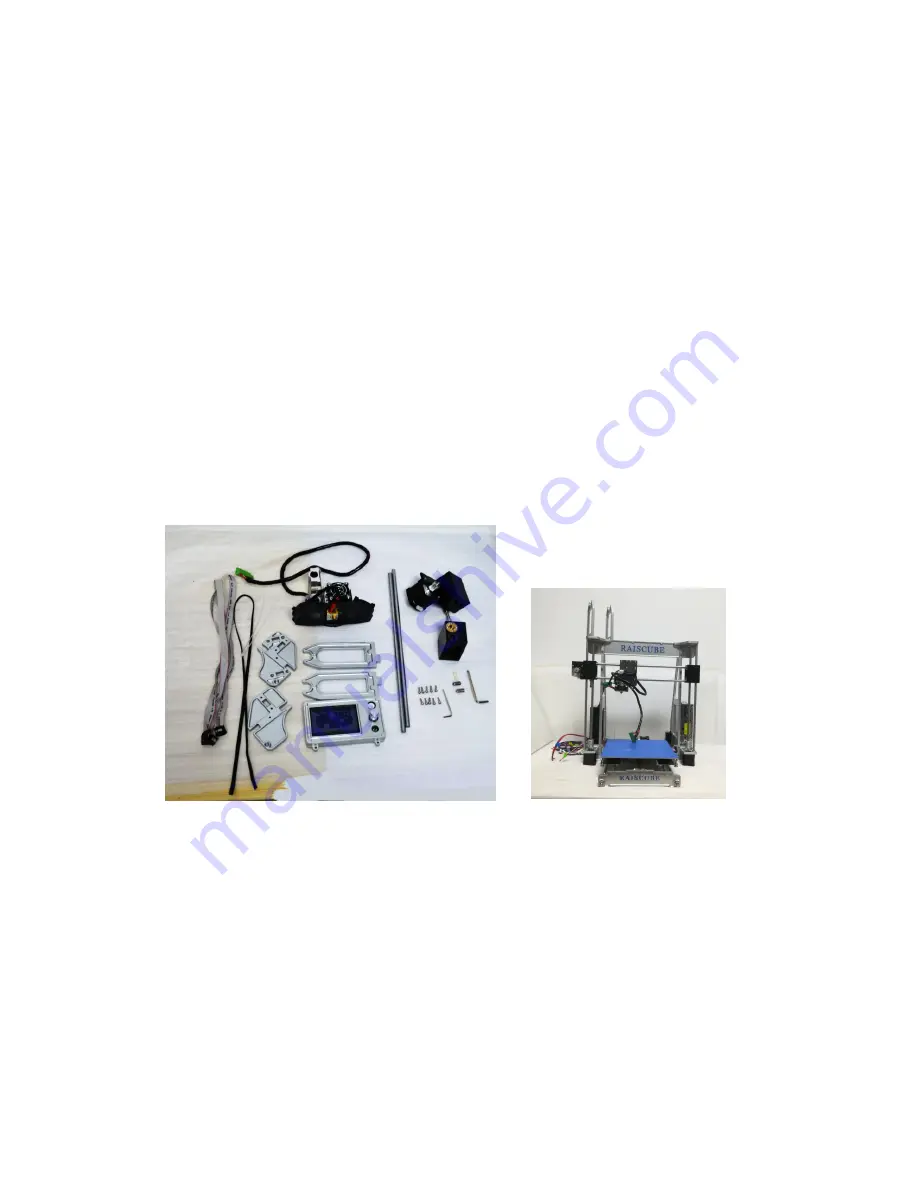
Now in this step, time to enable motion function of X Axis and Z Axis. Here is a part list
required to complete this step and there are as in Fig.b28, please pick out them all from
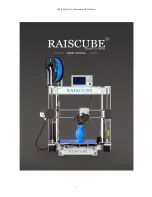
packing box. When Step 3 all done, will be as in Fig.b29.
1. Extruder Module. -- 1pc
2. Left Link Block. -- 1pc
3. Right Link Block.(including M8*15 Set screw and its washer) -- 1pc
4. 350mm rod. -- 2pcs
5. Top Lock plate. -- 1 pair.
6. Filament Rack -- 1 pair.
7. M3*10 socket cap screws and hex key.
8. Belt
1pc
9. Zip-tie
2pcs
10. Control Panel Cable
2pcs
11. Hex Wrench
2pcs
12. Control Panel
Fig.b28
Fig.b29
STEP 3-1,
Connect Left link block, extruder module, and right link block one by one together by 350mm
rod, check if extruder module is free to run on rod rail backwards and forwards. Then, we get
“X Axis module” ready to integrating into main machine body. Fig.b30 and Fig.b31 for this
substep.

