USER MANUAL --Raiscube A8R 3D Printer
15
Fig.b34
Fig.35
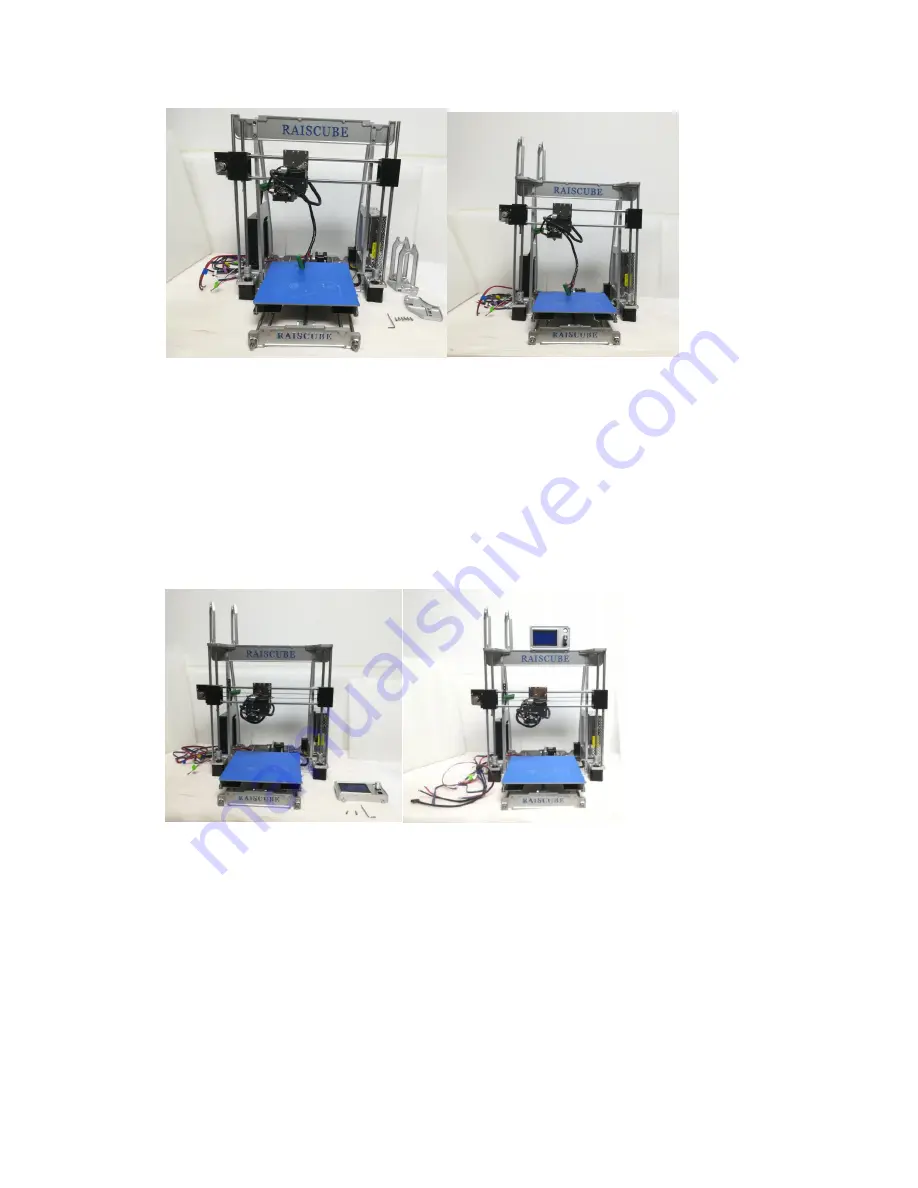
STEP 3-4 Add Control Panel.
We need panel control, allen key, two
M3*12
Screw (Fig.b36). Connect it to Crossbeam
behind (Fig.b37).
Fig.b36
Fig.b37
STEP 3-5 X Axis Belt, X end-stop, M8*15 Set screws.
A. Same as Y-belt, mount X-Belt on left&right block, and zip-tie to extruder from both
sides.(Fig.38)
B. Get X end-stop with its support from motherboard module, and place its support on upper
left rod, move to the location where stop extruder moving left when nozzle on left edge of
hotbed. (Fig.b39)
C. Together with M8*15 set screw there are two ABS spacers too. Insert into two hole on right
side of right link block, and drive M8*15 set screws to tighten rods. (Fig.b40)

