
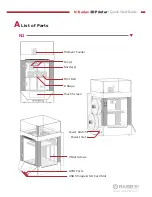

N-Series
3D Printer
/ Quick Start Guide
B
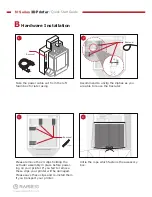
Hardware Installation
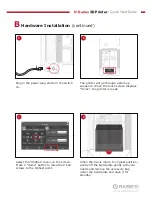
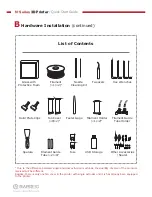
(continued)
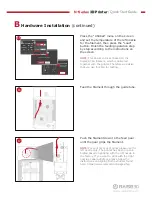
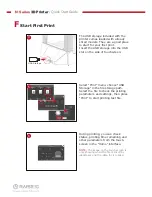
The printer will go through a start-up
sequence. When the touch screen displays
"Home", the printer is ready.
6
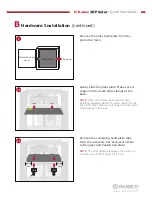
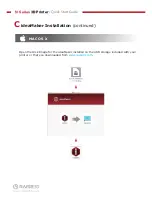
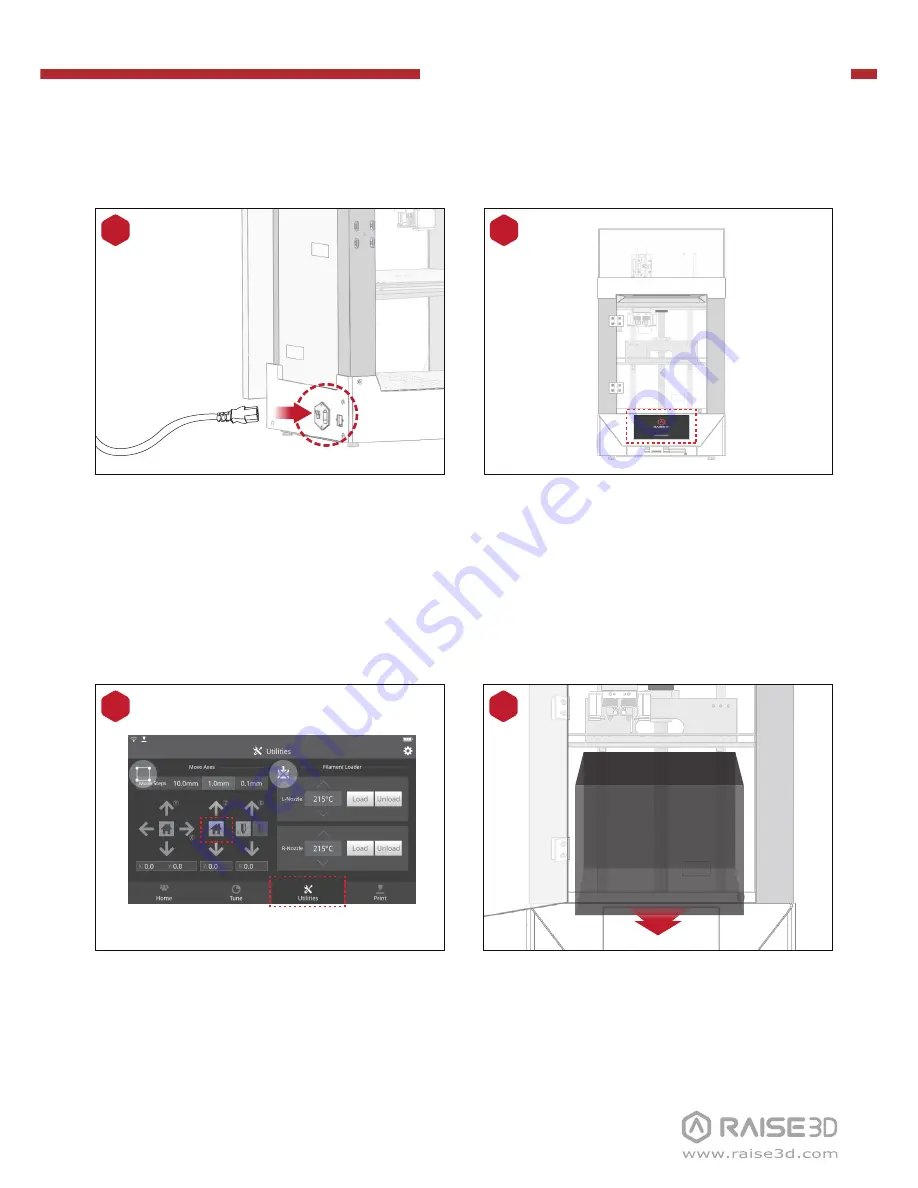
When the Z axis return to original position,
gently lift the build plate gently with your
hands and remove the accessory bag
under the build plate and open it for
standby.
8
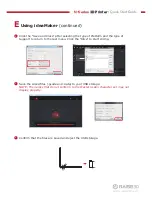
Plug in the power plug and turn the switch
on.
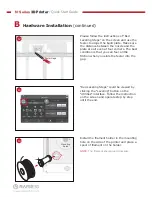
5
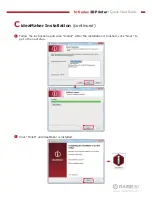
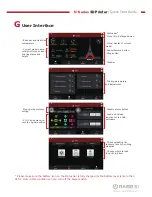
Select the “Utilities” menu on the screen.
Press Z “Home” button to raise the Z ball
screws to the highest point.
7


