the power socket after each use to help you remember to set the voltage to the
correct mains value when you next attempt to plug in a power cord.
POWER SOCKET
Standard 3-pin socket for IEC mains cable.
ALWAYS ENSURE THE UNIT IS EARTHED.
We recommend that you plug the unit into a surge protector rather than directly
into a wall socket.
Maintenance
Replacing Valves
It is likely that the valves will need replacement after a few years. If you hear a new
noise such as crackling, sputtering, ringing, squeeling, white noise/hiss or hum, or if the
amplifier stops producing sound altogether, you should try to replace one of the valves
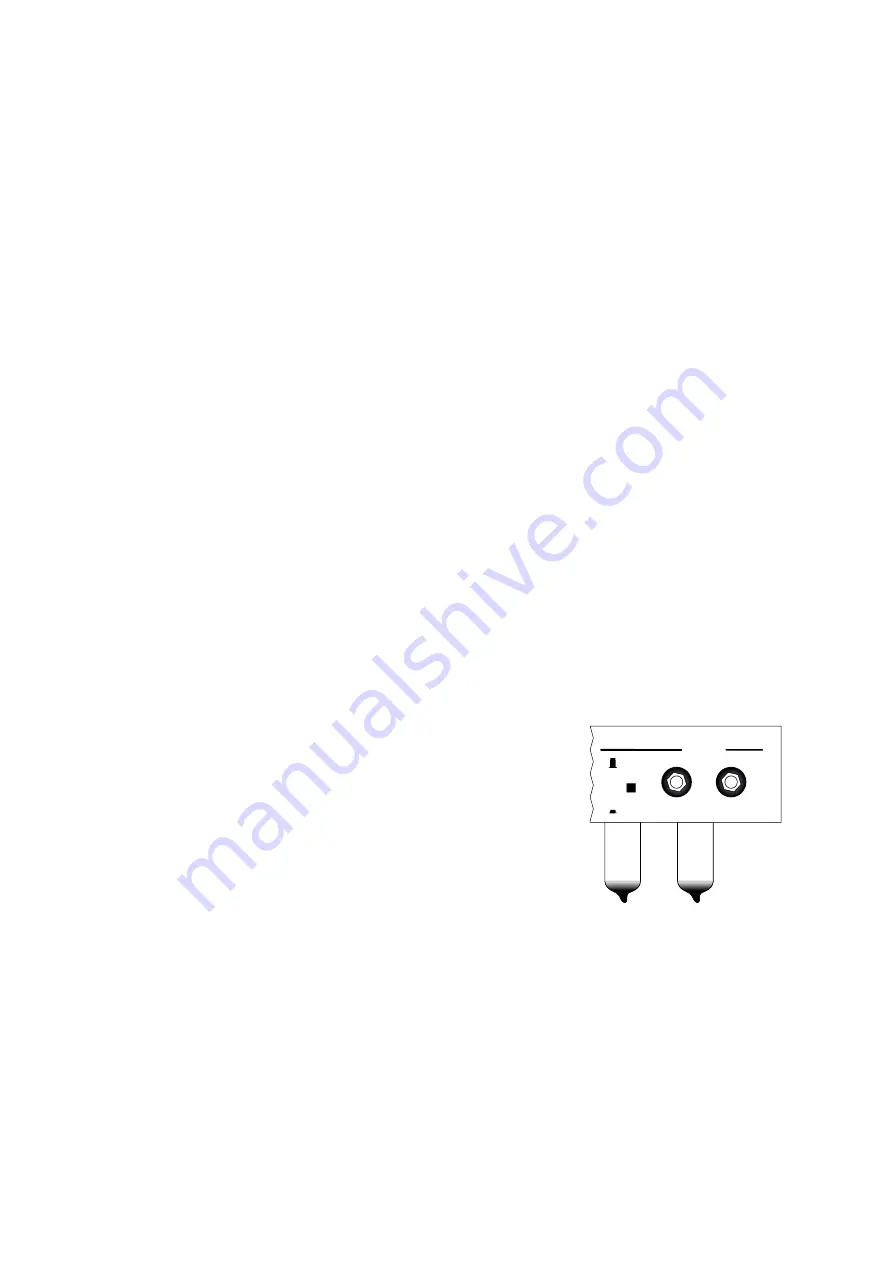
to see if that fixes the problem. The VOD-50 uses two double triode valves, an ECC83
(a.k.a.
12AX7
) and an ECC82 (a.k.a.
12AU7
). To begin valve replacement, unplug the
amplifier, and allow the valves to cool for ten minutes. Unscrew and remove the back
metal grille.
EFFECTS
SEND
RETURN
INSTR
LINE
ECC83
ECC82
Looking at the chassis from the back, the ECC83 is on the
far right as in the picture on the right. Make sure the back
of the amplifier cabinet is well lit and and that you can
clearly see the valve sockets. We recommend sitting be-
neath a bright light and placing the amplifier upside down
on your lap. Twist anticlockwise and slide the screen off
the valve that you want to replace. Pull the valve out
while
gently
rocking it back and forth. When reinserting a new valve, make sure you
can clearly see that the pins are lined up with the socket slots and push it in slowly to
avoid damaging the valve or socket.
7
Summary of Contents for VOD-50
Page 1: ...VOD 50 Owner s Manual...
Page 10: ...rajaniamps com 9...


