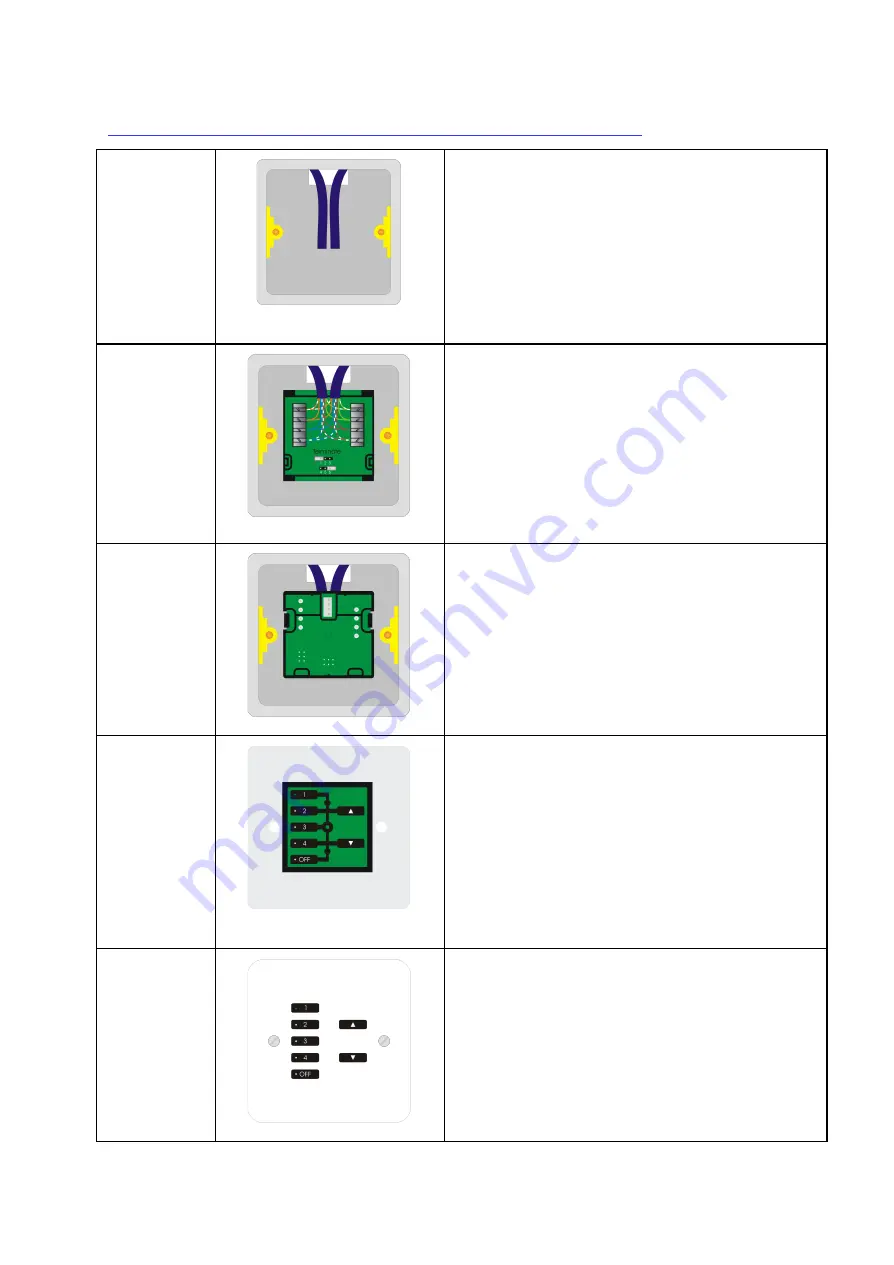
Installation of the WCM with screwed finish plates (WVF):
Step 1
Prepare cable(s) in backbox ready for connection.
Seperate the two halves of the WCM ready for
installation. The “back” section (with the
punchdown connections) will be installed first.
TIP
:
Leave plenty of slack if possible to allow for
re-punching down at a later date if required.
Step 2
Punch down cable(s) matching cable colours to
colours written on the circuit board. There may be
either one or two sets of cables to punch down.
Terminate the WCM as required. See
“Terminating the WCM” on page 4 of this manual.
Step 3
The back section of the WCM is now installed and
is ready for the front section and cover plate.
TIP:
Take care when preparing and installing not to disturb
the punch down connections. Loops are provided on
the back section to cable tie the cable(s) if desired.
Step 4
Clip the transparent surrounding mounting plate
and the WCM front board together.
Fit the WCM front board and attached surround to
the WCM back board.
TIP:
If the wired network is powered then the backlit LEDs
on the keypad should illuminate once the two halves
are connected together.
Step 5
Finally screw the cover plate into the back box
through the screw holes in the transparent
surround.
Installation of the WCM is now complete.
WCM-020
Manual Version 2.0.2


