32
GETTING TO KNOW YOUR VEHICLE
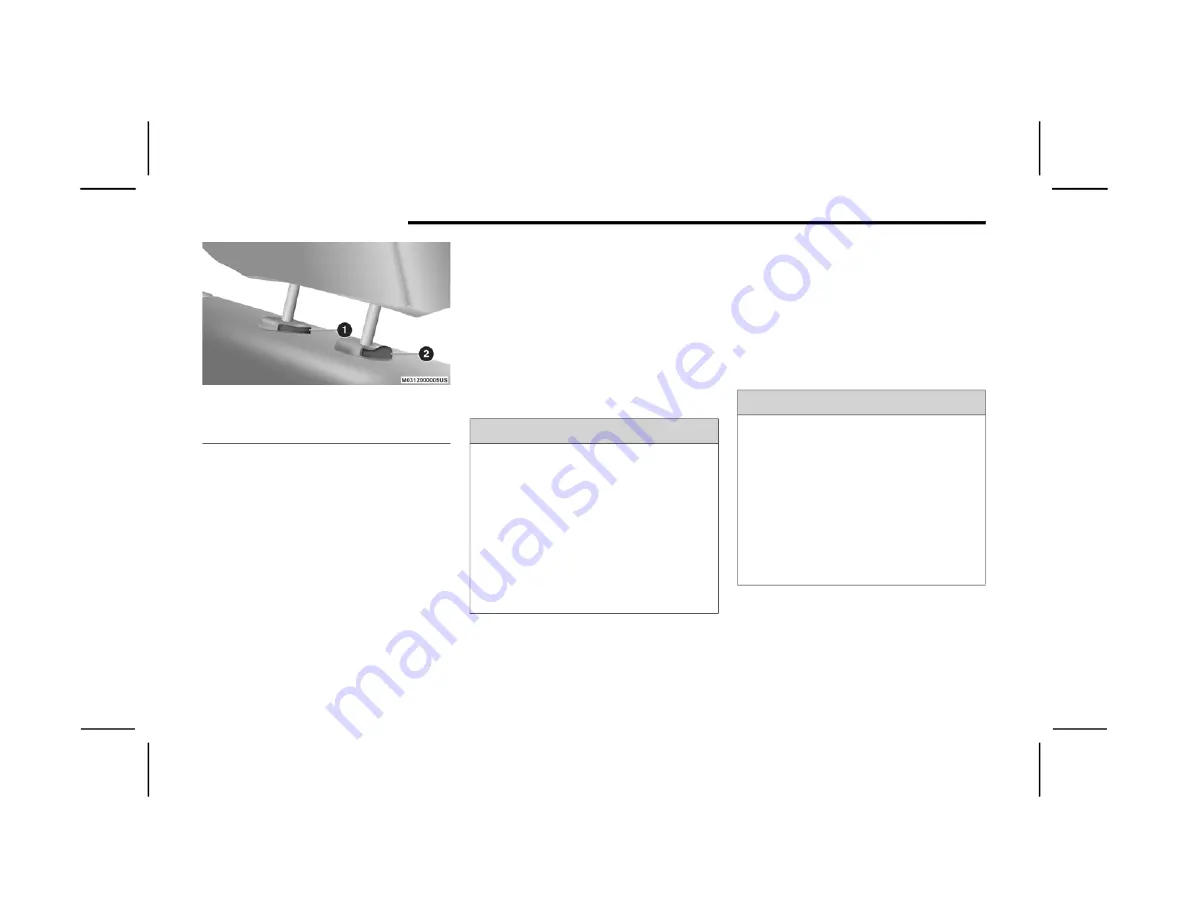
Release/Adjustment Buttons
NOTE:
The rear center head restraint (Crew Cab and
Quad Cab) has only one adjustment position
that is used to aid in the routing of a tether.
Refer to “Occupant Restraint Systems” in
“Safety” for further information.
Do not reposition the head restraint 180 degrees
to the incorrect position in an attempt to gain
additional clearance to the back of the head.
F
RONT
H
EAD
R
ESTRAINT
R
EMOVAL
To remove the head restraint, raise it up as far as
it can go. Then, push the adjustment button and
the release button at the base of each post while
pulling the head restraint up. To reinstall the head
restraint, put the head restraint posts into the
holes. Then, adjust it to the appropriate height.
NOTE:
Do not reposition the head restraint 180 degrees
to the incorrect position in an attempt to gain addi
-
tional clearance to the back of the head.
R
EAR
H
EAD
R
ESTRAINT
R
EMOVAL
To remove the head restraint, push the adjustment
button and the release button while pulling upward
on the whole assembly. To reinstall the head
restraint, put the head restraint posts into the
holes and adjust it to the appropriate height.
NOTE:
To remove outboard restraints, the rear seat
bottom must be folded up.
1 — Release Button
2 — Adjustment Button
WARNING!
A loose head restraint thrown forward in a
collision or hard stop could cause serious
injury or death to occupants of the vehicle.
Always securely stow removed head
restraints in a location outside the occupant
compartment.
ALL the head restraints MUST be reinstalled
in the vehicle to properly protect the occu
-
pants. Follow the re-installation instructions
above prior to operating the vehicle or occu
-
pying a seat.
20_DS_OM_EN_USC_t.book Page 32


