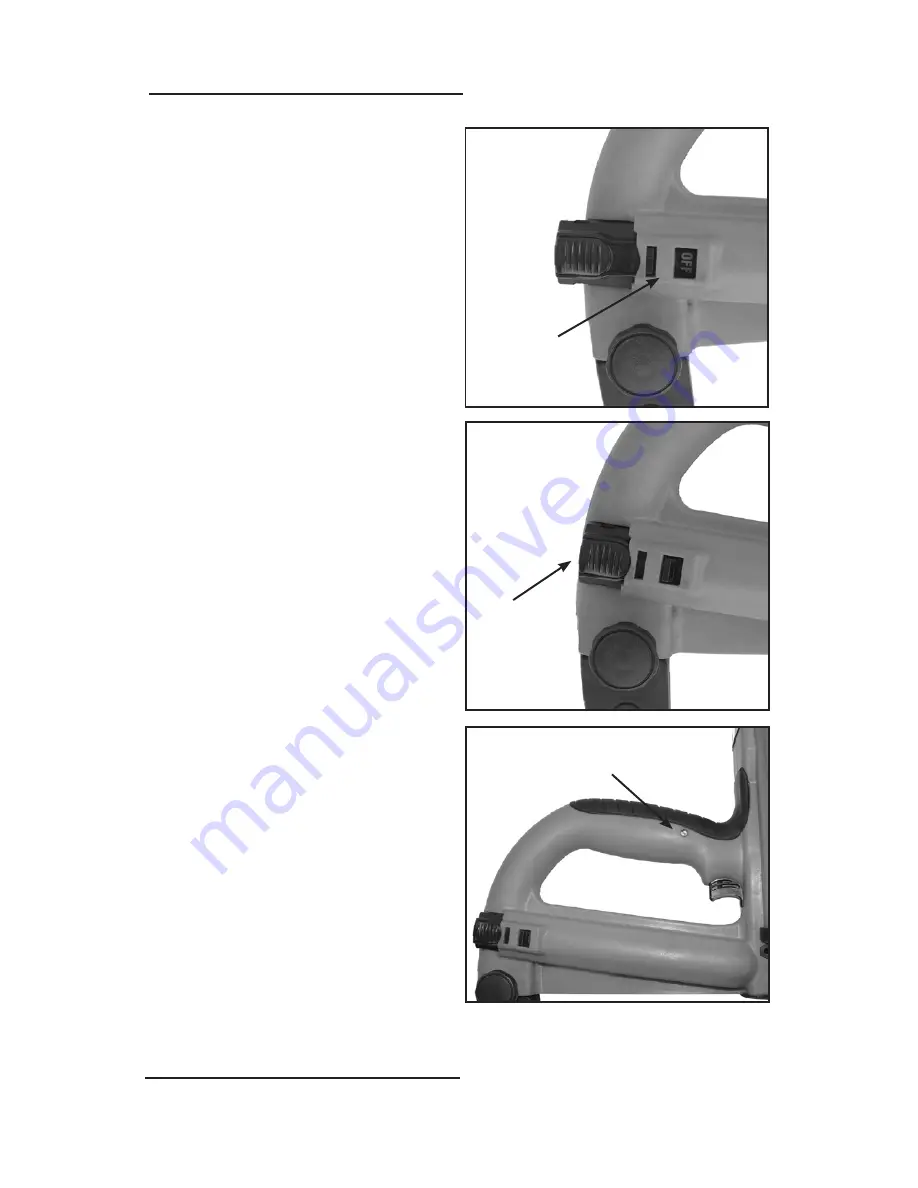
INSTALLING THE BATTERY
• Insert the battery into the tool as
shown on the right with the clip
facing to the side.
• The battery has two positions in
the tool:
1. The “OFF” position—as shown
in picture #1 to the right.
2. The “RUN” position—as shown
in picture #2 to the right.
• To operate the tool be sure the
battery is fully inserted into the
tool. After installing the battery,
note the LED light on the right
side of the handle.
• If the light flashes green, the tool
is powered.
• If the light flashes red, the battery
requires charging.
• If the light is solid green and the
fan is running, the tool is ready to
take the next shot.
• If the light is solid red and the fan
is not on, the battery needs to be
recharged.
• If the tool will not be used for a
short period of time, click the battery
back into the “OFF” position. This will
prevent the tool from being fired.
• If the tool will not be used for extended
periods of time, remove the battery
and store in the tool case.
#1
#2
NOTE:
Battery
fully
inserted
into tool
NOTE:
OFF position
shown in
small window
#3
NOTE: LED Light
INSTALLING THE BATTERY
7
INSTALLING THE BATTERY


