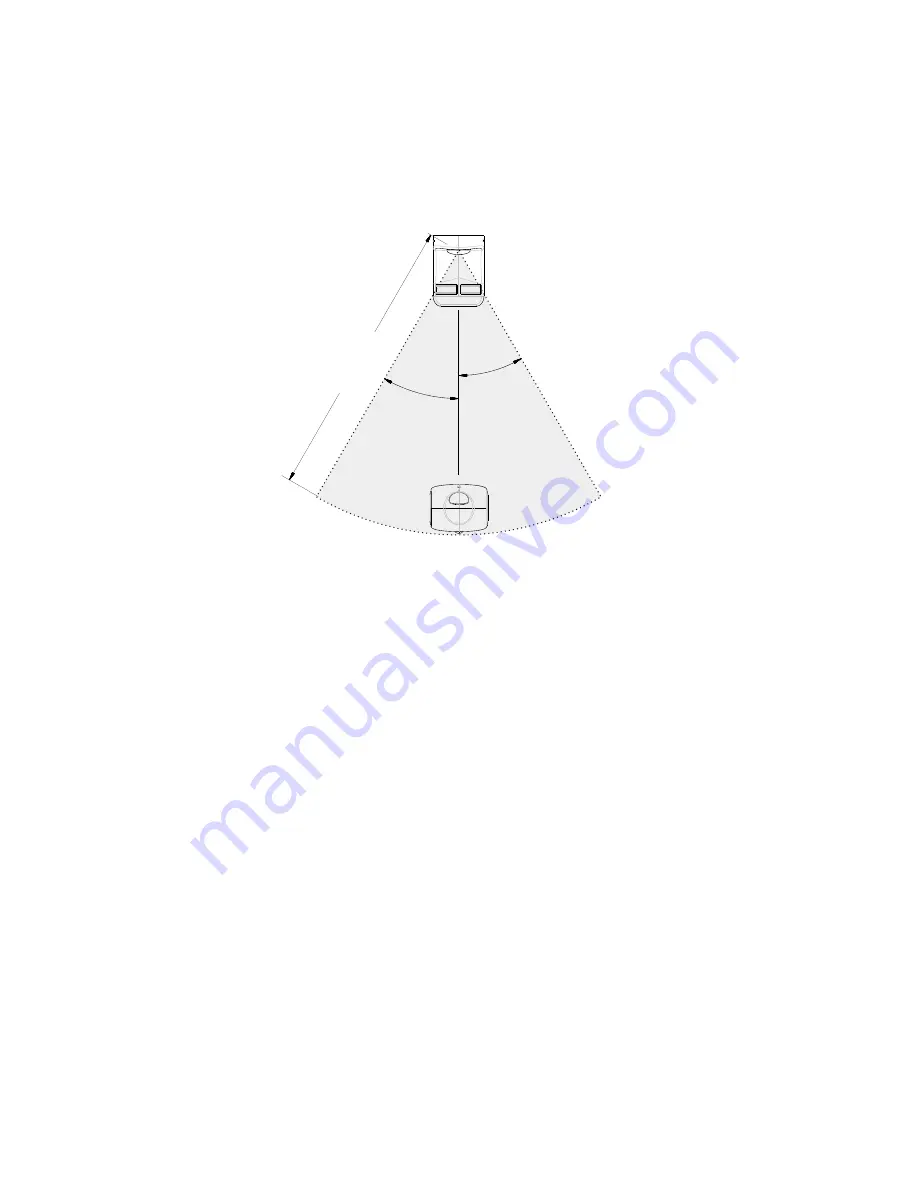
10.Semi-automatic charging(Fig14)
Users drive the robot to near and face to the charging stand within the scope of the
illustrated sector, then press the "charge" button, the robot will automatically onto the
charging stand and start charging.Be careful not to place the debris around the charging
stand.
Fig 14
2000mm
30
°
30
°
1.
Main interface
If you have added a Robot in App, the App will go directly to the main interface (Fig15).
1)Live video image displayed in the display region.
2)Put the finger on the upper half of display area and hold, the Robot will look up.Put the
finger on the lower half of display area and hold, the Robot will look down.
3)Place the joystick to the upper and lower directions, and hold, the robot will go straight
forward or backward. Let go ,the robot stopped.
(
Fig16
).
4)Place the joystick to the right and left directions, and hold, the robot will turn left or right
in place . Let go ,the robot stopped.
(
Fig17
)
5)Inching the upper or lower
button
,
the Robot will go forward or backword by small step.
Inching the left or right
button,Robot will turn left or right in place by small step.
6)Place the joystick to any other directions, and hold, the robot will go and turn .User can
slide the joysrick to any directions at any time.
(
Fig16
)
"RanaBaby" AP P i nstructi ons
6


