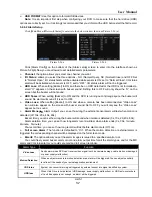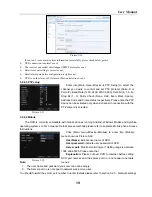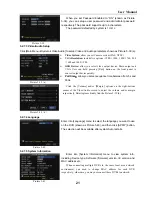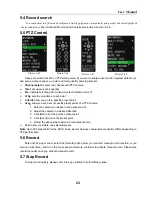
User Manual
24
Chapter 6
:
Web Application Manager
6.1 Plug-ins download and installation
1.
Open your web browser and input the IP address and web port of DVR;
2.
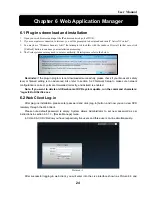
If your computer is connected to internet, you will be prompted to download and install “ActiveX Control”;
3.
You may have “Windows Security Alert” that attempts to block this with the windows Firewall. In that case, click
[Unblock] button to continue your installation processing.
4.
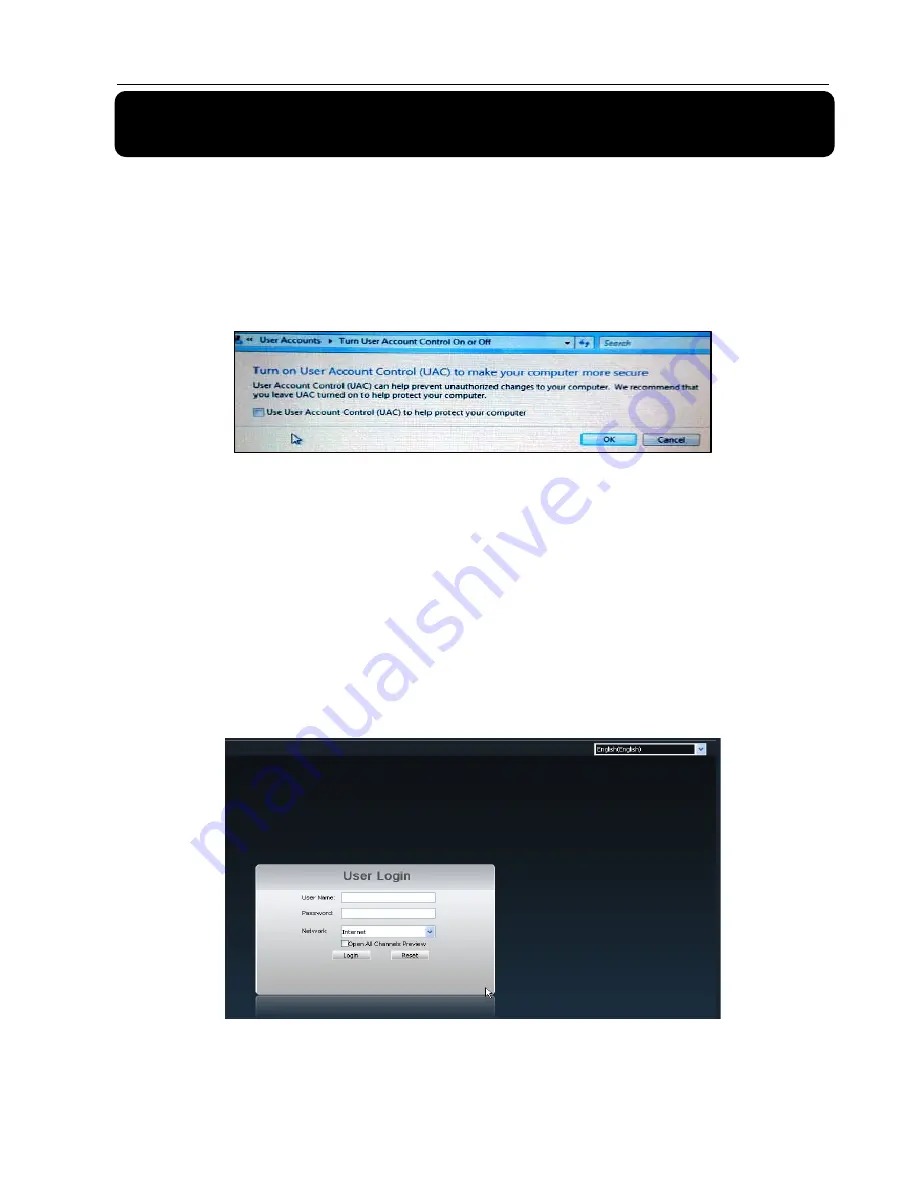
The Vista system user may need to set user authority. Details please refer to the below:
Reminder:
If the plug-in program is not downloaded successfully, please check if your browser’s safety
level or firewall setting is too advanced. Also refer to section 5.2.3 Network Setup to make sure network
configuration is correct, ports are forwarded correctly, and ActiveX is enabled.
Note: If you want to delete old IE webcam at DVR system update, run the command characters:
“regsvr32/u HiDvrOcx.ocx
6.2
Web Client Log-in
After plug-ins installation, please enter password and click [Log-in] button, and now you can view DVR
remotely through the Web Client.
Please note default password is empty. System allows Administrator to set new password as per
instructions in section 6.3.1.3 - [Device Manage] menu.
4-CH and 8-CH DVR allow you have respectively five users and three users on-line simultaneously.
。
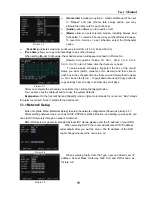
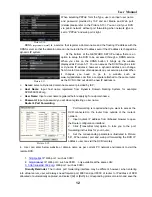
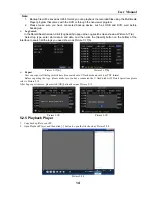
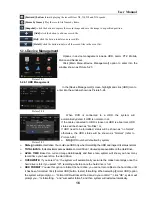
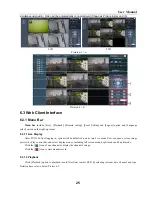
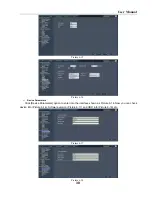
After successful logging-in web client, you will enter into the Live interface shown as Picture 6-3 and
Picture 6-1


