13
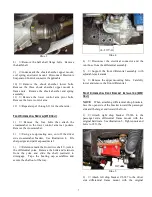
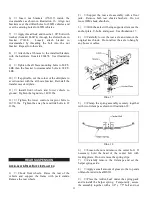
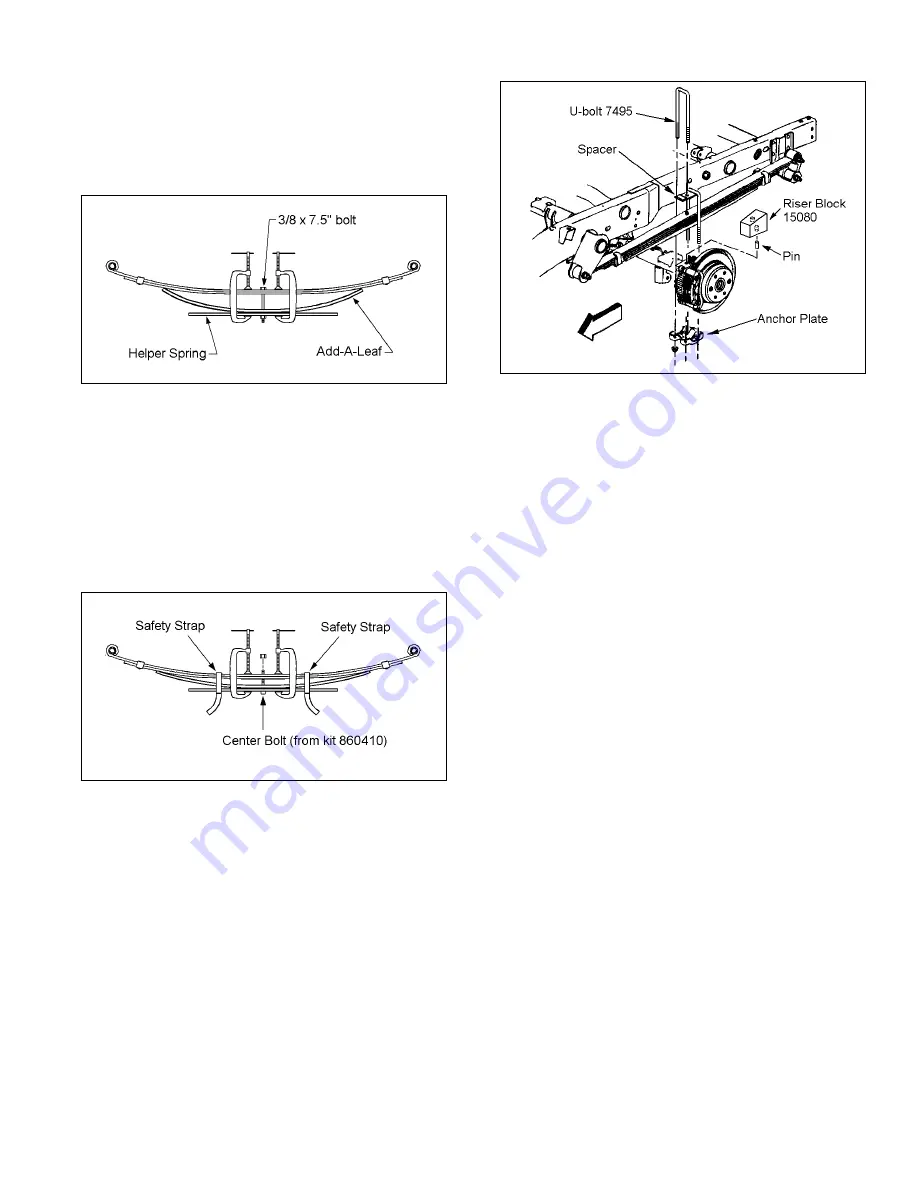
from kit RS860185. Install a C-clamp on each side of
the bolt. See illustration 19.
NOTE: The 3/8" bolt will keep the center holes
aligned as the spring pack is compressed.
Illus. 19
10)
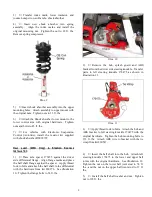
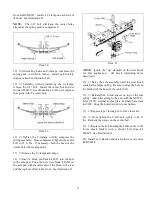
Alternating between C-clamps, compress the
spring pack to within 4 inches. Install nylon safety
straps as shown in illustration 20.
11)
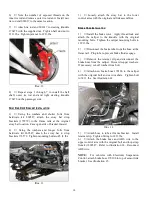
Carefully, without disturbing the C-clamps,
remove the 3/8” bolt. Install the center bolt and nut
from kit 860410. See illustration 20. Do not compress
the spring with the center bolt.
Illus. 20
12)
Tighten the C-clamps to fully compress the
spring assembly. Once compressed, tighten the center
bolt to 25 ft. lbs. If necessary, hold the head of the
center bolt with locking pliers.
13)
Remove the C-clamps and straps.
14)
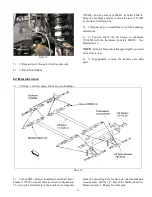
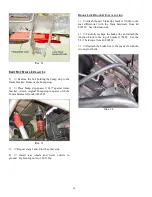
Insert a block pin from kit 8051 into the hole
in the axle pad. Place the new riser block (15080) on
the axle pad with the taller end of the block in the rear
and the top hole offset to the front. See illustration 21.
Illus. 21
NOTE: Ignore the “up” stamped on the riser block
for this application. All block imprinting faces
downward.
15)
Raise the axle assembly until the riser block
contacts the helper spring. Be sure to align the hole in
the block with the head of the center bolt.
16)
Reinstall the U-bolt spacer on top of the leaf
spring. Attach the spring to the axle with the NEW U-
bolts (7495), original anchor plate, and hardware from
kit 8102. Snug the nuts down but do not tighten.
17)
Repeat steps 3 through 16 for the other side.
18)
Cross tighten the U-bolt nuts evenly to 89 ft.
lbs. Recheck the torque on the center bolt.
19)
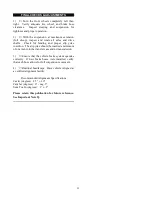
Replace the bolt holding the brake cable to the
lower shock bracket with a shorter bolt from kit
860582. See illustration 22.
20)
Install new Rancho shock absorbers or relocator
kit RS6202.


