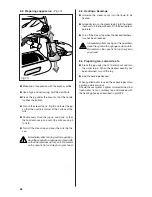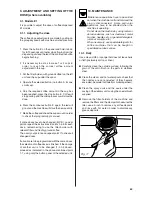
70
10.3. Periodical maintenance
Operation to be carried out with
the machine under pressure.
●
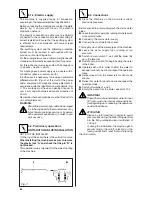
Discharge the water from the boiler (about four
litres) with hot water delivery switch 5
●
Wait until the machine has returned to heat
equilibrium before reuse.
●
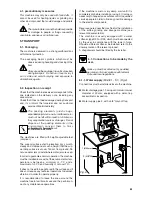
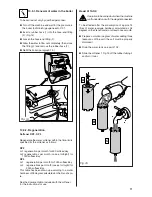
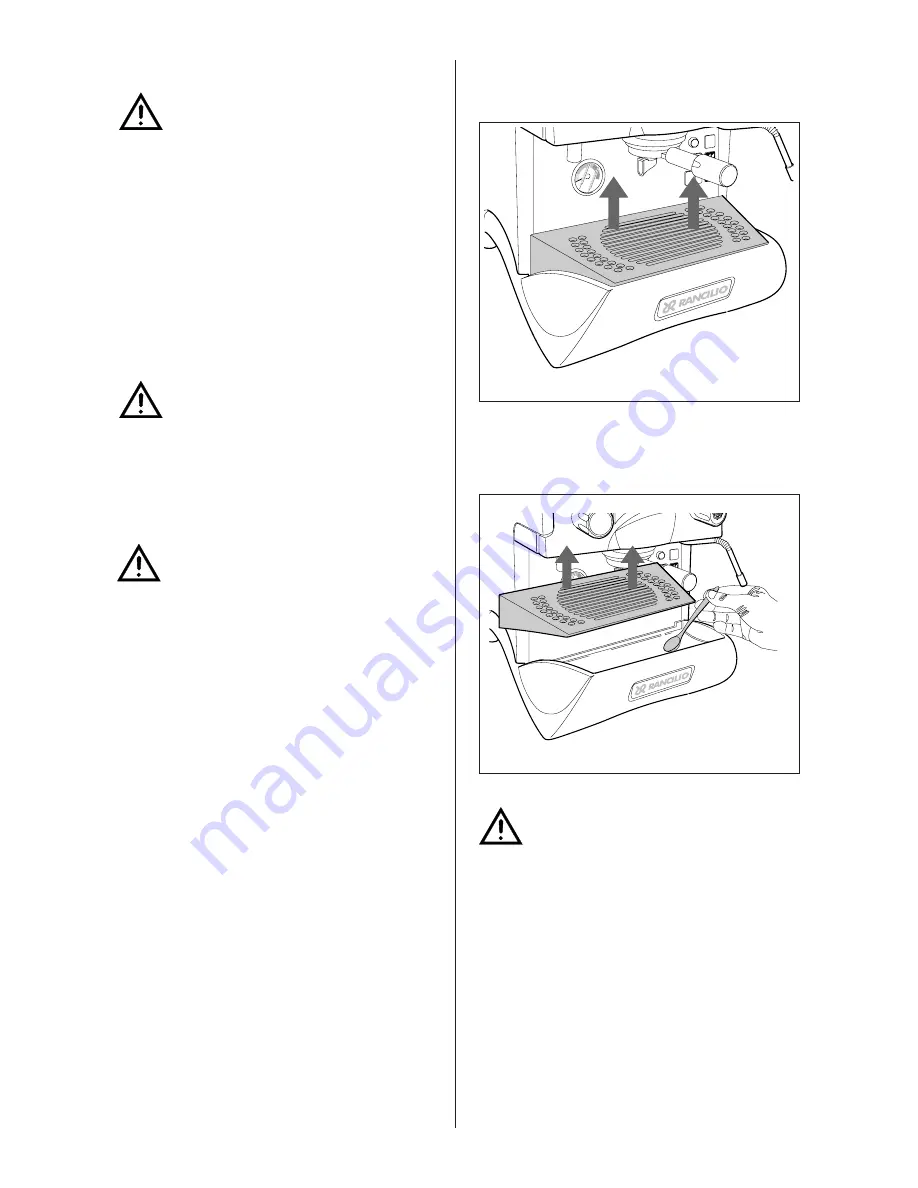
Check and clean the drainage sump (Fig.13),
removing any sludge with the help of a spoon.
Cleaning the filters and delivery heads
Operation to be carried out when the machine is off
and cold.
●
Prepare a solution of 4 sachets of detergent
powder Code
69000124
dissolved in a litre of
boiling water in a stainless steel, plastic or glass
recipient (
NOT ALUMINIUM OR IRON
)
.
●
Remove the filters and immerse them with the filter
holders in the prepared solution, leaving them for
at least 10/20 minutes (all night is better).
●
Remove them from the container and rinse them
thoroughly in running water.
10.2. Weekly
Operations to be carried out with the machine
operative and under pressure.
●
Place the supplied blind filter in the filter-holder,
put in a spoonful of detergent in powder for coffee
machines and fit the filter-holder in the unit to be
cleaned.
●
Press the coffee dispensing button and draw water
for approx. 30 seconds.
●
Stop and start dispensing several times until clean
water comes out of the discharge unit tube.
●
Remove the filter-holder, take out the blind filter
and insert a normal one.Replace the filter-holder
on the unit and rinse by drawing water several times.
●
Make a coffee to eliminate any unpleasant taste.
Tank cleaning
●
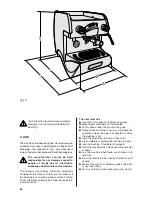
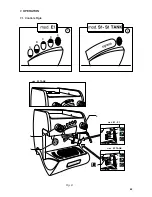
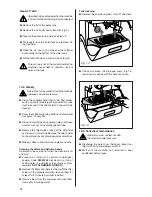
Remove the cup-stand grille 1
(Fig.12) and clean.
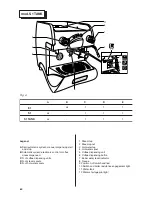
Model S1 TANK
Operation to be carried out when the machine
is off and cold and the plug is disconnected.
●
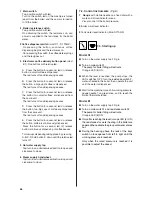
Remove the lid on the water-tank;
●
Remove the air trap
C
and softener
A
(Fig.9);
●
Take out the water-tank, empty and clean it;
●
Thoroughly rinse the water-tank and replace it in
the machine;
●
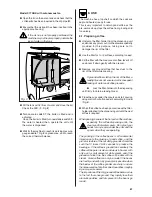
Place the air trap in its guide and the softener
horizontally on the bottom of the water-tank;
●
Fill the tank with clean water and close the lid.
If the air trap is not in the correct position, the
machine cannot heat or indicate a lack of
water in the tank.
Fig. 12
Fig. 13
Summary of Contents for Epoca S
Page 1: ...epoca USE AND MAINTENANCE S CD DE version 2 0...
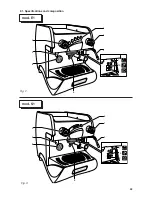
Page 5: ...2 1 Specifications and composition Fig 3 4...
Page 11: ...7 OPERATION 7 1 Controls Fig 8 Fig 8 10...
Page 17: ...epoca PARTS BREAKDOWN CD DE version 1 01...
Page 18: ......
Page 19: ......
Page 20: ......
Page 21: ......
Page 22: ......
Page 23: ......
Page 24: ......
Page 25: ......
Page 26: ......
Page 27: ......
Page 28: ......
Page 29: ......
Page 30: ......
Page 31: ......
Page 32: ...epoca DIAGRAMS S CD DE version 1 01...
Page 33: ......
Page 34: ......
Page 35: ......
Page 36: ......
Page 37: ......
Page 38: ......
Page 39: ......
Page 40: ......
Page 41: ......
Page 42: ......
Page 43: ......
Page 65: ...91 REV 00 J5 J6 J4 GR...
Page 66: ...92...
Page 67: ...93...
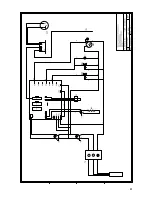
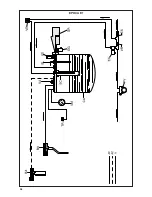
Page 70: ...96 EPOCA E1...
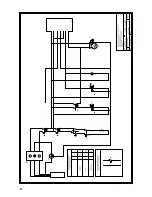
Page 71: ...97 PV EPOCA S1...
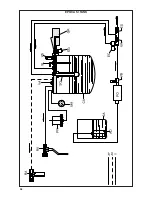
Page 72: ...98 EPOCA S1 TANK...

