Rand McNally Foris
TM
User Manual
31
KMZ/KML files from Google Earth
The following section describes how you can incorporate several POIs as a new POI
category.
Note
: Rand McNally has no influence over functions of Google Earth which are described in
the instructions. There may therefore be changes to the sequence which is described.
1. Start Google Earth.
2. Enter a city and a subject theme in the search box at the top left (e.g. "Chicago" and
"Museums").
3. Selecting the folder icon below the resulting list to copy to My Places
4. The selected POIs are displayed under "My Places".
5. Click on the "My Places" item with the right mouse button and select the menu item
"Save As". The file can now be saved on the PC as a KMZ file.
KML/KMZ import in Rand McNally Trailhead
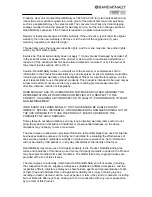
On the Trailhead menu bar,
select menu select item
“
Plugins
". In this wizard,
you can select the KML or
KMZ (compressed KML) file
on your PC which you would
like to transfer to your
navigation device. Once you
have selected a file, a list of
the POIs in it appears
beneath it. Press the
Next
button.
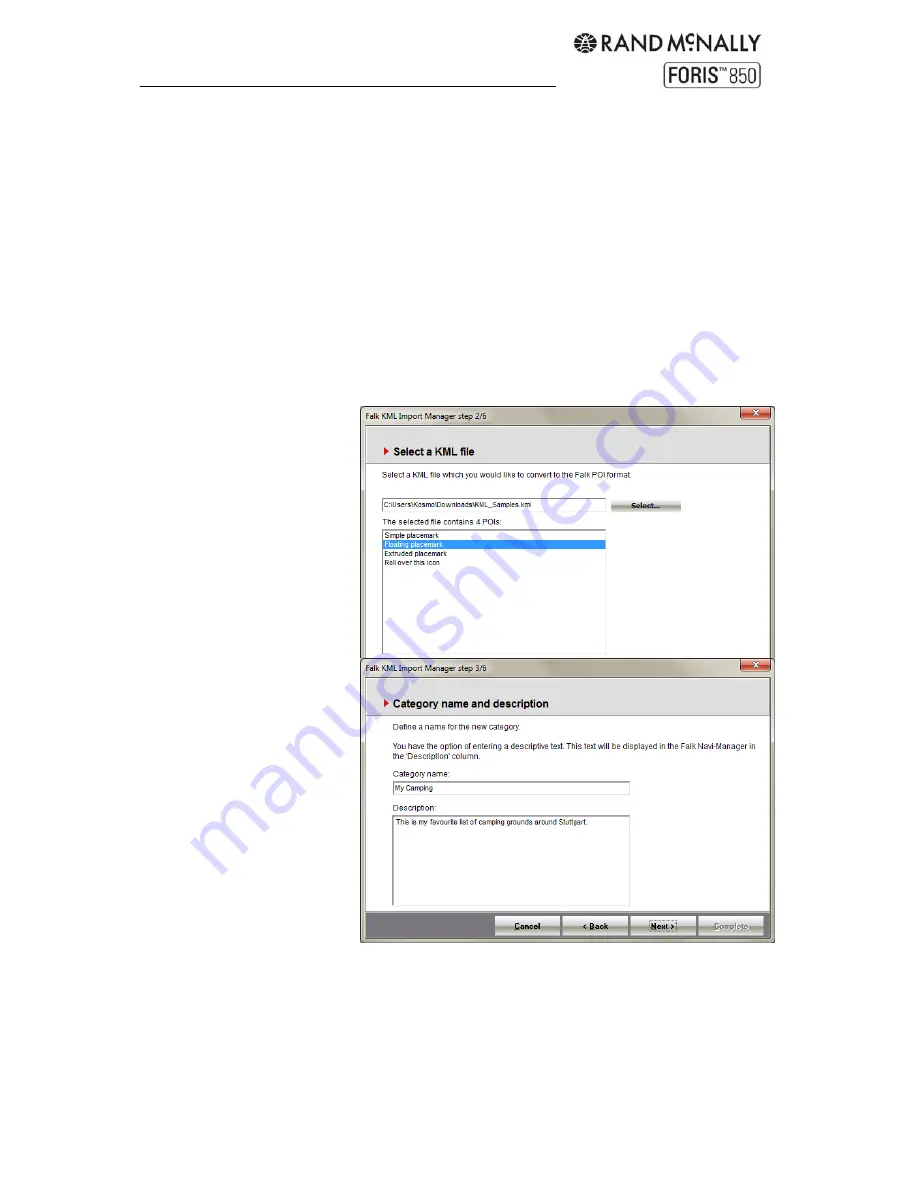
In the next window, you can
assign an individual category
name for your POI category.
You also have the option here
of providing more details
about the particular POI
category. Once you have
provided the POI category
with a name and the
information you want, confirm
your entries again with the
Next
button.
In the next step, you have the
option of selecting an
icon
to
be displayed on the map with
the respective POIs. A small selection of icons are suggested for you. However, you can
also select your own
icon
from your PC. This icon should have a
resolution of 72 dpi
and
the image size
16x16 pixels
.
Finally, confirm your entry again with the "
Next
" button. If you do not specify your own icon,
the default icon shown will be used for displaying the POI on the map. The final window
once again summarises the information for the POI category which is to be imported. When
Summary of Contents for Foris 850
Page 1: ...User Manual ...


