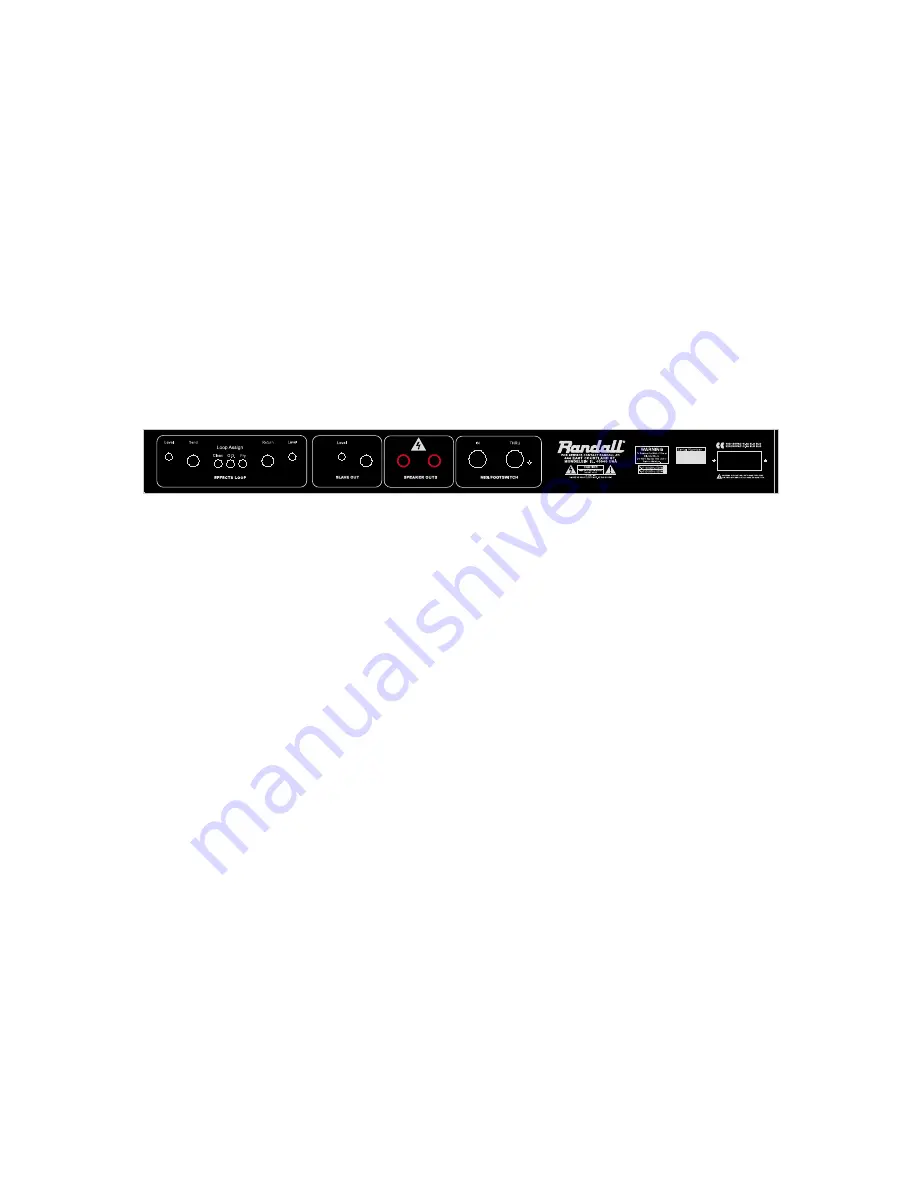
1.
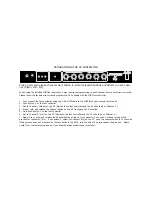
E f f e c t s l o o p :
Rear panel feature included the assignable ef fects loop. When using the loop
without the foot controller, you can choose each channel you want with effects by simply pressing the loop assign but-
tons. When any or all of the buttons have been pressed in those particular channel will not include the external
effects that you have plugged into the effects loop. Please note that when using the footcontroller with an effect unit
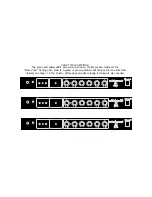
in the loop, all Loop assign buttons should be in the out position, than activate the effects using the
“
Loop On
”
button
of the foot switch. It is possible when using the effects loop with the foot controller to have any combination of
on/off effects using the
“
loop Assign
”
buttons.
2.
Slave out:
Not a direct recording, but a post preamp output which is generally connected to another power
amp when running addition cabinets.
3.
Speaker Outs:
Using a high quality speaker cable, connect to the input of any 4, 8, or 16 ohm cabinet. Please
note the power output is determined by the ohm load of the speaker cabinet. A 4 ohm cabinet will produce 300
watts of output, an 8 ohm cabinet 150 watts, and a16 ohm cab 80 watts.
4.
MIDI IN/Thru:
Using the included 7-pin MIDI cable, connect the included footcontroller to the MIDI IN jack. The
MIDI thru is used to connect a 5-pin MIDI cable to the MIDI in on other external MIDI devices, such as effects units.
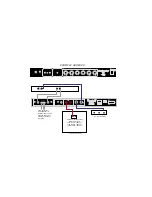
See the following page for suggested hook ups.
5.
World Voltage Selector:
The fuse holder can be rotated to select any voltage in the world, allowing you to travel
to other countries and still use your amplifier. Simply pull out an rotate the fuse holder, and line up the small arrow
to the correct country voltage. Please note that you must change the fuse value when traveling to countries using
220-240V.
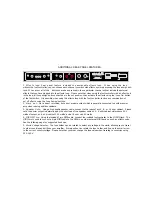
ADDITIONAL REAR PANEL FEATURES


