14
OM-51000 & 53000 SERIES
Troubleshooting
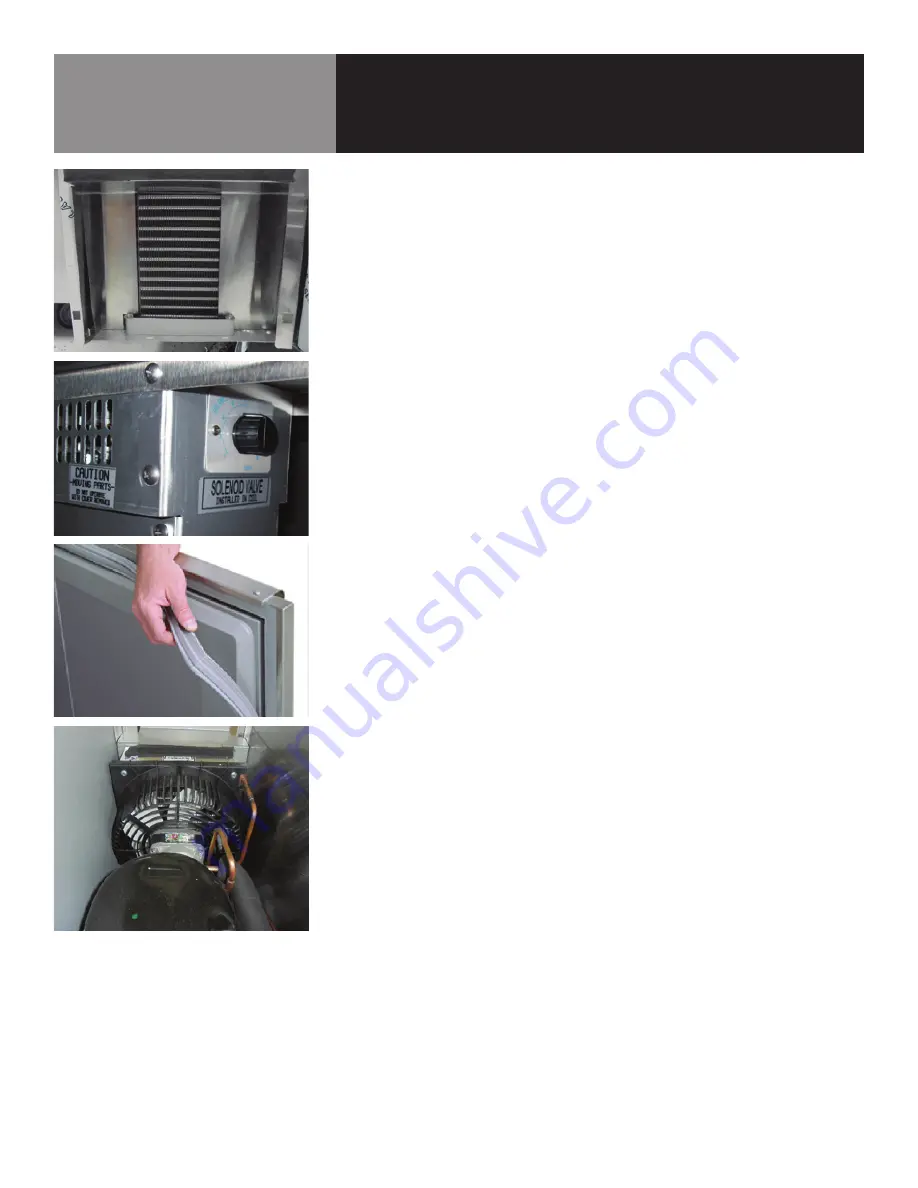
CLEANING CONDENSOR COIL
An accumulation of dirt and dust prevents the condenser coil from removing, making
your unit cool poorly, run constantly, or even stop completely if the compressor overheats.
Clean coil using a vacuum cleaner with wand attachment. If the coil is greasy, wash it with
a solution of warm water the mild detergent using a bristle brush. Take care not to drip
water onto other parts of the condensing unit.
CLEANING DRAIN AND DRAIN PAN
Clean the drain using an oven baster to force a solution of hot water and baking soda
or bleach into the drain opening. To clear a stubborn clog, insert a length of 1/4” round
plastic tubing into the drain and push it gently through to the drain pan; pull back out.
Wash the drain pan regularly with a solution of warm water and baking soda.
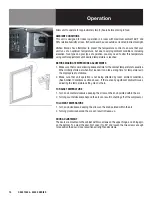
CHECKING THE DOOR SEAL
Open the door and examine all four sides of the door gasket for any tears. Feel the gasket
for brittleness and/or cracks. If the gasket shows damage, then it must be replaced. If
no damage is observed, close the door and check the seal between the gasket and the
cabinet for obvious gaps. Next open the door and close it on a dollar bill. Slowly pull the
dollar bill out from the door. If the gasket seals properly, you will feel tension as it grips
the bill. Repeat this test all around the door. If the gasket does not seal tightly, replace the
gasket after first checking the door for any sagging or warping.
SERVICING THE CONDENSER FAN
Inspect the condenser fan motor by removing the mechanical housing cover to gain access.
Unplug the unit. Clean the fan blade, and turn it to see if the blade rotates freely. If the
motor binds, replace it. If any damage to the blade is observed, unscrew the retaining
nut that holds the blade to the motor shaft and pull the blade off the shaft. Install a new
fan blade, replacing any washers, and tighten the retaining nut. To test the condenser fan
motor, disconnect the wires to the fan motor. Using a multimeter set at RX10, touch one
probe to each terminal. The multimeter needle should show approximately 45 to 50 ohms
resistance. A lower reading indicates the motor is faulty and needs to be replaced.
Next, set the multimeter at RX1000 and touch one probe to the motor terminals and the
other probe to any unpainted metal part of the unit. If the multimeter needle moves, the
motor is grounded and needs to be replaced. To remove the motor, unscrew the bracket
that holds the fan motor to its housing. Slide the motor out of the housing. Remove the
fan blade from the old motor and attach to the new motor, replacing any washers. Install
the new motor in its housing by screwing the bracket into place. Reattach the wires to the
motor terminals and reconnect the ground wire.
Summary of Contents for 51000 Series
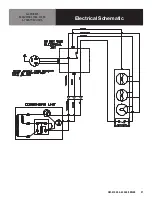
Page 22: ...22 OM 51000 53000 SERIES Electrical Schematic MODELS 51386 51395 ...
Page 25: ...OM 51000 53000 SERIES 25 ...
Page 26: ......
Page 27: ......


