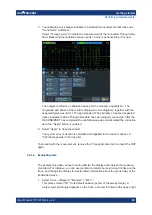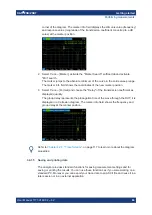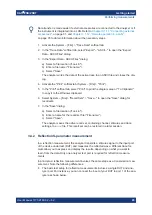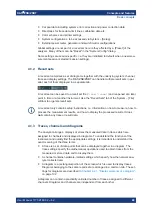
Getting started
R&S
®
ZNB/ZNBT
81
User Manual 1173.9163.02 ─ 62
Tip:
Refer to
Chapter 3.3.7, "Scaling diagrams"
on page 73 to learn more about
the different methods and tools for diagram scaling.
3.4.1.3
Calibrating the instrument
Calibration (system error correction) is the process of eliminating systematic, reprodu-
cible errors from the measurement results. E.g., in the current test setup, the connect-
ing cables between the analyzer ports and the DUT introduce an attenuation and a
phase shift of the waves. Both effects impair the accuracy of the S-parameter mea-
surement.
The analyzer provides a wide range of sophisticated calibration methods for all types of
measurements. The calibration method to select depends on the expected system
errors, the accuracy requirements of the measurement, on the test setup and on the
types of calibration standards available.
The following example requires a calibration kit with a male Through standard with
known transmission characteristics for the related test port connector type and gender.
With a single Through, it is possible to perform a transmission normalization, compen-
sating for a frequency-dependent attenuation and phase shift in the signal paths.
Due to the R&S
ZNB/ZNBT's calibration wizard, calibration is a straightforward, guided
process.
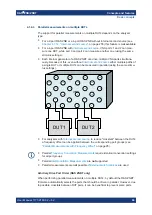
1. Replace the DUT by the Through standard of your calibration kit. Make sure to dis-
connect all calibration units.
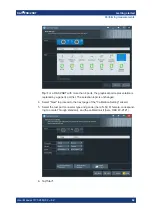
2. Select Channel – [Cal] > "Start... (Manual)" to open the "Calibration Setting" wiz-
ard.
3. Select the port combination Port 1 (P1) and Port 2 (P2) and the calibration type
"Trans Norm". Make sure to define port 1 as the source port.
Performing measurements

