


24
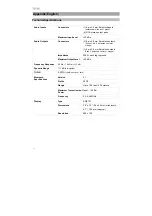
Settings
(continued)
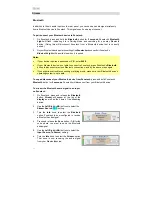
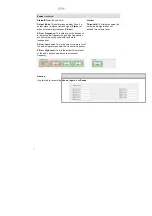
Configuration
Download Settings:
This allows you to
save your system settings to a
???
file.
Send Settings:
This allows you to send
saved settings to a Zonetech device.
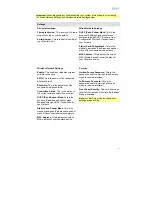
Firmware Update
Update Firmware:
This allows you to
check for firmware updates and update
your Zonetech.
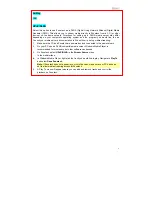
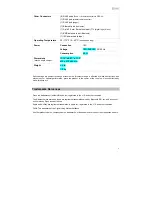
Master Remote
You can use up to two Rane DR6 as master remote controls, allowing you to control all input
levels, output (zone) levels, and zone source selections. Please visit
rane.com/HAL
and refer
to the documentation for DR6 and the Halogen system to for additionalinformation.
To set up Zonetech for use with a DR6
, use a shielded Cat5e or Cat6 Ethernet cable to
connect the DR6 to the
Master Remote port
on Zonetech. You can also connect a
second DR6 to the
Paging port
if it is not in use. (Remember to connect your DR6 to a
power outlet through a RaneRPI.)
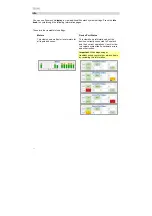
Zones
You can use one to six Rane DRZH units to control the functions of one or more zones. Please
visit
rane.com/HAL
and refer to the documentation for DRZH and the Halogen system for
additional information.
To set up Zonetech for use with one or more DRZH units
, use shielded Cat5e or Cat6
Ethernet cables to connect each DRZH to a
Zone Remotes port
on Zonetech.
Summary of Contents for Zonetech
Page 1: ...UserGuide English 3 25 Appendix English 26 27...
Page 2: ...2...
Page 28: ...rane com Manual Version 1 0...


