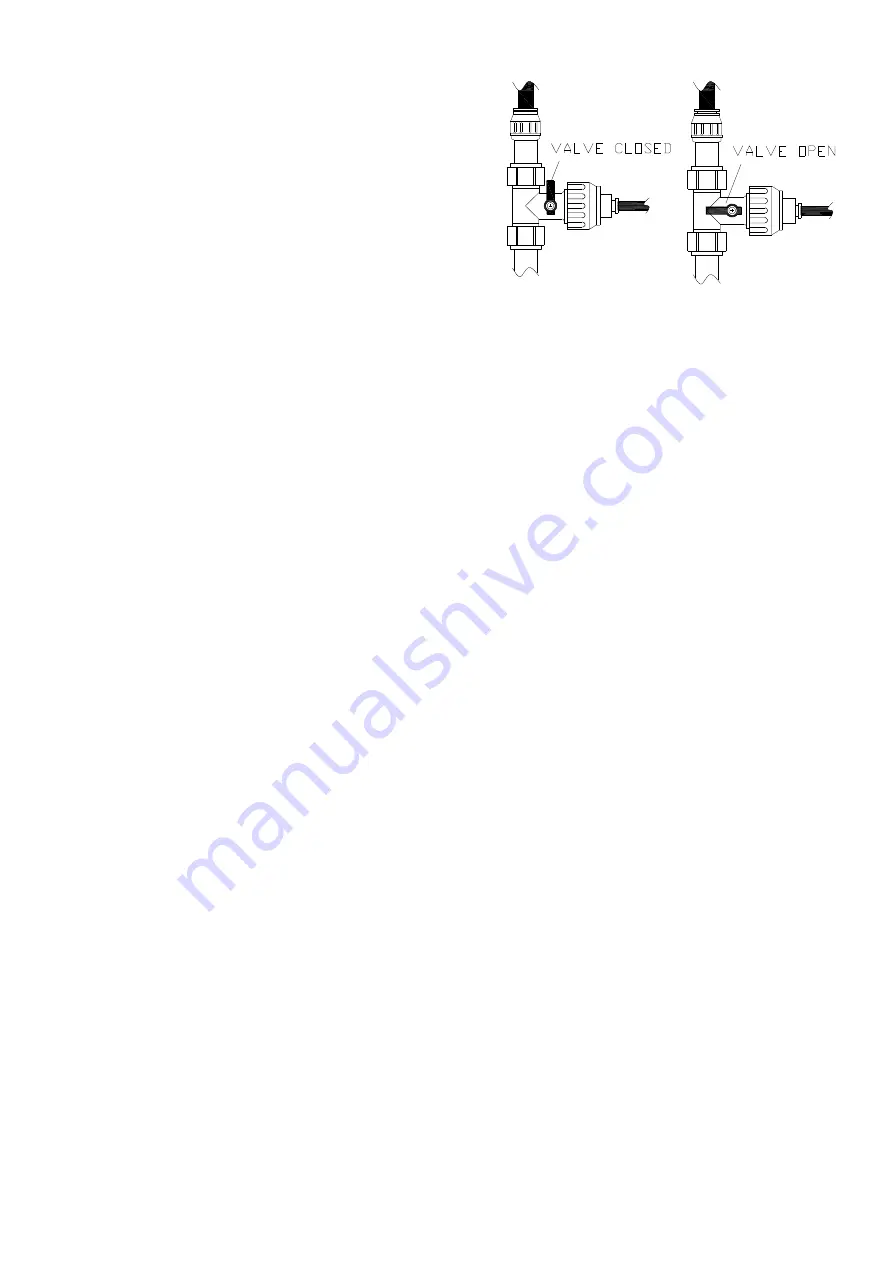
Stage 3 – setting up the filtered water flow rate:
Turn your filter tap on fully so filtered water runs through it.
Note: when the filter is new it will take a moment to push any
air though the system, so water may not appear instantly.
You may notice some black discoloration in the water at this
point, this is loose carbon, it is normal and harmless and will
pass with further flushing. We suggest flushing apx. 20 litres
through the filter when new.
The filtered drinking water system performs at a maximum of 2-
3 L / min depending upon the quality of your water.
Turn the blue lever on the three way valve (V) to adjust the
flow of filtered water to the appropriate flow rate, this can be
checked using a kitchen measuring jug for example 1 litre
should take 20-30 seconds.
After installation:
Once you have visually checked the installation of the new tap and all connections, ensure that all other fittings are
closed except the new tap which should be left open.
Turn on your water heating system and ensure that your mains stopcock is open.
Check the function of flow and function of hot, cold, filtered and mixed water.
Turn off the tap and check carefully for any leaks around all connections on the fitting and adjoining plumbing.
If possible return to the installation after a longer period to double check for slower leaks. If pressure testing
equipment is available check the installation to the maximum recommended pressure.
Clean the tap to remove any marks created during installation as instructed then place a bag over the product to
protect the tap until it is ready for use.
The installation should be periodically checked for damage, if the property is left unattended for a prolonged period
we recommend isolating water supplies.
Using the tap:
Push the right side handle backwards for filtered water, forwards for unfiltered water.
For best results when using the filtered water always run the tap for a few moments to flush away any standing
water. The longer the filter has been unused the longer the system will need to be flushed. Running the filtered tap
will also make the water cooler for drinking.
When comparing the taste of filtered and unfiltered water always taste the filtered water first.
The dual stage filter is designed to improve the taste, clarity and odour of drinking water, it will not effect the water
hardness (limescale) qualities.
Depending upon the quality of the incoming water source the blue lever on isolation valve (U) should be adjusted.
The worse the quality of the incoming water the slower the flow rate of filtered water should be set in comparison
with the suggested optimum rate.
Each filter cartridge has a maximum 6 month lifespan. Complete and return the included registration card if you
wish to take advantage of our free postal reminder card service.
To obtain replacement filters please call; 0870 789 5108 or visit www.rangemastercookshop.co.uk


