


39
Technical Data
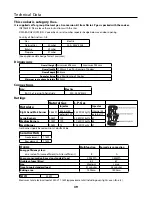
This cooker is category II
2H3+
It is supplied set for group H natural gas. A conversion kit from NG to LP gas is packed with the cooker.
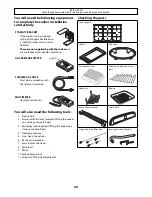
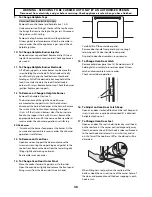
INSTALLER: Please leave these instructions with the User.
DATA BADGE LOCATION : Cooker back, serial number repeater badge below oven door opening.
Country of Destination: GB
Gas
Electric
Natural Gas
20mbar
220 - 240V 50Hz
Butane
29mbar
Propane
37mbar
(See appliance data badge for test pressures)
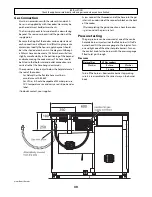
Dimensions
Overall height
minimum 896mm
maximum 925mm
Overall width
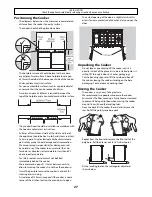
1100mm See ‘Positioning of Cooker’
Overall depth
648mm
Space for fixing
See ‘Positioning of Cooker’
Minimum space above hotplate
650mm
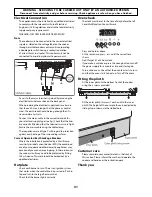
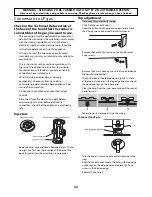
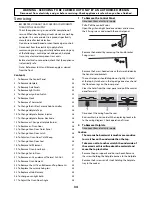
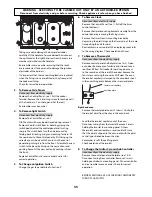
Connections
Gas:
Electric
Rp 1/2 at rear right-hand side
220 - 240V 50Hz
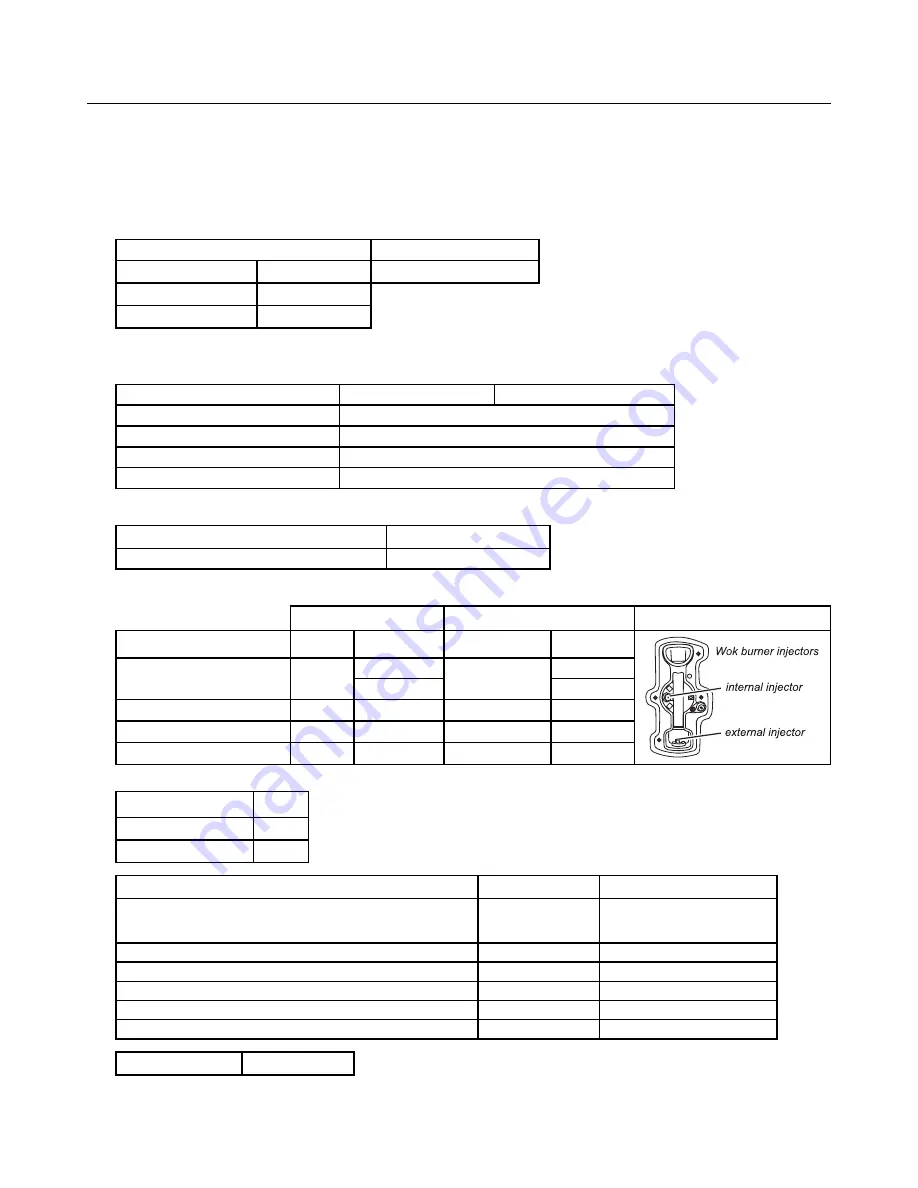
Ratings
Natural Gas
L.P. Gas
Hotplate
Injector
Injector
Right hand Wok burner
3.65kW
internal 80
3.5kW (255g/h)
internal 54
external 129
external 77
Large Burners
3.0kW
134
3.0kW (218g/h) 87
Medium Burners
1.7kW
109
1.7kW (124g/h) 68
Small Burner
1.0kW
75
1.0kW (73g/h)
51
Gas burner inputs based on Gross Calorifi c Value
Ceramic Hob
Front element
1.1kW
Rear element
1.1kW
Ovens
Multifunction
Forced air convection
Energy effi
ciency class :
on a scale of A (more effi
cient) to G (less effi
cient)
B
A
Energy consumption based on standard load
0.90kWh
0.85kWh
Usable volume (litres)
62
67
Size
Medium
Large
Time to cook standard load
41 minutes
38 minutes
Baking area
1400cm
2
1400cm
2
Grill
2.3kW
Maximum total electrical load at 230V 11.1kW (approximate total including oven lights, oven fan etc.)
Summary of Contents for Classic 110 Deluxe Duel Fuel
Page 1: ...Classic Deluxe 110 Dual Fuel Users Guide Installation Service Instructions U108810 03...
Page 41: ...41...
Page 42: ...42...
Page 43: ...43...
Page 44: ...040506...


