background image

CONSUMER SERVICE

If you have any product enquiries, or in the event of a problem 

with your appliance once it has been installed, please  
telephone 01926 457628.

CONSUMER SERVICE LINES OPEN: 

Monday to Thursday  8am–6pm 
Friday  8am–5pm

WARRANTY

Your manufacturer warranty covers goods of our own brand for 

defective workmanship and materials for a period of 1 year from 

the date of purchase. This warranty covers mechanical breakdown 

and proven cosmetic and manufacturing defects.
You will receive an additional FREE full 12 months guarantee by 

registering your purchase using the FREEPOST form provided. 

Alternatively, call free on 0800 587 5747, quoting reference 

RMGX57A, or register online at www.rangemaster.co.uk.

Any damage, blemishes or chips identified upon receipt of the 

product must be reported within 7 days – proof of purchase may 

be required to establish validity. Scratches on the surface of 

ceramic hobs must be reported within 7 days. Scratches caused 

by usage are not covered. Accidental damage is not covered by 

the manufacturer’s warranty.

For warranty compliance, the requirements are  

that the appliance:

• 

Has been correctly installed in accordance with current 

legislation, relevant British and European Standards 

and Codes of Practice, by a suitably competent person 

registered with Gas Safe or equivalent body and, where 

applicable, a qualified electrician.

• 

Has been used solely for domestic cooking purposes.

• 

If in use in the UK*, has not been taken abroad as a 

personal export. (In the Republic of Ireland conditions may 

vary, so consult your retailer.)

• 

Is not second-hand or a refurbished appliance. The 

manufacturer’s warranty is not transferable.

• 

Has not been subject to misuse, accidental damage or 

modification, and has not deteriorated due to normal 

domestic wear and tear, and the manufacturer’s 

recommendations concerning cleaning materials have been 

followed.

• 

Has not been repaired by persons or organisations other 

than those authorised to act on behalf of AGA Rangemaster.

Exceptions: 

• 

Items not included under the free 1 year guarantee 

include pan supports, griddles, wok rings, baking trays, 

grill pans, trivets, filters, light bulbs and other consumable 

accessories. 

• 

Any damage caused other than through normal use. 

• 

Breakdowns associated with cooking spillage.

• 

Cosmetic deterioration deemed to be normal wear and tear. 

This warranty is in addition to your Statutory Rights.

*  Only certain models can be adapted for use with Mains Gas 

supplied in the Channel Islands and Isle of Man.

OUT OF WARRANTY

We recommend that Rangemaster appliances are serviced 

regularly throughout their life to maintain optimum performance 

and efficiency. Service work should only be carried out by 

technically competent and suitably qualified personnel.

For your own safety, always make sure that work is carried out by 

a Gas Safe registered engineer for gas appliances or an approved 

electrician for electrical models.
For a competetive quote and to arrange for a Rangemaster 

approved engineer to attend, call Consumer Services on:  

01926 457628.

SPARE PARTS

To maintain optimum and safe performance, we recommend 

that only genuine Rangemaster spare parts are used. These are 

available from most major spares stockists, including ourselves.
Contact Consumer Services on 01926 457628, who will be happy 

to help.

STANDARDS 

Rangemaster cookers are designed and manufactured to 

a recognised international quality standard, which meets 

the requirements of BS EN ISO 9001, BS EN ISO 14001 and 

OHSAS 18001 for continually improving environmental 

procedures.
Rangemaster cookers comply with the essential requirements of 

the appropriate European Directives, and carry the CE mark.

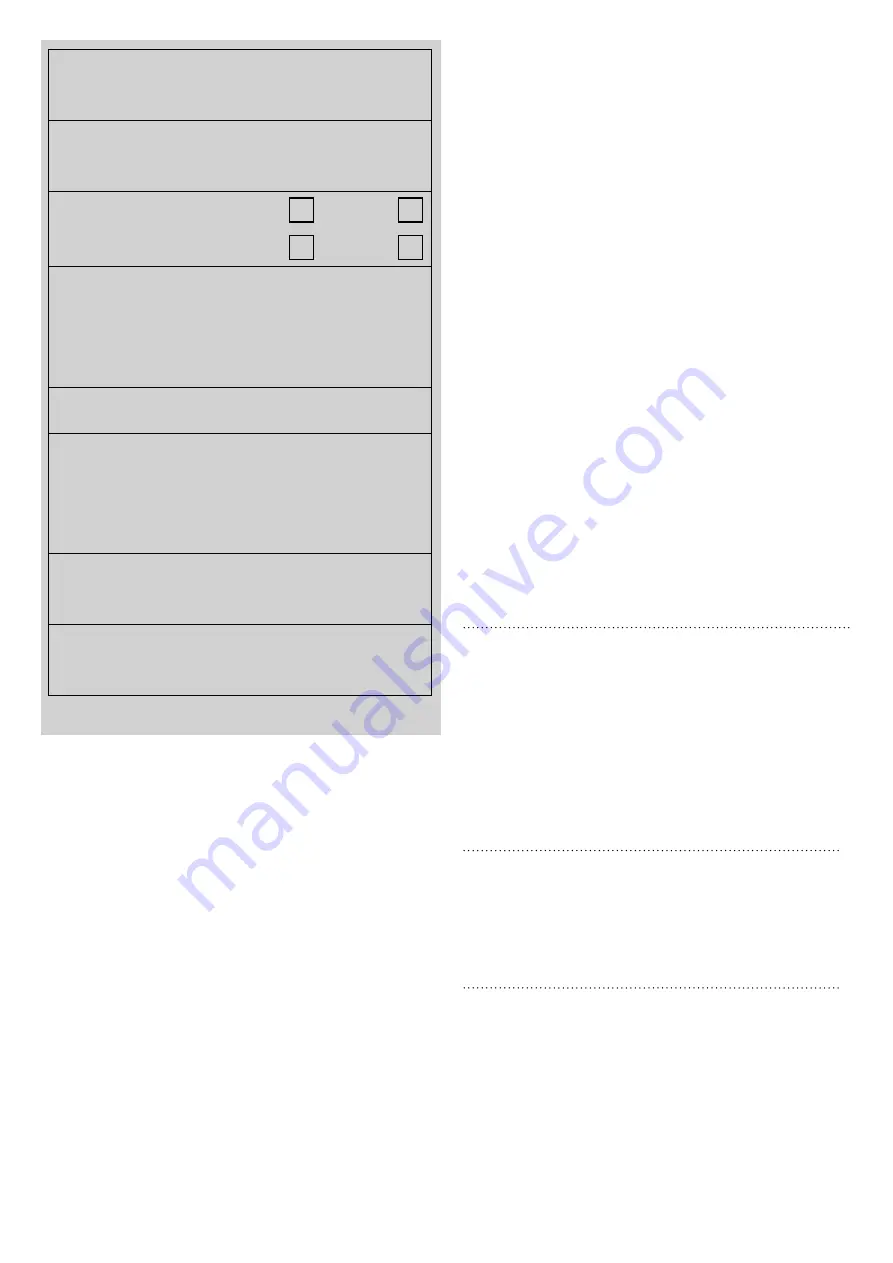
Name of Appliance & Colour*

Appliance Serial Number*

Fuel Type*

Natural Gas

LP Gas

Dual Fuel

Electric

Retailer’s Name & Address

Date of Purchase

Installer’s Name & Address

Installer’s Telephone Number

Date of Installation

* This information is on the appliance data badge - look in the appliance instructions  

to find out where the data badge is located.

Summary of Contents for Infusion 100 Induction

Page 1: ...Infusion 100 Induction U110729 03 USER GUIDE INSTALLATION INSTRUCTIONS...

Page 2: ...acted via e mail Facebook Twitter message or Instagram comment 4 We cannot guarantee your kitchen will be professionally photographed 4 Any photographs received and professional photographs taken will...

Page 3: ...on clock 16 4 Cooking tips 18 5 Cooking Table 19 6 Cleaning your cooker 20 7 Troubleshooting 24 8 Installation 26 Dear Installer 26 Safety Requirements and Regulations 26 Provision of Ventilation 26 L...

Page 4: ...ng Care should be taken to avoid touching heating elements Children less than 8 years of age shall be kept away unless continuously supervised CAUTION A long term cooking process has to be supervised...

Page 5: ...e rating T105 Read the instructions before installing or using this appliance This appliance is heavy so take care when moving it The cable size and type should be suitable for the Electrical Load of...

Page 6: ...ppliance may call for additional ventilation for example opening a window or more effective ventilation for example increasing the level of mechanical ventilation where present Maintenance Only a qual...

Page 7: ...azed containers are suitable for use on the warming zone others may break because of the sudden NEVER leave the hotplate unattended at high heat settings Pans boiling over can cause smoking and greasy...

Page 8: ...crack or break Fig 1 5 WARNING Should a crack appear in the surface disconnect the appliance immediately from the supply and arrange for its repair ALWAYS LIFT cookware off the hob Sliding the griddl...

Page 9: ...f applied to a hot surface DO NOT leave the hob unattended Care should be taken to not allow your cookware to boil dry It will damage your cookware and Induction Glass Hob After use switch off the hob...

Page 10: ...the oven ladders Push the shelf back until the ends hit the shelf stop Lift the front so the shelf clears the stops then lower the front so the shelf is level and push it fully back Hob care NEVER al...

Page 11: ...rts of the cooker can be cleaned with hot soapy water Take care that no water seeps into the appliance Before you remove any of the grill parts for cleaning make sure that they are cool or use oven gl...

Page 12: ...okware Pans made of copper aluminium or ceramic are not suitable for use on an induction hob The kind of pan you use and the quantity of food affects the setting required Higher settings are required...

Page 13: ...tings and diameters Fig 2 4 each with a pan detector and residual heat indicator and a hob control display The hob control display Fig 2 5 informs you of the following induction hob functions Pan dete...

Page 14: ...t up function is activated the hob control display will flash alternately between the A setting and the chosen power level Once the automatic heat up time has ended the hob display will stop flashing...

Page 15: ...shown on the hob control display Power Boost allows additional power to be made available for each of the cooking zones This is useful to bring a large pan of water to the boil quickly The Power Boost...

Page 16: ...ill has two elements that allow either the whole area of the pan to be heated or just the right hand half Adjust the heat to suit by turning the knob To heat the whole grill turn the knob clockwise Fi...

Page 17: ...ntinuously which means faster more even cooking The recommended cooking temperatures for a fan oven are generally lower than those for a non fan oven Operating the Ovens Fan Oven Turn the temperature...

Page 18: ...ve the glide out shelf Raise the rear of the shelf so that it clears the rear stops Then unhook from the front locating bracket To remove the glide out runners Twist to unclip the base of the runners...

Page 19: ...ch an alarm will sound 1 Press the mode M button once Fig 3 2 The bell symbol will flash on the display Select the desired countdown from 00 01h to 23 59h using the button Fig 3 3 The countdown will a...

Page 20: ...rent time will be displayed along with the word AUTO Fig 3 9 3 Set the oven to the required cooking temperature 4 During the cook period the cook symbol is illuminated in the display 5 When cooking is...

Page 21: ...ood in the oven to be timed n DO NOT use a timed oven that is already warm n DO NOT use the timed oven if the adjoining oven is already warm Whole poultry must be thoroughly defrosted before being pla...

Page 22: ...0 C 150 C for remainder Do not forget to include the weight of the stuffing For fresh or frozen pre packed poultry follow instructions on the pack Thoroughly thaw frozen poultry before cooking Cassero...

Page 23: ...clean paper towel If a spill other than a sugary substance is on the hot zone do not clean until the unit has completely cooled down and then follow the instructions below Cleaning Burned on Spills I...

Page 24: ...de clips Fig 6 3 For safety push the side rails back into the grill chamber If you need to remove the side rails to allow cleaning of the grill chamber you can unhook them from the grill chamber sides...

Page 25: ...ng the Cooker section under Installation Cook Clean Panels The ovens have side Cook Clean panels which have been coated with a special enamel that partly cleans itself This does not stop all marks on...

Page 26: ...ides and plinth Painted surface Hot soapy water soft cloth Splashback rear grille Enamel or stainless steel Hot soapy water soft cloth Cream cleaner with care if necessary Control panel Paint enamel o...

Page 27: ...ilure In the event of a failure in the electrical supply remember to reset the clock so that the timed oven continues to operate The cooling fan The induction hob incorporates a cooling fan This cooli...

Page 28: ...o turn it round during cooking If two shelves are used check that space has been left for the heat to circulate When a baking tray is put into the oven make sure that it is placed centrally on the she...

Page 29: ...n this booklet with the relevant national and local regulations and with the local electricity supply companies requirements n The appliance must be installed in accordance with the regulations in for...

Page 30: ...is fitted to the cooker hob Surfaces of furniture and walls at the sides and rear of the appliance should be heat splash and steam resistant Certain types of vinyl or laminate kitchen furniture are p...

Page 31: ...use the door handles or control knobs to manoeuvre the cooker Fitting the Stability Bracket We recommend using a stability bracket first attach the bracket location device to the rear of the cooker F...

Page 32: ...ements n WARNING THE APPLIANCE MUST BE EARTHED NOTE The cooker must be connected to the correct electrical supply as stated on the voltage label on the cooker through a suitable cooker control unit in...

Page 33: ...s 1 each end to the inner plinth The height of the outer plinth can be adjusted by sliding it up or down via the slotted hole Fig 8 14 Customer Care INSTALLER Please complete your details in this guid...

Page 34: ...OB DISPLAY Earth N 6 N 4 L 2 L 3 On Terminal Block On Terminal Block On Terminal Block w br w br w br w br w br Hob Code Colour w br White or brown Code Description 1 Left hand front element 2 Left ha...

Page 35: ...e circuit diagram are for single phase The ratings are for 230V 50Hz Code Description A1 Grill energy regulator A2 Grill front switch A3 Grill elements B1 Left hand oven thermostat B2 Left hand oven t...

Page 36: ...4 Hotplate energy saving tips Oven energy saving tips Use cookware with a flat base Cook meals together if possible Use the correct size cookware Keep the pre heating time short Use cookware with a l...

Page 37: ...rgy Consumption ECElectric cooking Wh kg 180 Zone 3 cm 18 5 Heating Technology Energy Consumption ECElectric cooking Wh kg 172 Zone 4 cm 15 5 Heating Technology Energy Consumption ECElectric cooking W...

Page 38: ...hand Efficiency Fuel type Electric Cavity type Fanned Power conventional Power forced air convection 2 5 Volume Litres 82 Energy consumption electricity conventional kWh cycle Energy consumption elect...

Page 39: ...by persons or organisations other than those authorised to act on behalf of AGA Rangemaster Exceptions Items not included under the free 1 year guarantee include pan supports griddles wok rings bakin...

Page 40: ...cular appliance Clarence Street Royal Leamington Spa Warwickshire CV31 2AD England Consumer Services 44 0 1926 457628 Fax 44 0 1926 450526 E mail consumers agarangemaster co uk www rangemaster co uk F...

Reviews: