


INSTALLATION
Check the appliance is electrically safe and gas sound when you have finished.
22
22
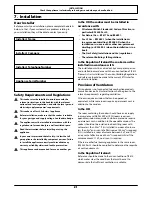
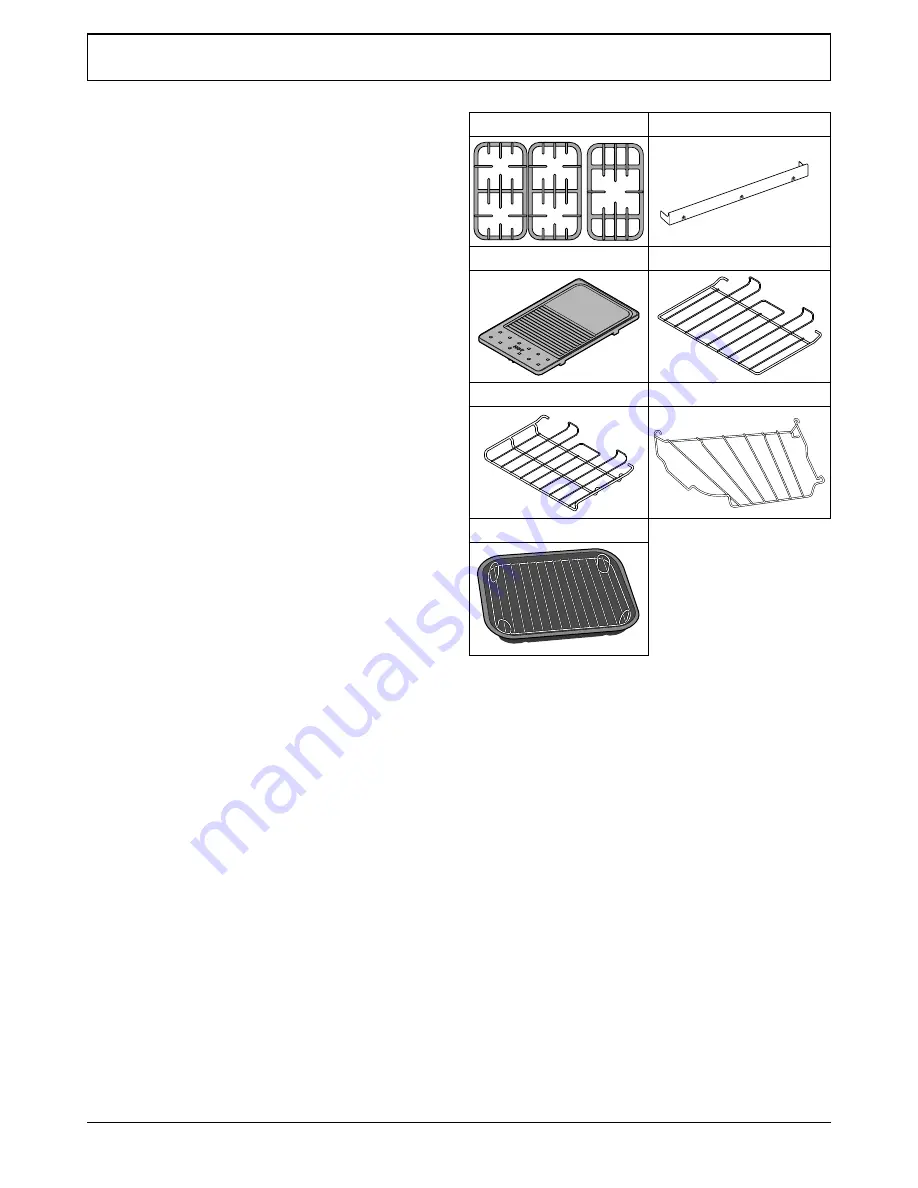
Checking the Parts:
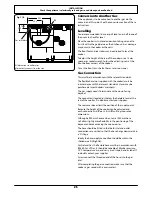
Location of Cooker
The cooker may be installed in a kitchen/kitchen diner but
NOT in a room containing a bath or shower.
This appliance is designed for domestic cooking only. Use
for any other purpose could invalidate any warranty or
liability claim.
Note:
An appliance for use on LPG must not be installed
in a room or internal space below ground level, e.g. in a
basement.
Conversion
This appliance is supplied set for G20 20 mbar Cat II2H3+.
A conversion kit for another gas is available for the cooker.
If the appliance is to be converted to another gas we
recommend that this is carried out before installation.
After converting the appliance, please attach the Gas
Conversion sticker over the appropriate area of the data
badge – this will identify the gas type for which the appliance
is now set.
You will need the following equipment to complete
the cooker installation satisfactorily:
•
Stability bracket: If the cooker is to be supplied with gas
through a flexible hose, a stability bracket or chain
MUST
be fitted.
These are not supplied with the cooker
but
are available at most builders’ merchants.
•
Gas pressure tester/manometer.
•
Flexible gas hose: Must be in accordance with the
relevant standards.
•
Multimeter: For electrical checks.
You will also need the following tools:
1.
Electric drill
2.
Masonry drill bit (only required if fitting the cooker on a
stone or concrete floor)
3.
Wall plugs (only required if fitting the cooker on a stone
or concrete floor)
4.
Steel tape measure
5.
Cross head screwdriver
6.
Flat head screwdriver
7.
Spirit level
8.
Pencil
9.
Adjustable spanner
10.
Screws for fitting stability bracket
11.
13 mm spanner or socket wrench
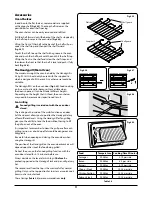
3 pan supports
Plinth
ArtNo.350-0008 - 90 SC plinth
Griddle
3 flat shelves
1 drop shelf
Handygrill
Roasting tin & trivet
Summary of Contents for Toledo XT 110 Dual Fuel
Page 1: ...Britain s No 1 Range Cooker USER GUIDE INSTALLATION INSTRUCTIONS Toledo XT 110 Dual Fuel...
Page 4: ...iv...
Page 36: ...32 Notes...
Page 37: ...33 Notes...
Page 38: ...34 Notes...