


2
Always be certain that the controls are in the OFF position
when the oven is not in use, and before attempting to clean
the cooker.
n
n
When the oven is on, DO NOT leave the oven door
open for longer than necessary, otherwise the
control knobs may become very hot.
n
n
When using the grill, make sure that the grill pan
is in position and pushed fully in, otherwise the
control knobs may become very hot.
n
n
DO NOT use harsh abrasive cleaners or sharp metal
scrapers to clean the oven door glass since they can
scratch the surface, which may result in shattering of
the glass.
Always keep combustible materials, e.g. curtains, and
flammable liquids a safe distance away from your cooker.
n
n
Never store flammable materials in the drawer.
This includes paper, plastic and cloth items, such
as cookbooks, plastic ware and towels, as well as
flammable liquids. Do not store explosives, such as
aerosol cans, on or near the appliance.
n
n
DO NOT spray aerosols in the vicinity of the cooker
while it is on.
Use dry oven gloves when applicable – using damp gloves
might result in steam burns when you touch a hot surface.
Do not use a towel or other bulky cloth in place of a glove – it
might catch fire if brought into contact with a hot surface.
n
n
NEVER operate the cooker with wet hands.
n
n
DO NOT use aluminium foil to cover shelves, linings
or the oven roof.
n
n
DO NOT use hotplate protectors, foil or hotplate
covers of any description. These may affect the safe
use of your hotplate burners and are potentially
hazardous to health.
n
n
NEVER heat unopened food containers. Pressure
build up may make the containers burst and cause
injury.
n
n
DO NOT use unstable saucepans. Always ensure that
you position the handles away from the edge of the
hotplate.
n
n
DO NOT use cooking vessels on the hotplate that
overlap the edges.
Never leave the hotplate unattended at high heat settings.
Pans boiling over can cause smoking, and greasy spills may
catch on fire. Use a deep fat thermometer whenever possible
to prevent fat overheating beyond the smoking point.
n
n
WARNING!
n
n
Unattended cooking on a hob with fat or oil can be
dangerous and may result in fire.
n
n
NEVER leave a chip pan unattended. Always heat fat
slowly, and watch as it heats. Deep fry pans should
be only one third full of fat. Filling the pan too full
of fat can cause spill over when food is added. If you
use a combination of oils or fats in frying, stir them
together before heating or as the fats melt.
Foods for frying should be as dry as possible. Frost on frozen
foods or moisture on fresh foods can cause hot fat to bubble
up and over the sides of the pan. Carefully watch for spills or
overheating of foods when frying at high or medium high
temperatures. Never try to move a pan of hot fat, especially a
deep fat fryer. Wait until the fat is cool.
n
n
DO NOT use the top of the flue (the slot along the
back of the cooker) for warming plates, dishes,
drying tea towels or softening butter.
n
n
DO NOT use water on grease fires and never pick
up a flaming pan. Turn the controls off and then
smother a flaming pan on a surface unit by covering
the pan completely with a well fitting lid or baking
tray. If available, use a multipurpose dry chemical or
foam-type fire extinguisher.
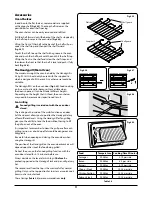
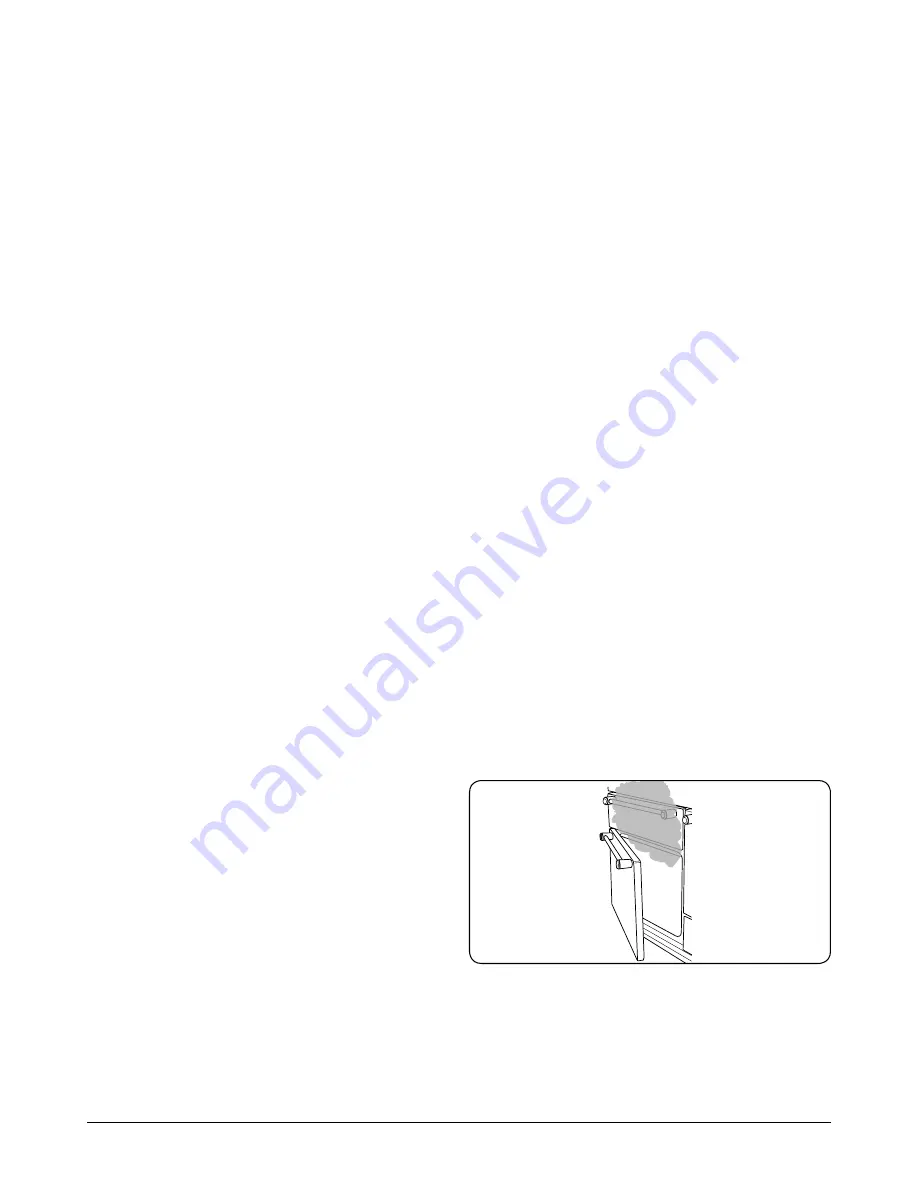
Cooking high moisture content foods can create a ‘steam
burst’ when the oven door is opened
(Fig. 1.1)
. When
opening the oven stand well back and allow any steam to
disperse.
Take care that no water seeps into the appliance.
n
n
This appliance is heavy so take care when moving it.
Cooker Care
As steam can condense to water droplets on the cool outer
trim of the oven, it may be necessary during cooking to wipe
away any moisture with a soft cloth. This will also help to
prevent soiling and discolouration of the oven exterior by
cooking vapours.
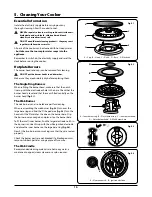
Cleaning
In the interests of hygiene and safety, the cooker should be
kept clean at all times as a build up in fats and other food
stuff could result in a fire.
Clean only the parts listed in this guide.
Clean with caution. If a wet sponge or cloth is used to wipe
spills on a hot surface, be careful to avoid steam burns. Some
cleansers can produce noxious fumes if applied to a hot
surface.
ArtNo.324-0001 Steam burst
Fig. 1.1
Summary of Contents for Toledo XT 110 Dual Fuel
Page 1: ...Britain s No 1 Range Cooker USER GUIDE INSTALLATION INSTRUCTIONS Toledo XT 110 Dual Fuel...
Page 4: ...iv...
Page 36: ...32 Notes...
Page 37: ...33 Notes...
Page 38: ...34 Notes...


