10
WIRING INSTRUCTIONS
1. Overheating, short circuits and fire damage will result from inadequate wiring. Wiring must be installed in accordance
with National Electric Code and local codes and standards covering electrical apparatus and wiring.
2. Be certain that adequate wire sizes are used, and that:
Service is of adequate amp rating.
The supply line has the same electrical characteristics (voltage, cycles and phase) as the motor.
The line wire is the proper size and that no other equipment is operated from the same line.
Electrical Source
This unit requires power from a 15 amp electrical circuit. Refer to the serial tag of the machine for specific electrical require-
ments. Have a licensed electrical technician perform any necessary changes to the power source before plugging in the
unit. The electrical source must have a solid connection between ground and building ground.
GUARD AGAINST ELECTRIC SHOCK!
.
This equipment must be grounded while in use to protect the operator from electric shock. Never connect the green power cord
wire to a live terminal. This is for ground only.
DANGER!
The motor on this machine contains high voltage. Disconnect power at the receptacle before performing any electrical repairs.
Secure plug so that it cannot be accidentally plugged in during service.
WARNING! RISK OF EXPLOSION
.
This equipment has internal arcing or sparking parts which should not be exposed to flammable vapors. This machine should
not be located in a recessed area or below floor level.
Check the voltage, phase and proper amperage requirements for the motor shown on the motor plate.
Wiring should be performed by a certified electrician only.
IMPORTANT NOTE:
YOUR MACHINE HAS A DUAL VOLTAGE MOTOR
and can be run on either 110 or 220 volts.
STANDARD WIRING IS 110 VOLTS.
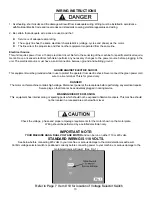
See below before connecting 220 volts to your machine or serious damage to the motor/electronics will result.
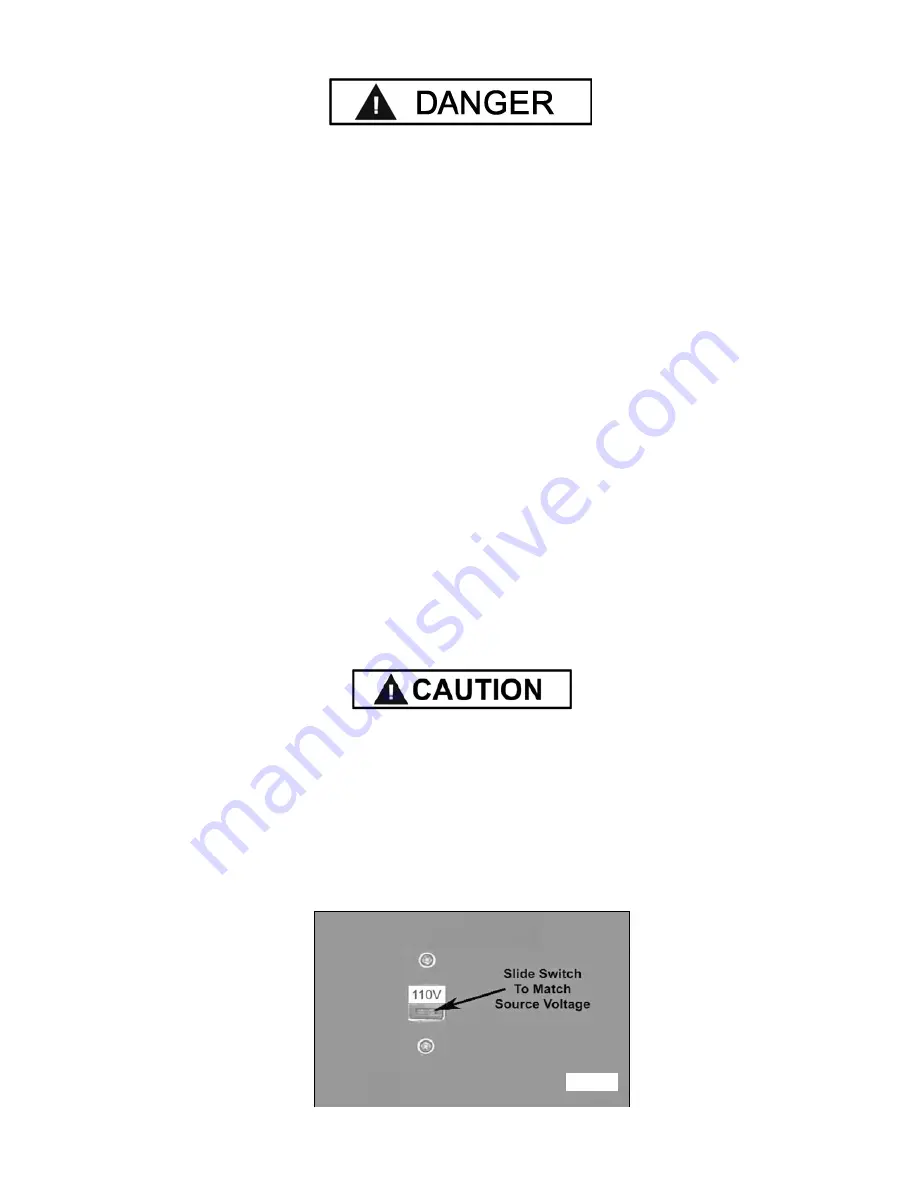
Confirm voltage selector switch is positioned correctly before connecting power to your machine or serious damage to the
motor/electronics will result. (See Fig. 1)
Fig. 1
Refer to Page 7 Item # 19 for location of Voltage Selector Switch
Refer to Page 7 Item # 19 for location of Voltage Selector Switch
Summary of Contents for R23
Page 25: ...25...
Page 26: ...26 R23 00 00 REVISION A 22 Tire changer...
Page 44: ...44 3 7 3 5 66 0 PL330B 00 00 REVISION A 04...


