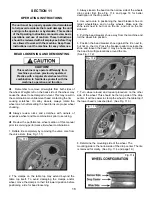

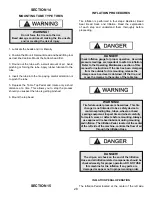
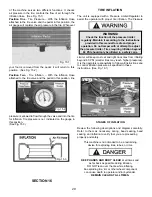


STAGE THREE / BEAD SEATING
Bead seating usually occurs on the long tapered side of
the wheel first and the shorter side last. Bead seating will
usually require at least 7 PSI in the tire. 40 PSI is the
maximum safe pressure at this stage regardless of tire
operating pressure. Most European import cars and many
aftermarket alloy wheels are very tight and can be difficult to
bead seat. Also note that asymmetrical hump and
run-flat tires are extremely difficult to bead seat. Follow tire
manufacturer’s recommended procedure for bead seating.
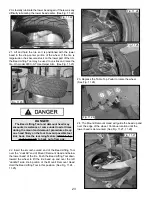
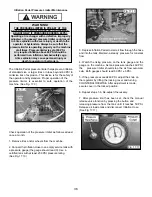
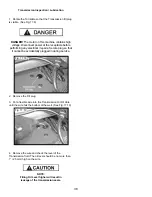
1. Once tire pressure is indicated on the air gauge continue
to inject air into the tire in short intervals. Check the pressure
frequently. Stand back during bead seat. keep hands, arms,
and entire body away from tire during this procedure. Tire
beads should move outward and “pop” into their bead seat
position as pressure inside the tire increases. If this does not
happen, a problem exists. Investigate carefully.
(See Fig. 16.9)
NOTE:
The Inflation Hose must be attached to the
valve stem during this procedure.
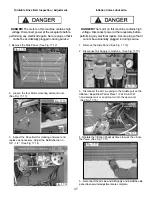
2. Release air pressure from the tire by pressing the Manual
Release Valve Button.
(See Fig. 16.10)
32
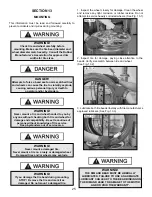
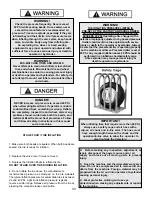
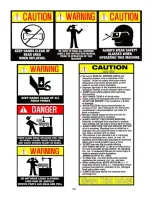
WARNING!
Operator should keep hands, arms, and entire body
away from the tire during the following bead seat
and inflation procedures. Do not stand over tire,
as personal injury could result. from inflating tire.
Avoid distraction during inflation. Check tire
pressure frequently to avoid over inflation.
Excessive pressure can cause tires to explode,
causing serious injury or death to operator or
bystander.
WARNING!
KEEP HAND AND FINGERS CLEAR!
KEEP ENTIRE BODY AWAY FROM THE TIRE.
Fig. 16.9
Fig. 16.10
Summary of Contents for R980X
Page 39: ...39 ...
Page 48: ...48 ...
Page 49: ...49 RECORD ALL MAINTENANCE NOTES AND SERVICE HISTORY HERE ...
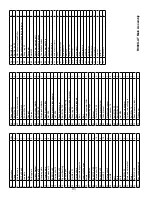
Page 50: ...50 TIRE AND WHEEL DATA ...