LOWER BEAD
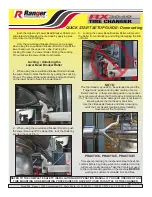
1. ALWAYS liberally lube both Upper and Lower Beads,
during mounting procedures, then position the Tool Head
with the Tab Side down
2. Lower Tool Head until lower bead is below the rim.
If necessary use the Assist Roller to help push the lower
bead is below rim edge.
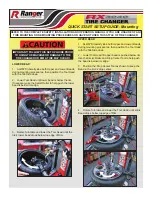
3. Rotate Turntable and lower the Tool Head until the
tire’s lower bead drops below top edge of Rim.
UPPER BEAD
1. ALWAYS liberally lube both Upper and Lower Beads,
during mounting procedures, then position the Tool Head
with the Tab Side down.
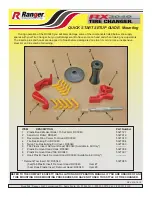
2. Lower Tool Head till upper bead is pushed below rim.
Use the Assist Roller and Drop Center Tool to help push
the bead is below rim edge.
3. Position the Drop Center Tool as shown to keep the
Bead in the rims’s drop center.
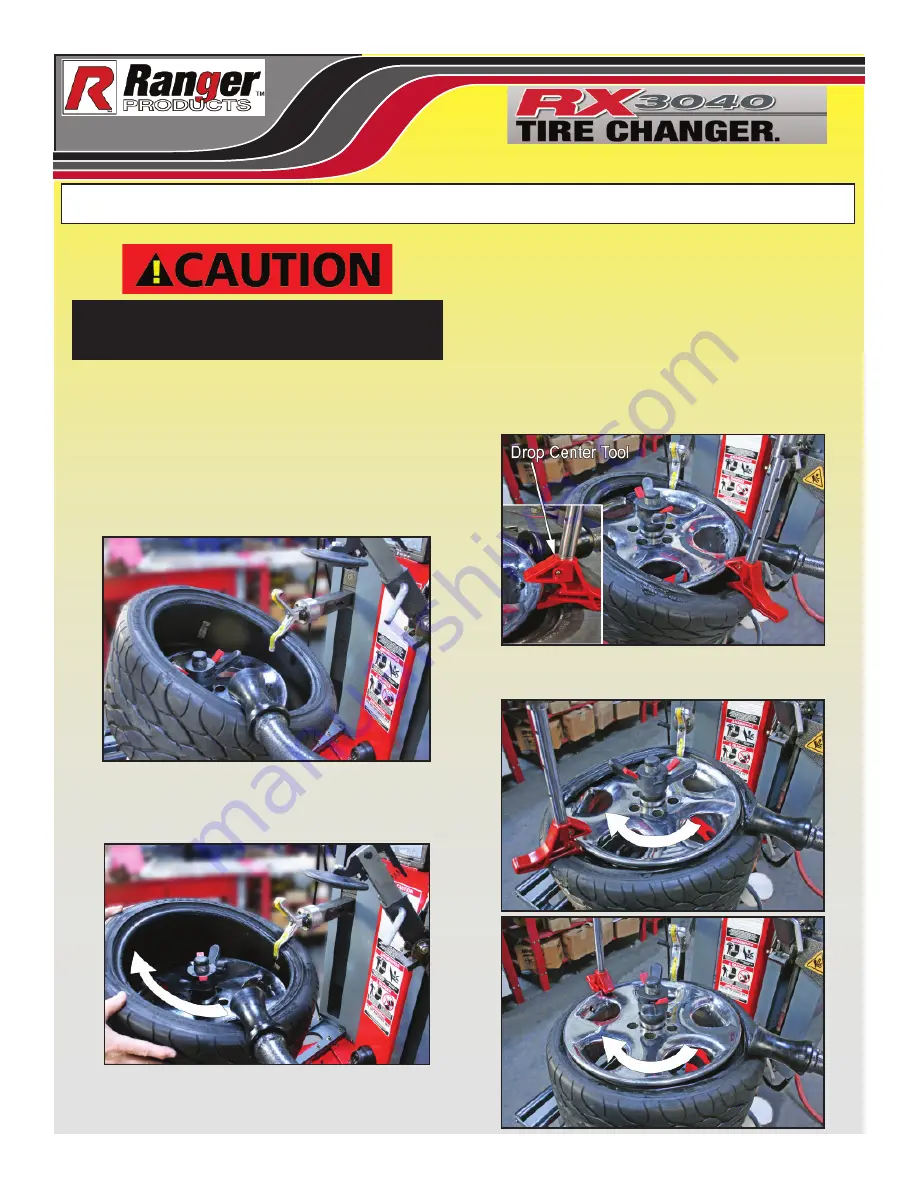
4. Rotate Turntable and lower the Tool Head until entire
Bead drops below top edge of Rim.
REFER TO THE COMPLETE SAFETY, INSTALLATION AND OPERATION MANUAL IF YOU ARE UNSURE OF ANY
TIRE MOUNTING OR DEMOUNTING PROCEDURES OR HAVE NOT USED THIS STYLE OF TIRE CHANGER.
IMPORTANT! FOLLOW THIS SET UP GUIDE PRIOR
TO USING THE MACHINE OR DAMAGE TO THE
TIRE CHANGER OR RIM & TIRE MAY OCCUR!
QUICK START SETUP GUIDE- Mounting


