- 13 -
order to secure the camera.
▲
In order to obtain proper weather resistance,
please make sure that both door latches are
securely locked in place.
7.2 t
urn
on
the
c
aMera
If the camera is off, turn it on . The camera
automatically enters sleep mode and will start taking
photographs or video after the delay time (see 6.1
Setting Camera Delay on page 9).
7.3 t
eStIng
the
c
aMera
c
overage
a
rea
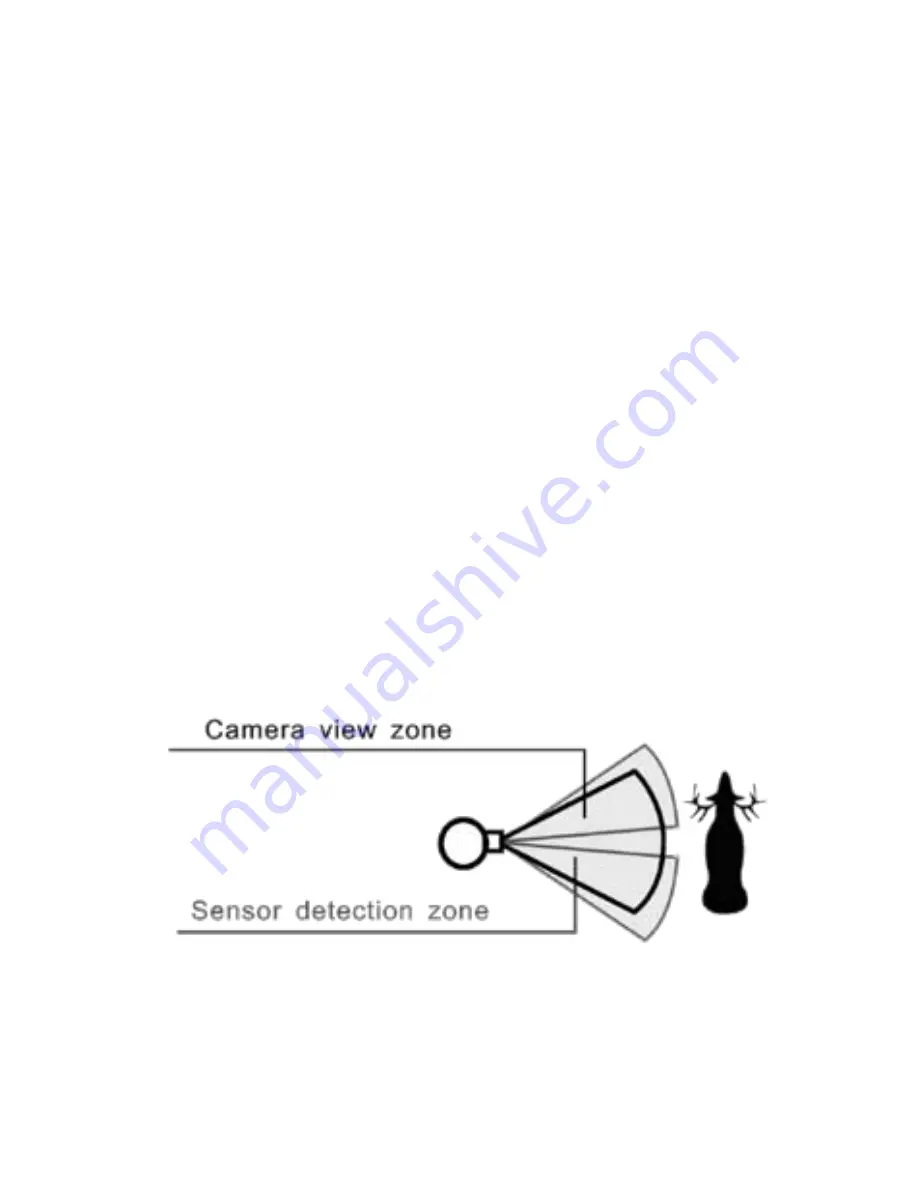
After mounting the camera enter setup mode as
described on page 8. A red indicator light on the
front (the Working Indicator) will blink when you
have intruded the PIR coverage area. Adjust the
camera position as needed and repeat testing
until the desired coverage area is achieved.
▲
Make sure you exit setup after you have
finished testing the camera coverage.


