R76 Series of Tire Changers
17
P/N 5900346 — Rev. C — Dec. 2019
3.
Thoroughly clean each hole.
BendPak recommends using a wire brush and a vacuum to get the hole very clean.
Do
not
ream the hole. Do
not
make the hole any wider than the drill bit made it.
4.
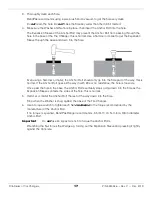
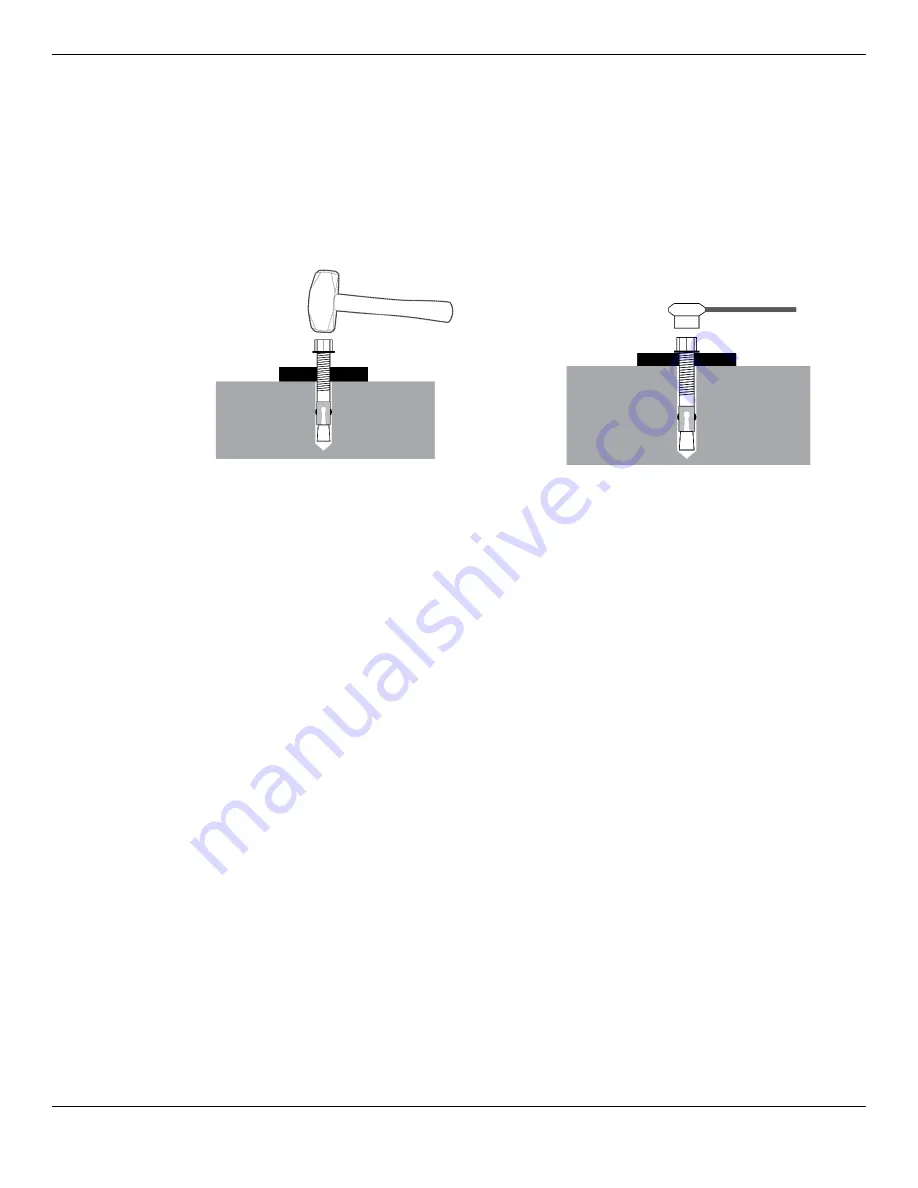
Make sure the Washer and Nut are in place, then insert the Anchor Bolt into the hole.
The Expansion Sleeve of the Anchor Bolt may prevent the Anchor Bolt from passing through the
hole in the base of the Tire Changer; this is normal. Use a hammer or mallet to get the Expansion
Sleeve through the base and down into the hole.
Even using a hammer or mallet, the Anchor Bolt should only go into the hole part of the way; this is
normal. If the Anchor Bolt goes all the way in with little or no resistance, the hole is too wide.
Once past the hole in the base, the Anchor Bolt eventually stops going down into the hole as the
Expansion Sleeve contacts the sides of the hole; this is normal.
5.
Hammer or mallet the Anchor Bolt the rest of the way down into the hole.
Stop when the Washer is snug against the base of the Tire Changer.
6.
Use a torque wrench to tighten each Nut
clockwise
to the torque recommended by the
manufacturer of the Anchor Bolt.
If no torque is specified, BendPak Ranger recommends ~55 lbf-ft / 74 N-m for a 3/8 in diameter
Anchor Bolt.
Important
:
Do
not
use an
impact
wrench to torque the Anchor Bolts.
Wrenching the Nut forces the Wedge up, forcing out the Expansion Sleeve and pressing it tightly
against the Concrete.
Summary of Contents for R76LT
Page 58: ...R76 Series of Tire Changers 58 P N 5900346 Rev C Dec 2019 Labels...
Page 59: ...R76 Series of Tire Changers 59 P N 5900346 Rev C Dec 2019...
Page 87: ...R76 Series of Tire Changers 87 P N 5900346 Rev C Dec 2019 Maintenance Log...
Page 88: ...1645 Lemonwood Drive Santa Paula CA 93060 USA 2019 BendPak Inc All rights reserved bendpak com...

