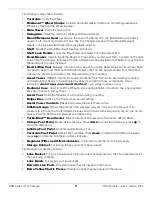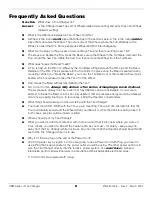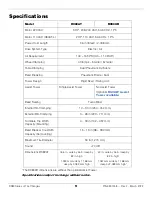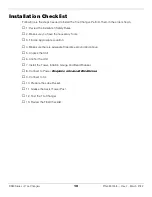
R980 Series of Tire Changers
17
P/N 5900158 — Rev. F - March 2022
⚠
WARNING
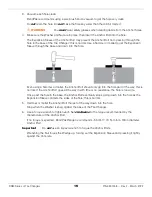
Use care when moving the Tower; it is heavy and not evenly balanced. If it is
dropped, you could injure yourself, bystanders and damage the unit. Make sure to
orient the Tower so that the Mount/Demount Head is over the Turntable.
7.
Use the four Bolt/Washer pairs and a wrench to
securely
bolt the Tower into position on top of the
Cabinet.
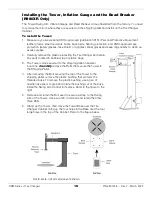
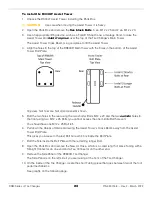
To Install the Inflation Gauge
:
1.
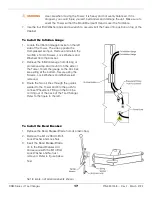
Locate the Inflation Gauge bracket on the left
side of the Tower. The side opposite the
Compressed air input. Remove and retain the
two M6 x 10mm Screws, Lock Washers and
Washers from the bracket.
2.
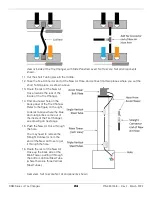
Retrieve the Inflation Gauge from its bag or
protective wrap and mount it on the side of
the Tower. Orient the gauge so the Air Lines
are exiting at the bottom. Secure using the
Screws, Lock Washers and Washers just
removed.
3.
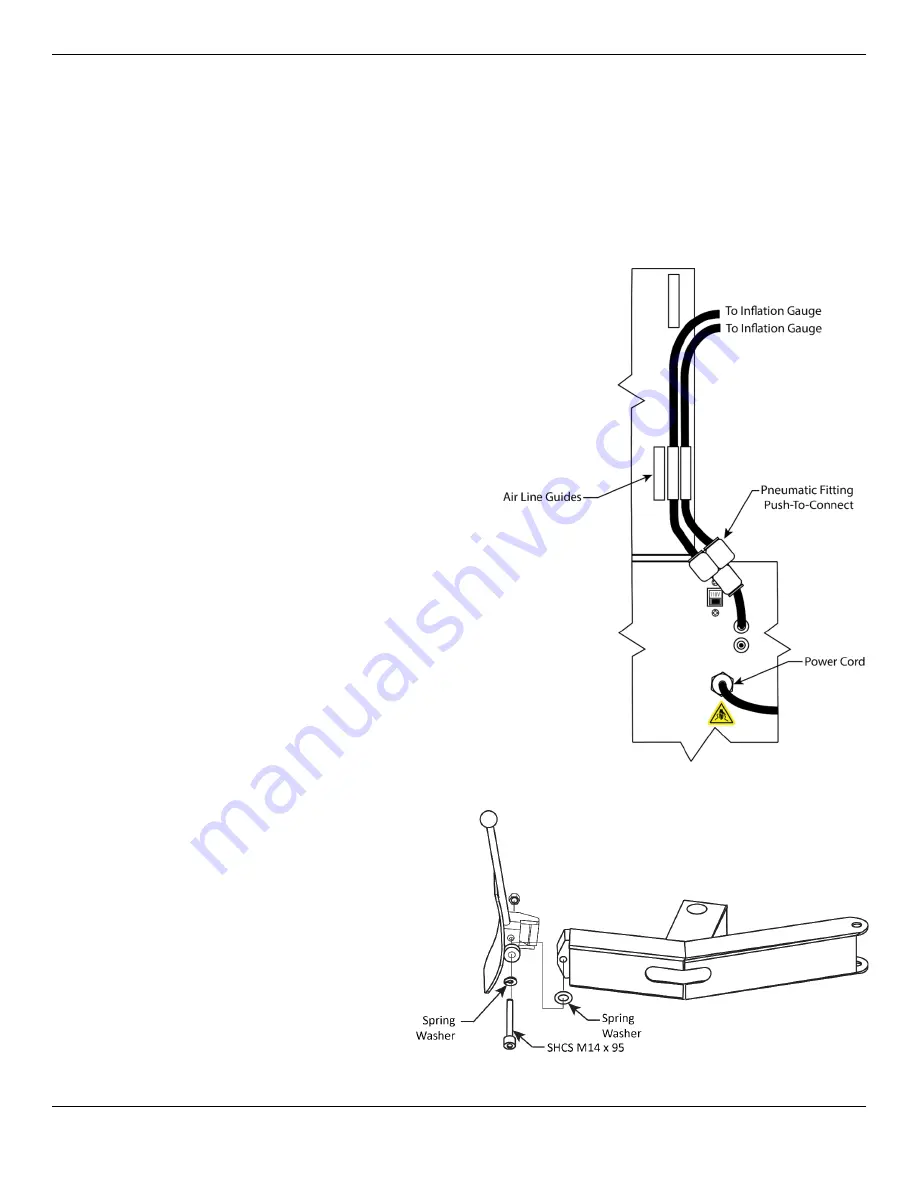
Route the two air lines through the guides
welded to the Tower and into the push-to-
connect Pneumatic Fitting on the Air Line
coming out of the back of the Tire Changer.
Refer to the figure to the left.
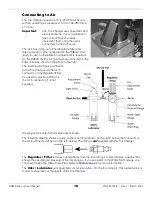
To Install the Bead Breaker:
1.
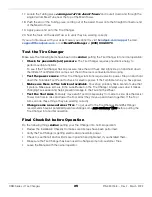
Retrieve the Bead Breaker Blade from its plastic bag.
2.
Remove the M14 x 95mm Bolt,
Lock Washer and Lock Nut.
3.
Insert the Bead Breaker Blade
on to the Bead Breaker Arm
and secure with the M14 Bolt,
Lock Washer and Nut just
removed. Refer to figure below.
Test
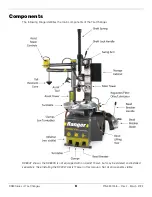
Not to scale, not all components shown.
Summary of Contents for R980AT
Page 60: ...R980 Series of Tire Changers 60 P N 5900158 Rev F March 2022 Labels ...
Page 61: ...R980 Series of Tire Changers 61 P N 5900158 Rev F March 2022 ...
Page 62: ...R980 Series of Tire Changers 62 P N 5900158 Rev F March 2022 ...
Page 83: ...R980 Series of Tire Changers 83 P N 5900158 Rev F March 2022 Assist Tower Optional ...
Page 87: ...R980 Series of Tire Changers 87 P N 5900158 Rev F March 2022 Maintenance Log ...

