22
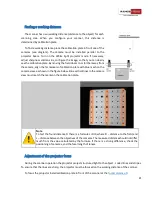
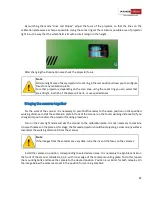
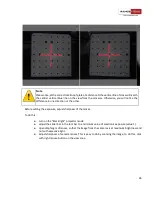
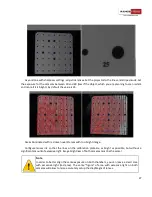
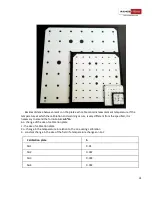
By switching the mode "Lines and Stripes", adjust the focus of the projector, so that the lines on the
calibration plate were as sharp as possible. Using the zoom ring set the minimum possible area of projector
light in such a way that the whole field is lit with a small margin to the height.
After changing the illumination area check the projector focus.
Note
Minimum light area of Acer projectors (zoom ring in the last position) allows you to configure
focus for any calibration plate.
For other projectors, depending on the scan area, using the zoom ring you can select that
area of light, in which all the plate will be lit, or use special lenses.
Bringing the cameras together
For the work of the scanner it is necessary to point both cameras to the same position on the specified
working distance. Install the calibration plate in front of the scanner on the found working distance D (if you
changed its position after the projector focusing procedure).
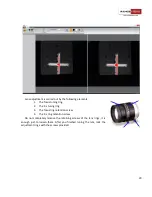
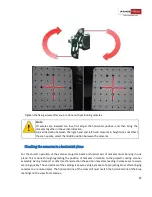
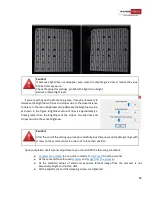
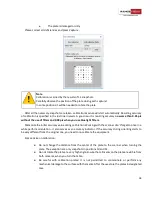
Turn on the
Cross
light mode and aim the scanner to the calibration plate. It is not necessary to combine
cross with marks on the plate at this stage, the focused projector should be projecting a cross on any surface,
located at the working distance D from the scanner.
Note
If the images from the cameras are very dark, tune the iris and the focus on the cameras.
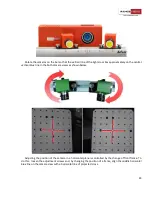
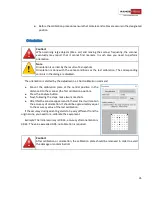
Install the cameras in position, corresponding to selected scan area. It is necessary to align black risks on
the front of the scanner, labelled 1,2,3,4 , with inner edge of the camera mounting plate. To do this, loosen
the mounting bolts and move the camera to the desired position. Position 4 is similar for both cameras. On
the image below the cameras are set in the position for scanning area №2.


