19
The scanner defines automatically the models of cameras. If you know the model of the cameras - please
specify it, it will accelerate program launch . Choice of the cameras corresponds to the name of the scanner
model (Standard Plus, Advanced, etc.).
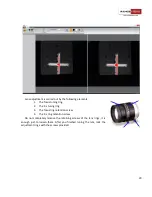
In the case if all the settings are correct, after starting the program you should see the image from the
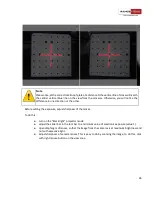
cameras in the main application window, and the projector will start projecting cross.
Note
If the cameras are not installed or not connected, instead of images you will see black or
gray screen.
You must also check whether such programs as ICQ, Skype, Sippоint or similar software use
one of the cameras as a web camera
.
Initial setup of cameras and lenses
Caution!
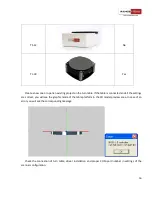
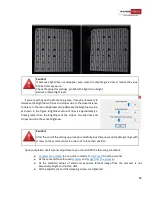
Check that the right-hand camera represents the image on the right, and the left-hand
camera - the one on the left. Right camera is the one that is located on the right-hand, if you
stand behind the scanner face to scanned object.
If the cameras have been interchanged, change the status of parameter
Swap cameras
in
the
Cameras
tab in
Hardware setup (Service
→
Hardware setup).
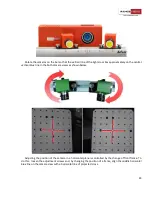
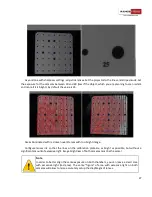
When you first set up the scanner image from the cameras may not be in focus or can be too bright or too
dark. Adjust camera lenses, so that the image of the cameras displays the calibration plate in front of the
scanner.

