21
Finding a working distance
The scanner has own working distance (distance to the object) for each
scanning area. When you configure your scanner, this distance is
determined by calibration plate.
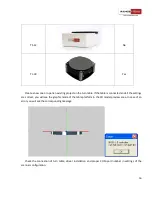
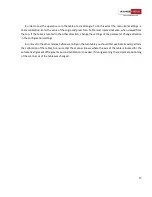
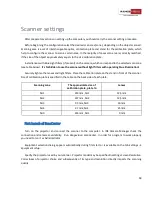
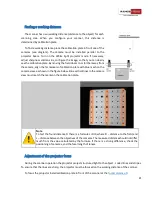
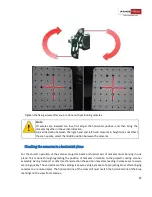
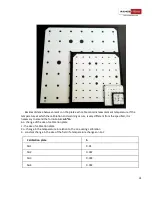
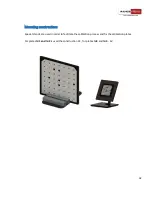
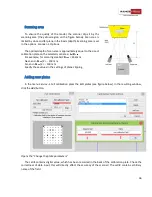
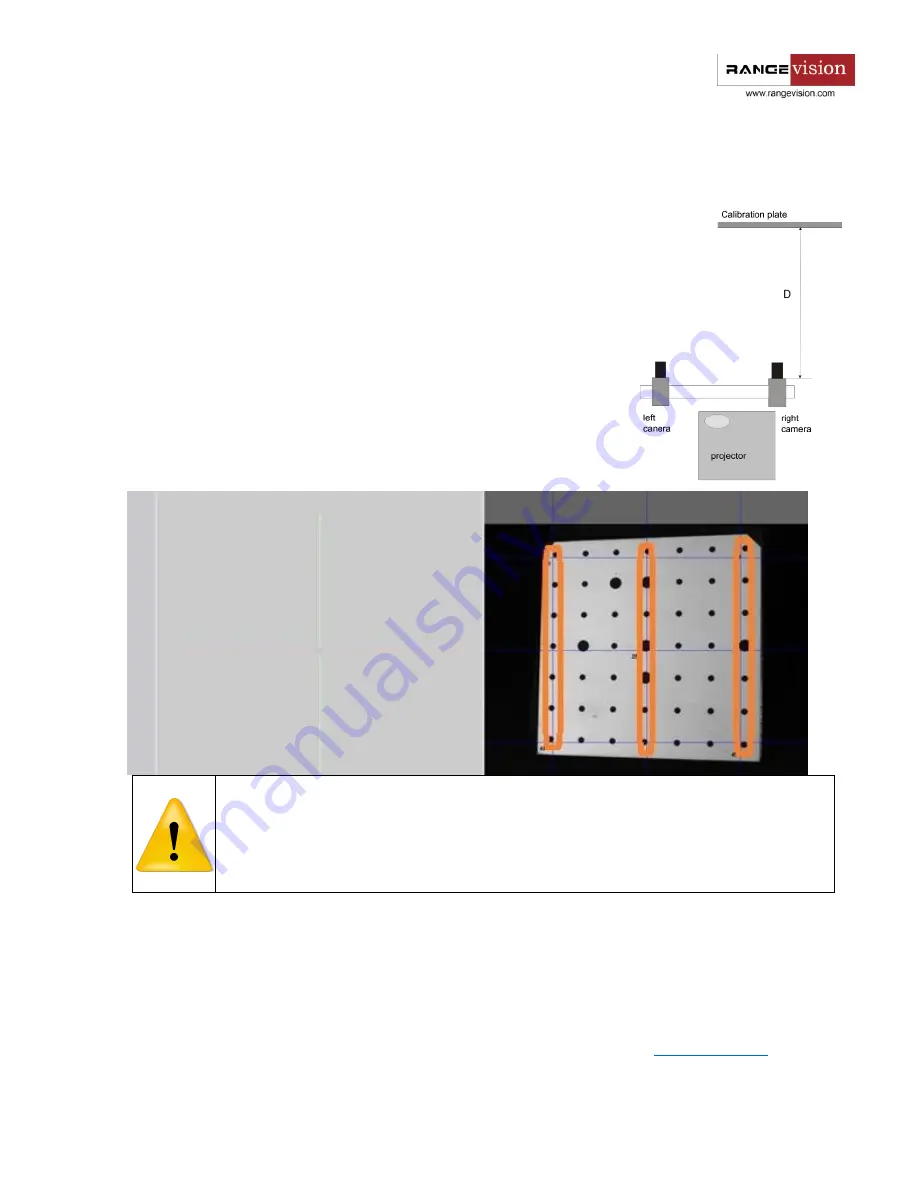
To find a working distance place the calibration plate in front one of the
cameras (see diagram). The camera must be installed parallel to the
projector beam. Turn on the
White light
projector mode. If necessary,
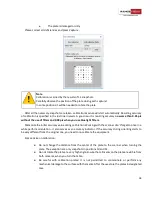
adjust sharpness and lens iris, configure the image, so that you can clearly
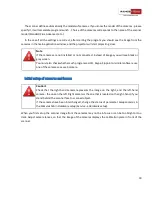
see the calibration plate. By moving the field closer to or further away from
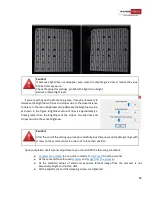
the camera, align the far markers of calibration plate with blue mesh on the
camera view, as shown in the figure below. Blue
vertical lines
in the camera
view must match the marks on the calibration plate.
Note
To
test
the found distance D there is a formula L=D/3, where D – distance to the field, and
L – distance between the objectives of the cameras. The measured distance should not differ
much from the value calculated by the formula. If there is a strong difference, check the
positioning of cameras, and the focal length of lenses.
Adjustment of the projector focus
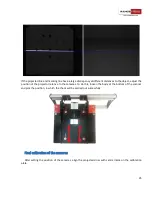
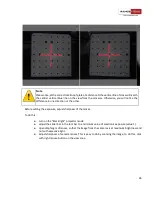
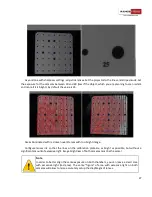
During the scanner operation the projector project structured light to the object - coded lines and stripes.
To ensure that the lines are sharp, the projector must be focused on the working distance of the scanner.
To focus the projector install calibration plate in front of the scanner at the

