35
●
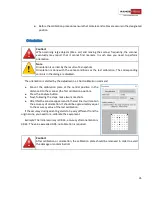
Before the calibration procedure ensure that cameras and cables are secure in the designated
position.
Orientation
Caution!
When scanning large objects (like a car) and moving the scanner frequently, the scanner
eventually may report that it cannot find markers.
In such case you need to perform
orientation.
Note
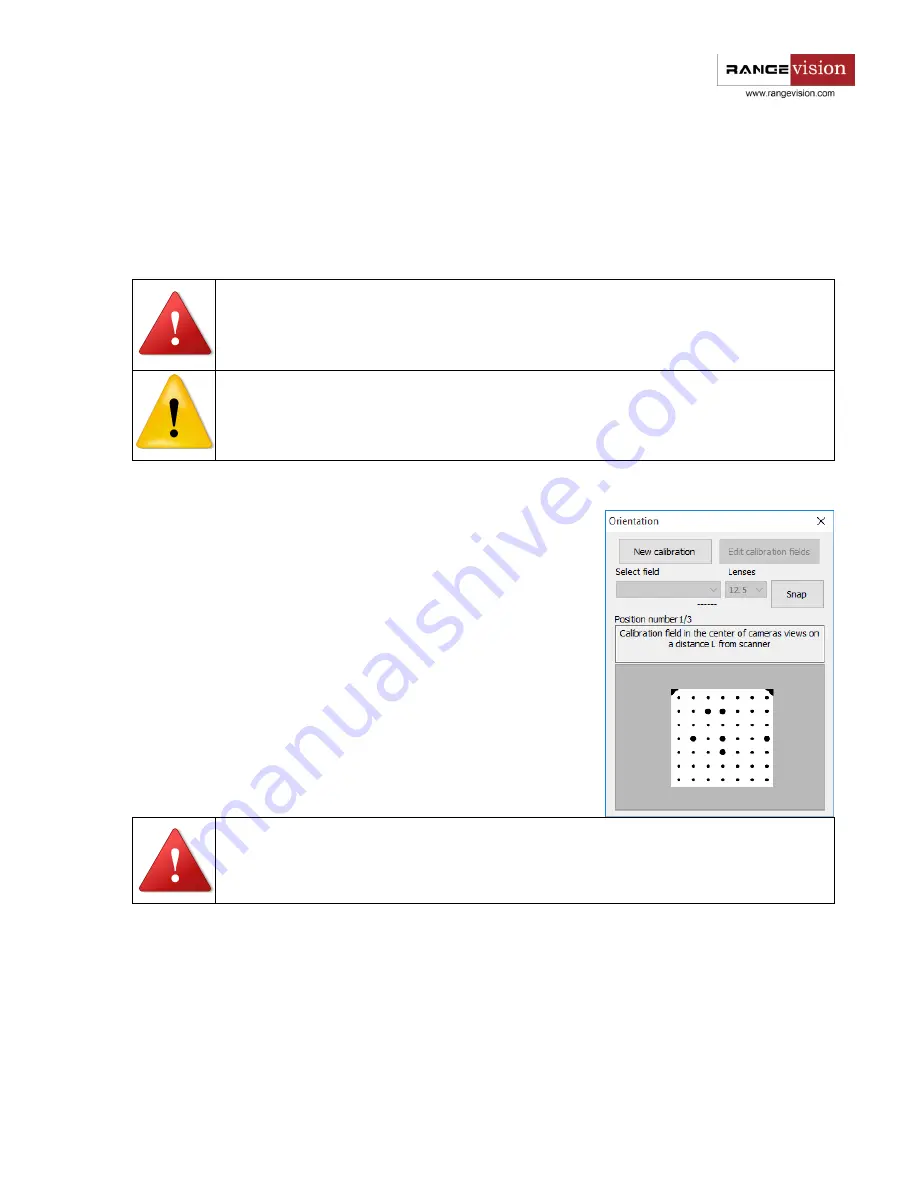
Orientation is carried by the results of 3 snapshots.
Orientation is done with the same conditions as the last calibration. The corresponding
controls in the dialog are disabled.
The orientation is started by the
Adjustment
→
Short calibration
command.
●
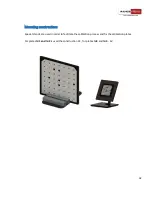
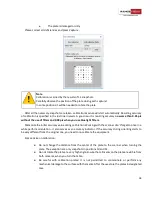
Mount the calibration plate at the central position in the
distance D to the scanner (the first calibration position).
●
Press the
Capture
button.
●
Next, following the steps, make two more shots.
●
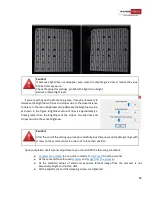
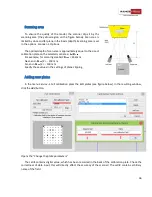
After this the console appears and in the last line it will contain
the accuracy of orientation. It should be approximately equal
to the accuracy value of the last calibration.
If the accuracy during orienting starts to be very different from the
original one, you need to re-calibrate the equipment.
Example
: The initial accuracy is 0.024 , accuracy after orientation is
0.065 . The value exceeded 0.05, re-calibration is required.
Caution!
After calibration or orientation, the calibration plate should be removed in order to avoid
the damage or contamination!

