


18 Operation
Operation
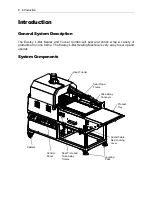
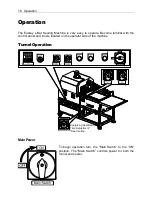
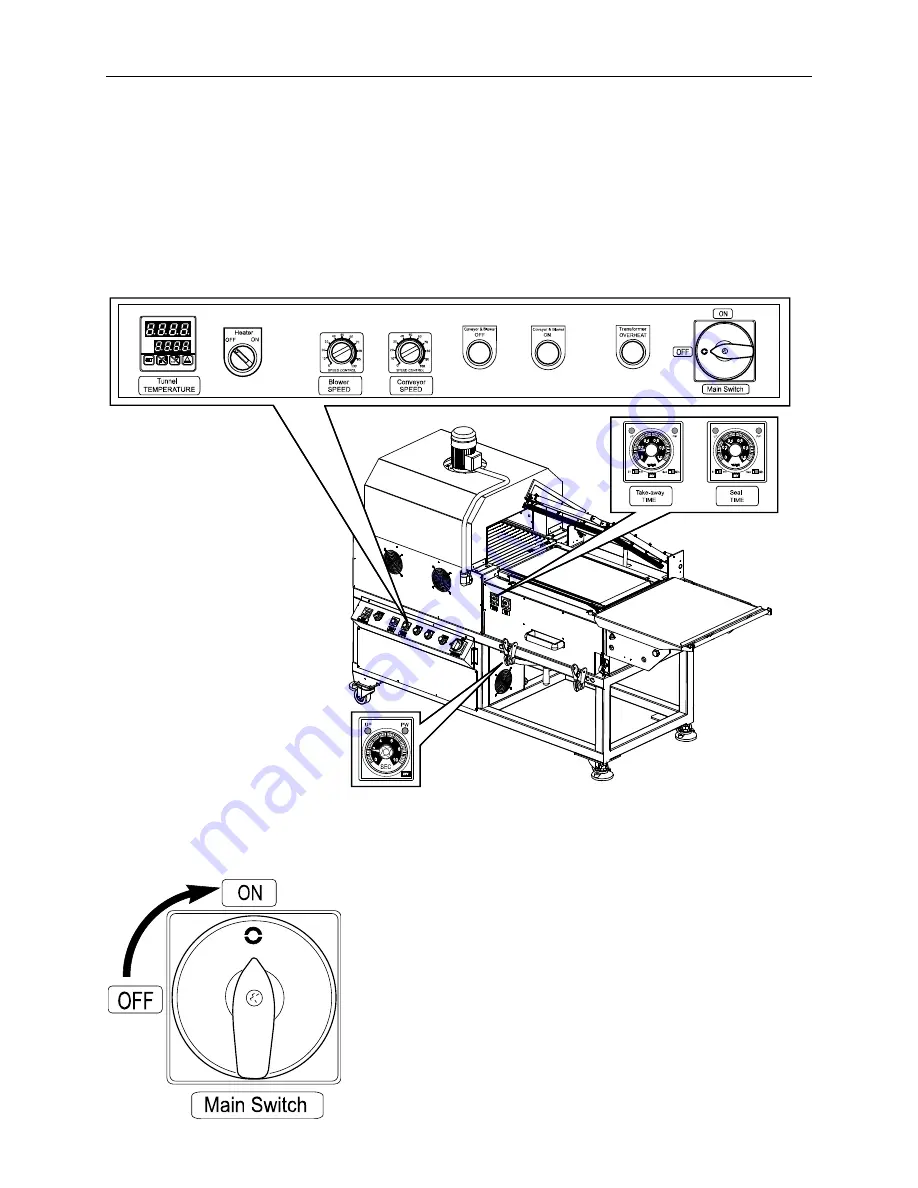
The Eastey L-Bar Sealing Machine is very easy to operate. Become familiar with the
control panel and timers located on the operator side of the machine.
Tunnel Operation
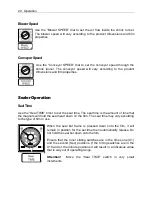
Main Power
To begin operation turn,
the “Main Switch” to the “ON”
position.
The “Main Switch” controls power for both the
tunnel and sealer.
Energizing Seal Band
Time Adjustment*
*See Caution.
Summary of Contents for Eastey Value Series
Page 2: ......
Page 4: ......
Page 6: ......
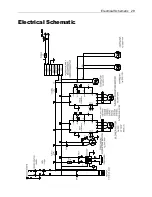
Page 29: ...Electrical Schematic 29 Electrical Schematic...
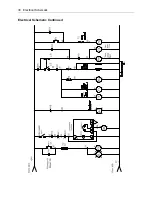
Page 30: ...30 Electrical Schematic Electrical Schematic Continued...
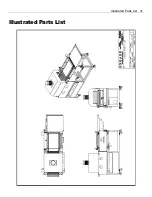
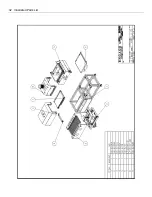
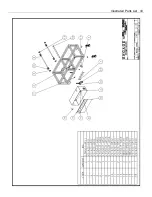
Page 31: ...Illustrated Parts List 31 Illustrated Parts List...
Page 32: ...32 Illustrated Parts List...
Page 33: ...Illustrated Parts List 33...
Page 34: ...34 Illustrated Parts List...
Page 35: ...Illustrated Parts List 35...
Page 36: ...36 Illustrated Parts List...
Page 37: ...Illustrated Parts List 37...
Page 38: ...38 Illustrated Parts List...
Page 39: ...Illustrated Parts List 39...
Page 40: ...40 Illustrated Parts List...
Page 41: ...Illustrated Parts List 41...
Page 42: ...42 Illustrated Parts List...
Page 43: ...Illustrated Parts List 43...
Page 48: ......
Page 49: ......


