Operation 21
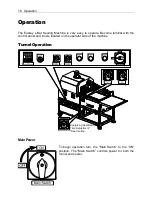
Take Away Time
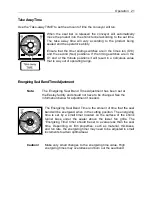
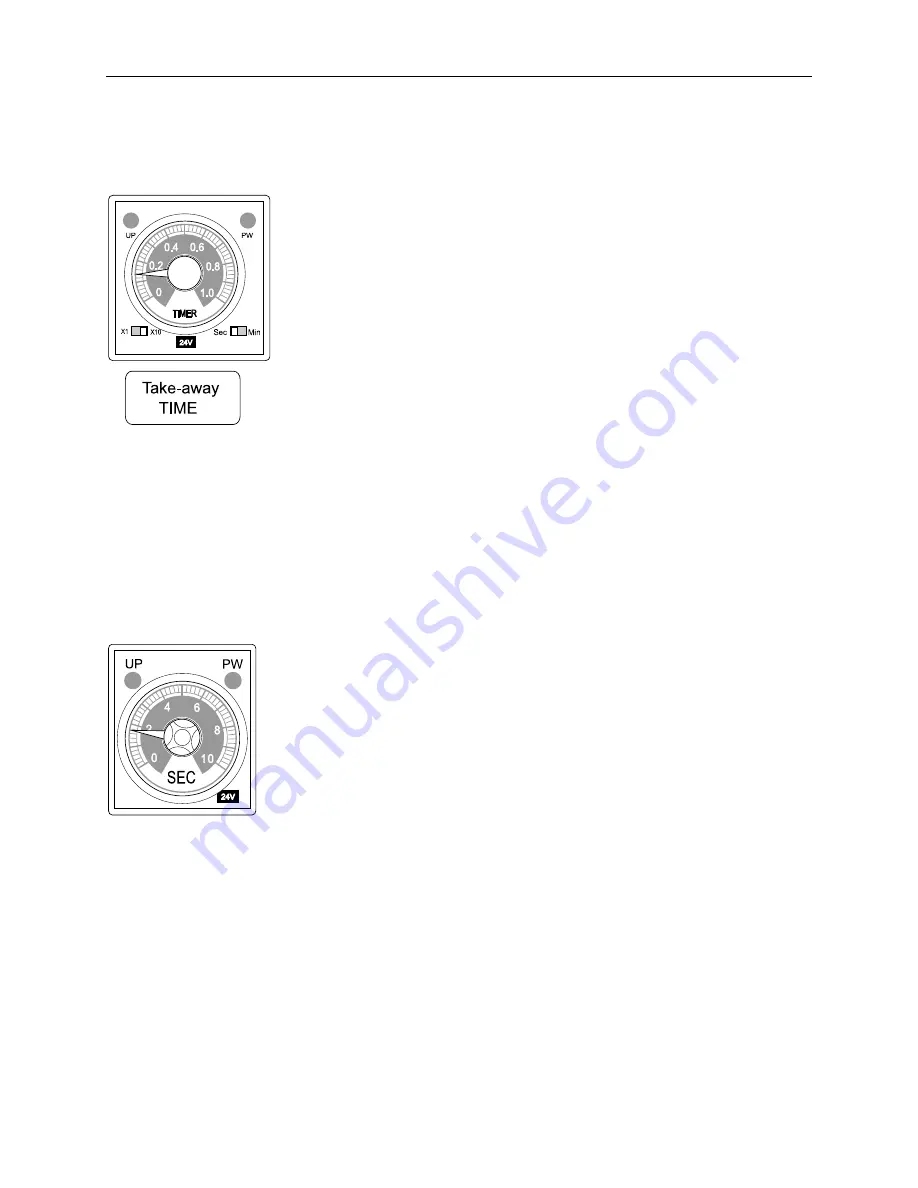
Use the “Take-away TIME” to set the amount of time the conveyor will run.
When the seal bar is released the conveyor will automatically
move the product into the shrink tunnel according to the set time.
The take away time will vary according to the product being
sealed and the operator’s ability.
Ensure that the timer sliding switches are in the times ten (X10)
and the second (Sec) positions. If the timing switches are in the
X1 and or the minute positions it will result in a ridiculous value
that is way out of operating range.
Energizing Seal Band Time Adjustment
Note:
The Energizing Seal Band Time Adjustment has been set at
the Eastey facility and should not have to be changed. See the
information below for adjustment if needed.
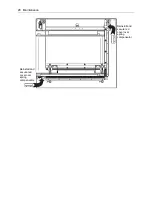
The Energizing Seal Band Time is the amount of time that the seal
band will be energized when in the cutting position. The energizing
time is set by a small timer located on the surface of the shrink
tunnel base under the sealer above the lower fan grille. The
“Energizing Time” timer should be set to a value less than the seal
time. Depending on film properties, such as material, thickness,
and run rate, the energizing timer may need to be adjusted in small
increments to attain optimal seal.
Caution!
Make very small changes to the energizing time value. High
energizing times may overstress and burn out the seal band.
Summary of Contents for Eastey Value Series
Page 2: ......
Page 4: ......
Page 6: ......
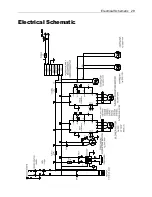
Page 29: ...Electrical Schematic 29 Electrical Schematic...
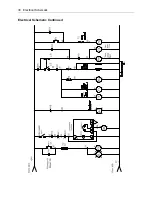
Page 30: ...30 Electrical Schematic Electrical Schematic Continued...
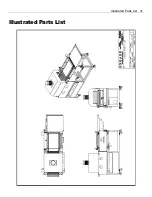
Page 31: ...Illustrated Parts List 31 Illustrated Parts List...
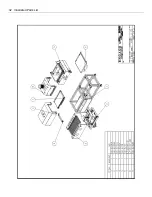
Page 32: ...32 Illustrated Parts List...
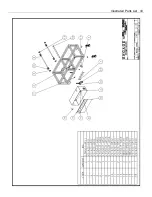
Page 33: ...Illustrated Parts List 33...
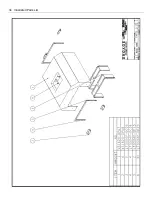
Page 34: ...34 Illustrated Parts List...
Page 35: ...Illustrated Parts List 35...
Page 36: ...36 Illustrated Parts List...
Page 37: ...Illustrated Parts List 37...
Page 38: ...38 Illustrated Parts List...
Page 39: ...Illustrated Parts List 39...
Page 40: ...40 Illustrated Parts List...
Page 41: ...Illustrated Parts List 41...
Page 42: ...42 Illustrated Parts List...
Page 43: ...Illustrated Parts List 43...
Page 48: ......
Page 49: ......

