22 Operation
Sealing the Product
Advance the film across the product tray. Remember the film is split with the bottom half
going beneath the product tray and to top going over the product tray.
Note:
For best results, the seal head should be cycled three to four
times initially before sealing to warm up the upper seal head.
Pull a short length of film into the seal area and pull the seal bar down to create a lead
seal.
Lift the top film and place the product to be sealed on the product table under the top
layer of film.
Advance the product and film to the seal area on the take away conveyor.
Close the sealing bar using slight pressure and let go. The sealing bar will seal the
product and release automatically according to the sealing time setting.
After the seal head has been released the take away conveyor will move the product
into the shrink tunnel.
Repeat for the next package to be sealed.
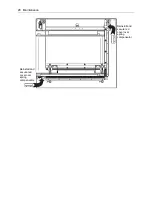
As products are moved through the case sealing machine a long tail of scrap will
accumulate on the operator side of the machine. Wind the scrap material around the
two fixed holders.
Shutting Down
When shutting down it is important to let the temperature inside the shrink tunnel cool
down before turning off the main power.
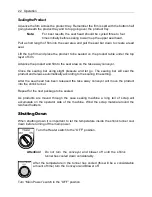
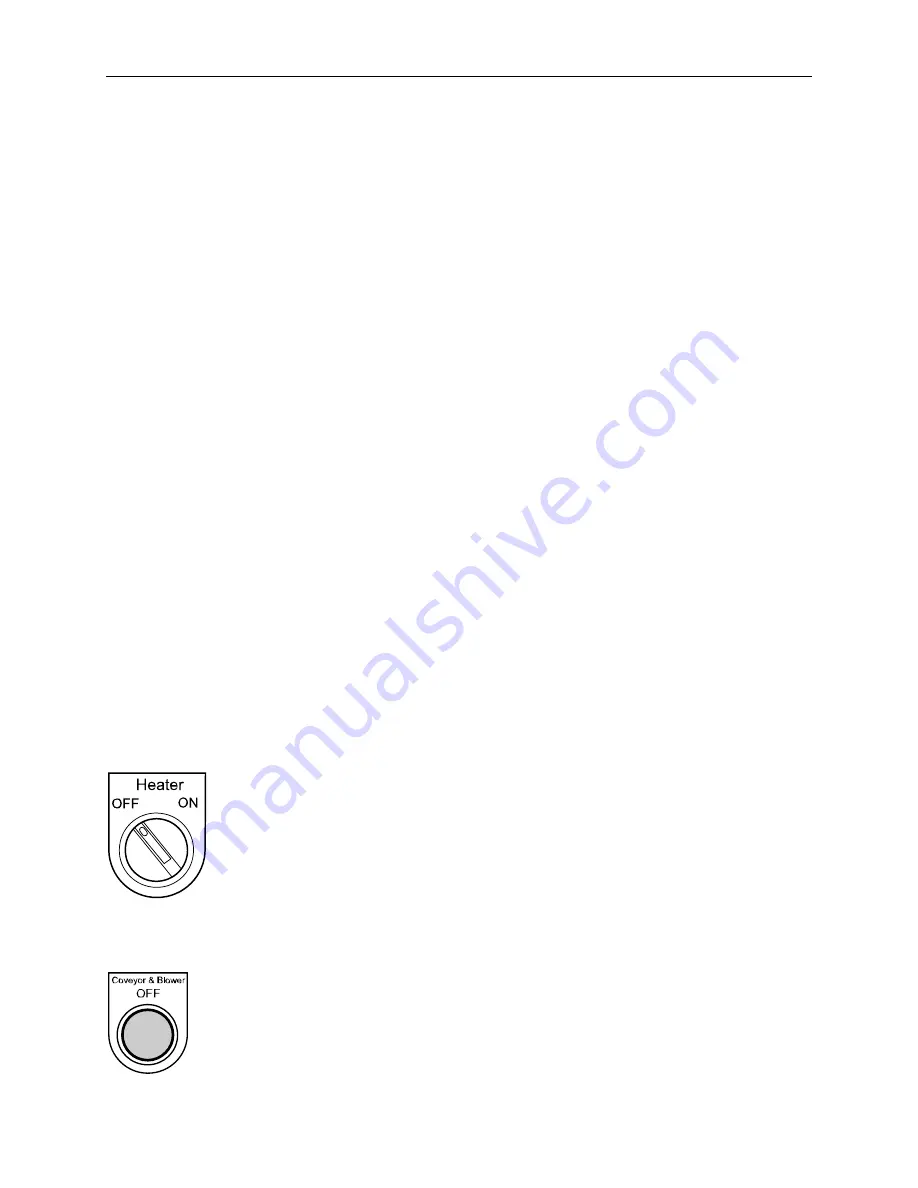
Turn the Heater switch to the “OFF” position.
Attention!
Do not turn the conveyor and blower off until the shrink
tunnel has cooled down considerably.
After the temperature in the tunnel has cooled (this will be a considerable
amount of time) turn the Conveyor and Blower off.
Turn “Main Power” switch to the “OFF” position.
Summary of Contents for Eastey Value Series
Page 2: ......
Page 4: ......
Page 6: ......
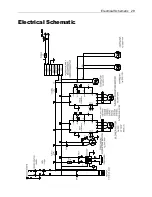
Page 29: ...Electrical Schematic 29 Electrical Schematic...
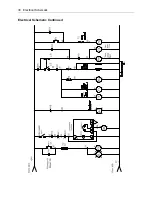
Page 30: ...30 Electrical Schematic Electrical Schematic Continued...
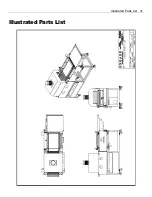
Page 31: ...Illustrated Parts List 31 Illustrated Parts List...
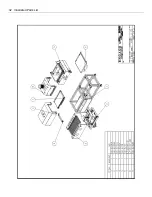
Page 32: ...32 Illustrated Parts List...
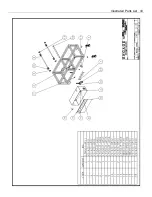
Page 33: ...Illustrated Parts List 33...
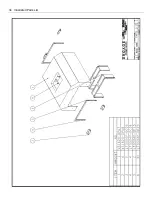
Page 34: ...34 Illustrated Parts List...
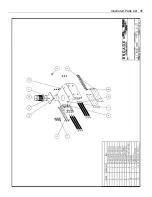
Page 35: ...Illustrated Parts List 35...
Page 36: ...36 Illustrated Parts List...
Page 37: ...Illustrated Parts List 37...
Page 38: ...38 Illustrated Parts List...
Page 39: ...Illustrated Parts List 39...
Page 40: ...40 Illustrated Parts List...
Page 41: ...Illustrated Parts List 41...
Page 42: ...42 Illustrated Parts List...
Page 43: ...Illustrated Parts List 43...
Page 48: ......
Page 49: ......

