26 Maintenance
6. With the parts disassembled, clean the parts as required or determine which
parts need to be replaced.
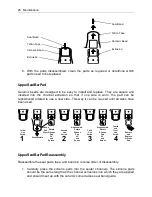
Upper Seal Bar Pad
Ceramic beads are designed to be easy to install and replace. They are square and
inserted into the channel extrusion so that if one side is worn, the pad can be
repositioned rotated to use a new side. This way it can be re-used until all sides have
been used.
Upper Seal Bar Pad Re-assembly
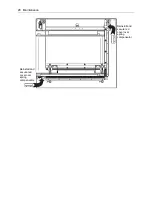
Reassemble the seal pads, tape, and bands in reverse order of disassembly.
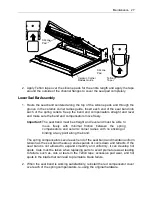
1. Carefully press the silicone pads into the sealer channels. The silicone pads
should be the same length as the channel extrusions into which they are applied
and should meet up with the ceramic corner radius seal band guide.
Seal Band
Teflon Tape
Ceramic Bead
Extrusion
Seal Band
Ceramic Bead
Extrusion
Teflon Tape
1
2
3
4
Remove
and
Replace
Silicone
Pad
Initial
Use
Period.
Second
Use
Period.
Third
Use
Period.
Silicone
Pad
Wear.
Fourth
and
Final
Use
Period.
Rotate
Silicone
Pad
90°,
and
Re-use.
Disassemble,
Rotate
Silicone
Pad
90°,
and
Re-use.
Disassemble,
Rotate
Silicone
Pad
90°,
and
Re-use.
Disassemble,
Summary of Contents for Eastey Value Series
Page 2: ......
Page 4: ......
Page 6: ......
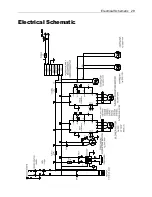
Page 29: ...Electrical Schematic 29 Electrical Schematic...
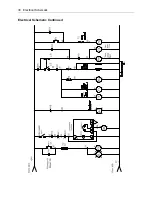
Page 30: ...30 Electrical Schematic Electrical Schematic Continued...
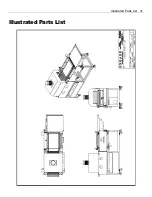
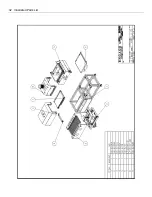
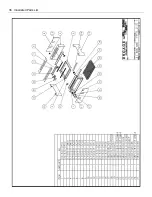
Page 31: ...Illustrated Parts List 31 Illustrated Parts List...
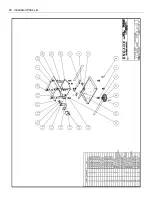
Page 32: ...32 Illustrated Parts List...
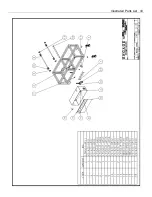
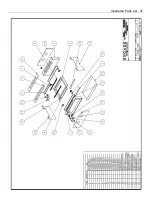
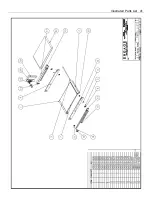
Page 33: ...Illustrated Parts List 33...
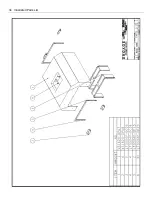
Page 34: ...34 Illustrated Parts List...
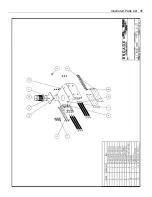
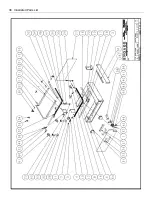
Page 35: ...Illustrated Parts List 35...
Page 36: ...36 Illustrated Parts List...
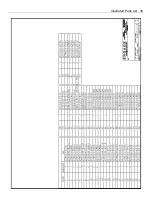
Page 37: ...Illustrated Parts List 37...
Page 38: ...38 Illustrated Parts List...
Page 39: ...Illustrated Parts List 39...
Page 40: ...40 Illustrated Parts List...
Page 41: ...Illustrated Parts List 41...
Page 42: ...42 Illustrated Parts List...
Page 43: ...Illustrated Parts List 43...
Page 48: ......
Page 49: ......

