Maintenance 27
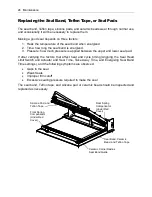
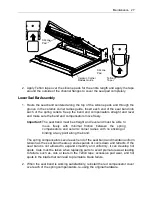
2. Apply Teflon tape over the silicone pads for the entire length and apply the tape
around the outside of the channel flanges to cover the seal pad completely.
Lower Seal Bar Assembly
1. Route the seal band centered along the top of the silicone pads and through the
groove in the ceramic corner radius guide. Insert each end of the seal band into
each of the spring collets. Keep the band and compensators straight and level
and make sure the band and compensators move freely.
Important:
The seal band must be straight and level and must be able to
move freely with minimal friction between the spring
compensators and ceramic corner radius with no sticking or
binding at any point along the band.
The spring compensators secure each end of the seal band and maintain uniform
tension as the seal band heats up and expands or cools down and retracts. If the
seal band is not allowed to expand smoothly and uniformly, it can develop hot
spots. Care must be taken when replacing parts to avoid premature wear leading
to failure, such as, cuts or tears in the Teflon tape, excessive pad wear, and hot
spots in the blade that can lead to premature blade failure.
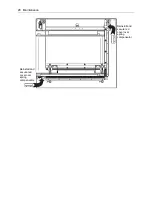
2. When the seal band is working satisfactorily, reinstall the red compensator cover
over each of the spring compensators, re-using the original hardware.
Silicone
Pad
Silicone
Pad
Ceramic Corner
Radius Guide
Teflon
Tape
Summary of Contents for Eastey Value Series
Page 2: ......
Page 4: ......
Page 6: ......
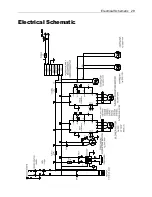
Page 29: ...Electrical Schematic 29 Electrical Schematic...
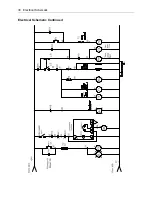
Page 30: ...30 Electrical Schematic Electrical Schematic Continued...
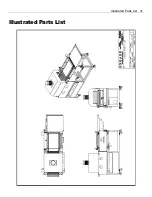
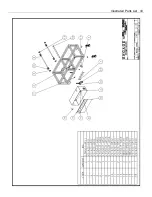
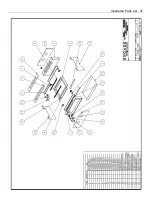
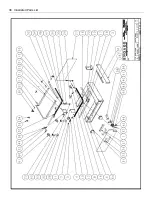
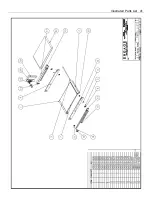
Page 31: ...Illustrated Parts List 31 Illustrated Parts List...
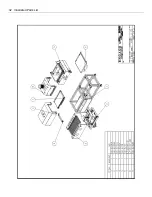
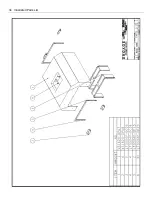
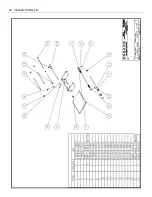
Page 32: ...32 Illustrated Parts List...
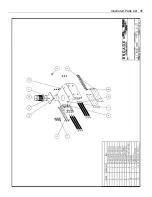
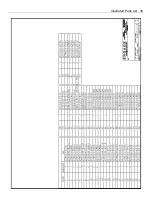
Page 33: ...Illustrated Parts List 33...
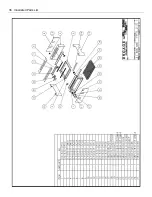
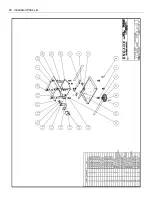
Page 34: ...34 Illustrated Parts List...
Page 35: ...Illustrated Parts List 35...
Page 36: ...36 Illustrated Parts List...
Page 37: ...Illustrated Parts List 37...
Page 38: ...38 Illustrated Parts List...
Page 39: ...Illustrated Parts List 39...
Page 40: ...40 Illustrated Parts List...
Page 41: ...Illustrated Parts List 41...
Page 42: ...42 Illustrated Parts List...
Page 43: ...Illustrated Parts List 43...
Page 48: ......
Page 49: ......

