13
Heatsink
Preparation
Next,
we
will
prepare
the
heatsink
by
attaching
the
LEDs
to
it
and
then
wiring
the
LEDs
together.
We
have
a
video
available
on
YouTube
that
has
a
quick
overview
of
how
to
hook
up
our
solderless
LEDs.
http://www.youtube.com/watch?v=j7fwVP61kiM&feature=plcp
A
wiring
Diagram
for
solderless
LEDs
is
here:
http://www.menarilighting.com/rapidled/documentation/RapidLED_Solderless_Wiring_Diagram.pdf
If
you
are
using
soldered
LED’s,
please
see
the
following
document
for
an
overview
on
how
to
wire
them
together:
http://www.vinnymarini.com/pictures/rapid_docs/LED%20DIY%20Oveview.pdf
Attaching
LEDs
to
the
Heatsinks
Thermal
Grease
When
attaching
an
LED
to
the
heatsink,
first
apply
thermal
grease
to
the
back
of
the
LED.
This
ensures
good
thermal
conduction
of
heat
away
from
the
LED
into
the
heatsink.
A
small
dab
on
the
back
of
the
LED
is
all
that
is
necessary.
Mounting
an
LED
to
a
Heatsink
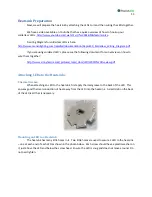
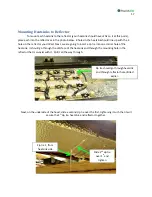
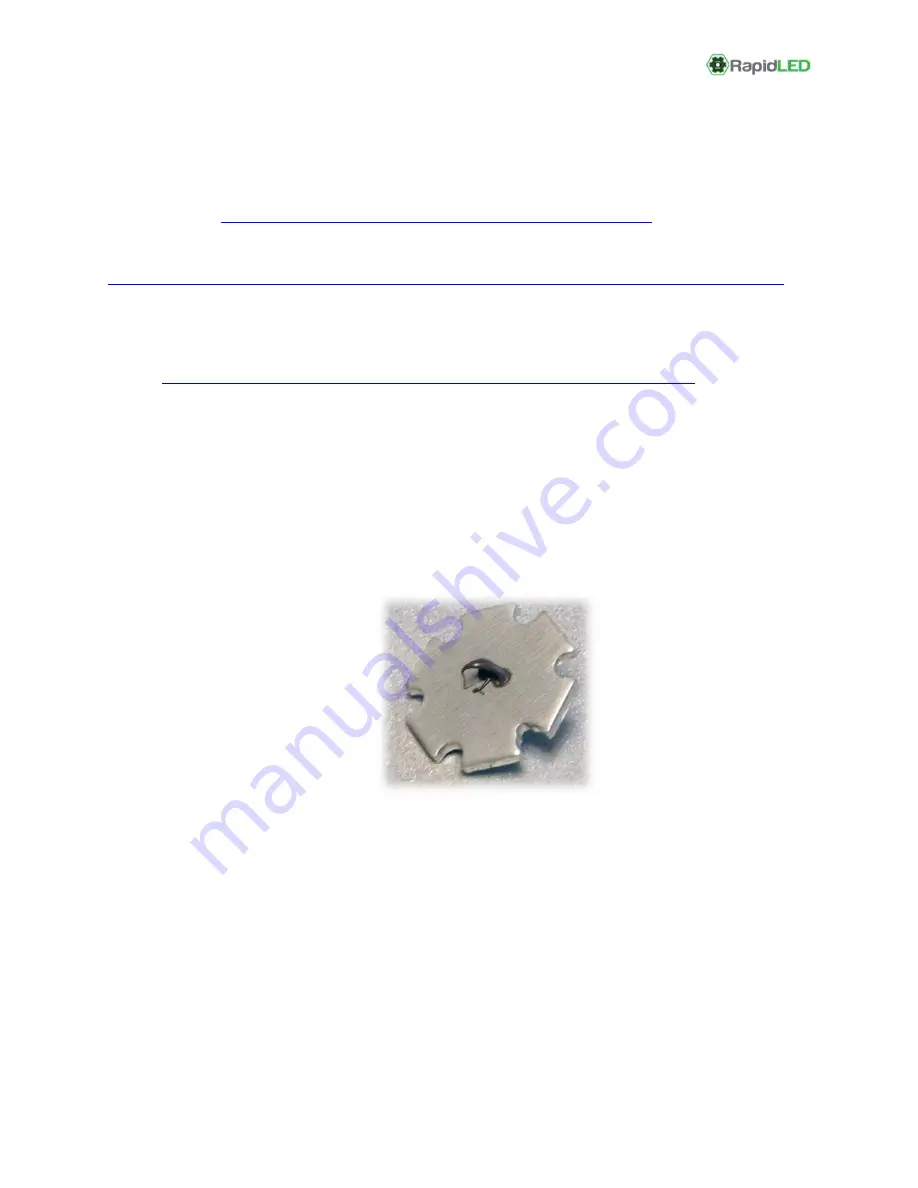
The
heatsink
has
many
little
holes
in
it.
Two
little
holes
are
used
to
secure
1
LED
to
the
heatsink
–
one
at
each
end
of
each
LED
as
shown
in
the
photo
below.
Each
screw
should
have
a
plastic
washer
on
it,
just
above
the
LED
and
below
the
screw
head.
Ensure
the
LED
is
snug
and
does
not
move
around.
Do
not
overtighten.


